Maximizing Your Home’s Potential: How to Add a Kitchenette to a Basement
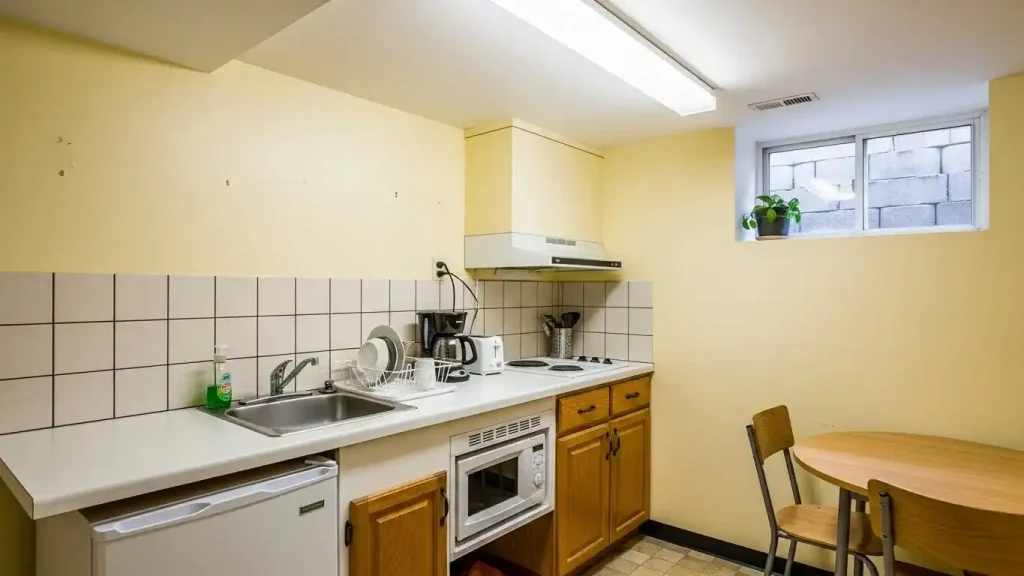
For many homeowners, the basement is a vast, underutilized expanse of concrete and storage bins.
However, as the need for multi-generational living, home offices, and entertainment spaces grows, the basement is being reimagined.
One of the most effective ways to transform this lower level from a dark storage area into a functional living suite is by installing a small kitchen.
Whether you are looking to create an “in-law suite,” a rental unit to generate passive income, or the ultimate “man cave” for game days, learning how to add a kitchenette to a basement is a project that offers both high utility and a significant return on investment.
Adding a kitchenette is more complex than simply plugging in a microwave and a mini-fridge.
It involves navigating local building codes, tackling unique plumbing challenges, and making smart design choices to ensure the space feels bright and welcoming.
In this comprehensive guide, we will break down every step of the process to help you navigate this home improvement journey.
1. Planning and Permits: The Legal Foundation
Before you pick up a sledgehammer or head to the hardware store, you must understand the legalities of your project.
Every municipality has different rules regarding what constitutes a “kitchenette” versus a “full kitchen.”
In many jurisdictions, a kitchenette is defined by the absence of a permanent stove or oven. Once you add a 220V outlet for a range or a gas line for a stove, the space may be legally classified as a “second dwelling unit.”
This classification often triggers stricter building codes, including requirements for fire-rated drywall, specific ceiling heights, and secondary egress (like a walk-out door or an egress window).
Start by visiting your local building department. Ask for the requirements on how to add a kitchenette to a basement in your specific zone.
Obtaining the proper permits might seem like a hassle, but it is essential for your home insurance validity and for the eventual resale of your property.
2. The Biggest Challenge: Plumbing and Drainage
In a standard kitchen, gravity does the work of pulling wastewater away from your sink and dishwasher.
In a basement, you are often below the main sewer line, which presents a significant hurdle.
Connecting to the Main Stack
If you are lucky, your basement was “rough-in” for plumbing when the house was built.
This means there are already pipes sticking out of the concrete floor ready to be connected. If not, you have two primary options:
- Breaking Concrete: This involves jackhammering the basement floor to install new drainage pipes that slope toward the main sewer ejector pit. This is a labor-intensive and dusty process, but it allows for a traditional, hidden plumbing setup.
- Up-Flush Systems: If you want to avoid breaking concrete, you can use a macerating pump system (like those made by Saniflo). These units sit behind the wall or under the sink and pump wastewater upward to the main sewer line. They are easier to install but can be noisier than traditional plumbing.
Don’t forget the water supply. You’ll need to tap into your home’s existing hot and cold water lines.
Since basement ceilings are usually unfinished or have drop-ceilings, this part of the process is often relatively straightforward.
3. Electrical Requirements and Lighting
A kitchenette may be small, but it is power-hungry. You cannot simply run a long extension cord to a single outlet.
Dedicated Circuits
Modern building codes usually require dedicated circuits for major appliances.
Even if you aren’t installing a full oven, your microwave, refrigerator, and dishwasher should ideally each have their own circuit to prevent tripping breakers.
Furthermore, any outlets located near the sink must be GFCI (Ground Fault Circuit Interrupter) protected to prevent electrical shock in moist environments.
Lighting Design
Basements are notorious for being dark. To make your kitchenette feel like a natural part of the home rather than an afterthought, you need a layered lighting plan:
- Recessed Lighting: Provides general illumination without taking up vertical space (crucial for low basement ceilings).
- Under-Cabinet Lighting: Essential for task lighting when you are prepping food on the countertop.
- Pendant Lights: If your kitchenette has a small peninsula or island, pendants can add a touch of style and help define the space.
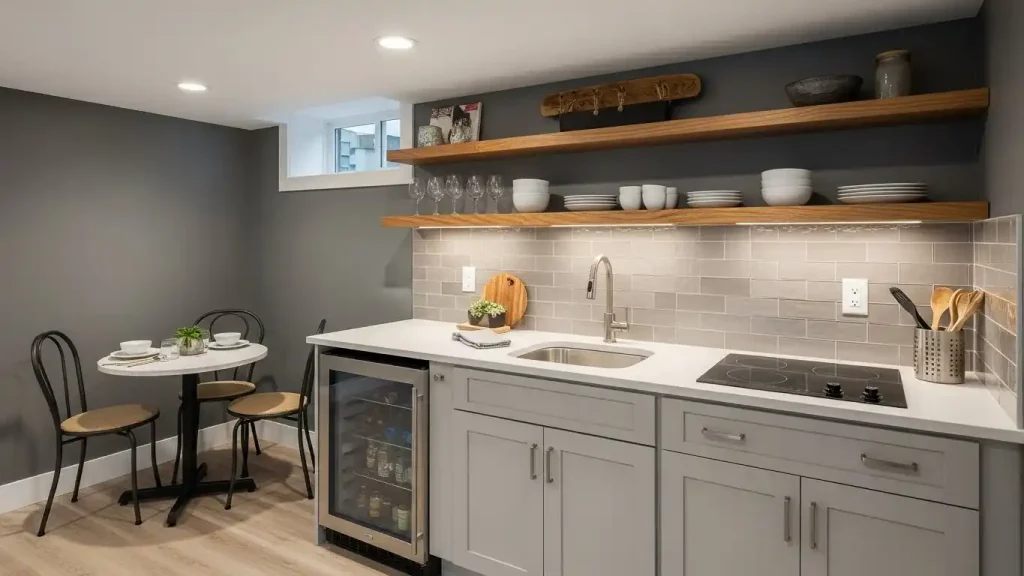
4. Designing the Layout for Small Spaces
When space is at a premium, every inch counts. The goal of a basement kitchenette is to provide maximum functionality in a minimal footprint.
Cabinetry and Storage
Standard kitchen cabinets are 24 inches deep. If your basement is narrow, consider using “vanity depth” cabinets (21 inches) or custom slim-line cabinetry to save floor space.
Use wall-mounted cabinets that reach all the way to the ceiling to maximize storage for items you don’t use every day.
Open shelving is another popular choice; it makes a small basement feel more open and airy, though it does require you to keep your dishes organized.
Countertops and Backsplash
Since a kitchenette is smaller than a main kitchen, you can often afford higher-end materials like quartz or granite because you only need a small slab.
Quartz is particularly good for basements because it is non-porous and resistant to mold and mildew.
For the backsplash, use light-colored, reflective tiles (like classic white subway tile) to bounce light around the room and make the area feel larger.
5. Choosing the Right Appliances
The “less is more” philosophy is vital when selecting appliances for a basement.
- Refrigeration: Unless you are housing a family of four in the basement, a full-sized refrigerator is often overkill. Consider a “counter-depth” apartment-sized fridge or even a set of refrigerator drawers that blend in with the cabinetry.
- Cooking: If your permits allow, an induction cooktop is a fantastic choice. They are sleek, easy to clean, and don’t produce as much ambient heat as traditional electric coils. A convection microwave oven is another great “two-in-one” appliance that can bake a potato or brown a chicken without needing a full-sized range.
- Clean-up: A 18-inch “slimline” dishwasher is perfect for a kitchenette. It takes up less cabinet space than a standard 24-inch model but still handles a full day’s worth of dishes.
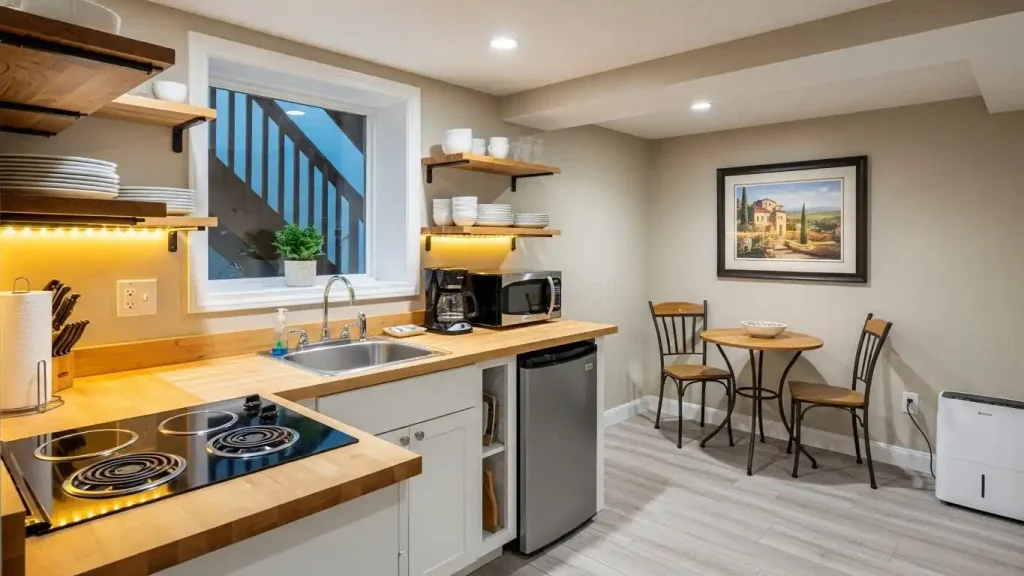
6. Ventilation and Moisture Control
Basements are naturally prone to dampness. When you add a sink and cooking appliances, you are introducing more moisture into the air.
If you are installing a cooktop, a vent hood is highly recommended. If you cannot vent it to the outside, use a recirculating hood with high-quality charcoal filters.
Additionally, ensure your basement has a high-capacity dehumidifier to prevent the “basement smell” from permeating your new cabinetry.
7. Flooring Choices
The best flooring for a basement kitchenette is something that can handle potential moisture.
- Luxury Vinyl Plank (LVP): This is the gold standard for basements. It is 100% waterproof, looks like real wood, and is relatively warm underfoot.
- Tile: Ceramic or porcelain tile is indestructible and waterproof, but it can be very cold on basement concrete. If you go this route, consider installing an electric radiant floor heating mat underneath.
- Polished Concrete: For a modern, industrial look, you can stain and polish the existing concrete slab. It’s budget-friendly and completely waterproof.
8. Estimated Costs and ROI
So, what is the price tag for this transformation? On average, adding a basement kitchenette costs between $10,000 and $25,000.
- Low End ($5,000 – $10,000): DIY labor, using an up-flush sink system, laminate countertops, and basic appliances.
- High End ($25,000+): Professional plumbing (breaking concrete), custom cabinetry, quartz countertops, and high-end compact appliances.
While the upfront cost is significant, the return on investment (ROI) is impressive. A finished basement with a kitchenette can add substantial value to your home’s appraisal.
If you use the space as a rental, the kitchenette can pay for itself in just a year or two of rental income.
Conclusion
Learning how to add a kitchenette to a basement is a journey that requires careful planning, a bit of technical know-how, and a creative eye for design.
By addressing the plumbing challenges early, choosing the right compact appliances, and focusing on bright, moisture-resistant finishes, you can turn a dark corner of your home into a vibrant, functional living space.
Whether it’s for a teenager wanting independence, an aging parent, or a weekend guest, a basement kitchenette provides a level of autonomy and comfort that transforms the entire dynamic of your home.
With the right approach, your basement will no longer be a place where things go to be forgotten—it will be the most popular room in the house!