21 Walk In Pantry Organization Ideas for Easy Access Storage
Keep your kitchen running smoothly with these smart walk in pantry organization ideas. From shelves to storage bins, we’ll help you make every inch count.
If your walk-in pantry feels more like a jumble of cans, bags, and boxes than a neatly organized storage haven, you’re not alone.
The truth is, even a large pantry can become cluttered without the right setup.
The best pantry organization ideas do more than just look good—they make cooking, meal prep, and even grocery shopping easier.
🎃 Spooky Good Amazon Deals This Fall !
From cozy fall essentials to Halloween must-haves, shop Amazon’s seasonal discounts now. Don’t wait, deals vanish fast!
*As an Amazon Associate, I earn from qualifying purchases.
With thoughtful shelving, labeled containers, and smart use of every inch, your pantry can become one of the most efficient spaces in your home.
Key Considerations
- Assess Your Pantry Size & Layout – Whether it’s a narrow corridor-style pantry or a roomy square one, your layout determines the best storage solutions.
- Set a Realistic Budget – You can spend a little (clear bins, labels) or a lot (custom shelving), but know your limit before diving in.
- Think About Your Cooking Style – A baker’s pantry will look very different from a family snack station.
- Plan for Growth – Leave some “breathing space” for new grocery habits, seasonal items, or bulk buys.
21 Walk In Pantry Organization Ideas
To get you inspired, we’ve gathered 21 walk in pantry organization ideas that will help you keep everything tidy, visible, and ready when you need it.
1. Start with a Thorough Declutter

Begin your walk-in pantry organization by emptying every shelf and drawer.
Sort through items, discarding expired goods, duplicates, and anything you no longer use.
This step creates a clean slate.
It prevents clutter from building up again and helps you see what you truly need.
Donate unopened non-perishables to local food banks.
You’ll feel lighter and more motivated to organize.
Group similar items as you sort.
This sets the foundation for efficient storage.
For broader inspiration, check out these pantry organization ideas to expand your approach.
2. Categorize Your Pantry Items
Once decluttered, group items by category, such as baking supplies, snacks, or canned goods.
🎃 Spooky Good Amazon Deals This Fall !
From cozy fall essentials to Halloween must-haves, shop Amazon’s seasonal discounts now. Don’t wait, deals vanish fast!
*As an Amazon Associate, I earn from qualifying purchases.
This logical grouping makes finding things intuitive.
Place frequently used items at eye level.
Reserve higher shelves for less common items like holiday baking tools.
Consider family needs, like keeping kid-friendly snacks low.
This personalization enhances daily functionality.
Short paragraphs keep the process manageable.
Take it one category at a time to avoid overwhelm.
3. Invest in Clear Storage Containers
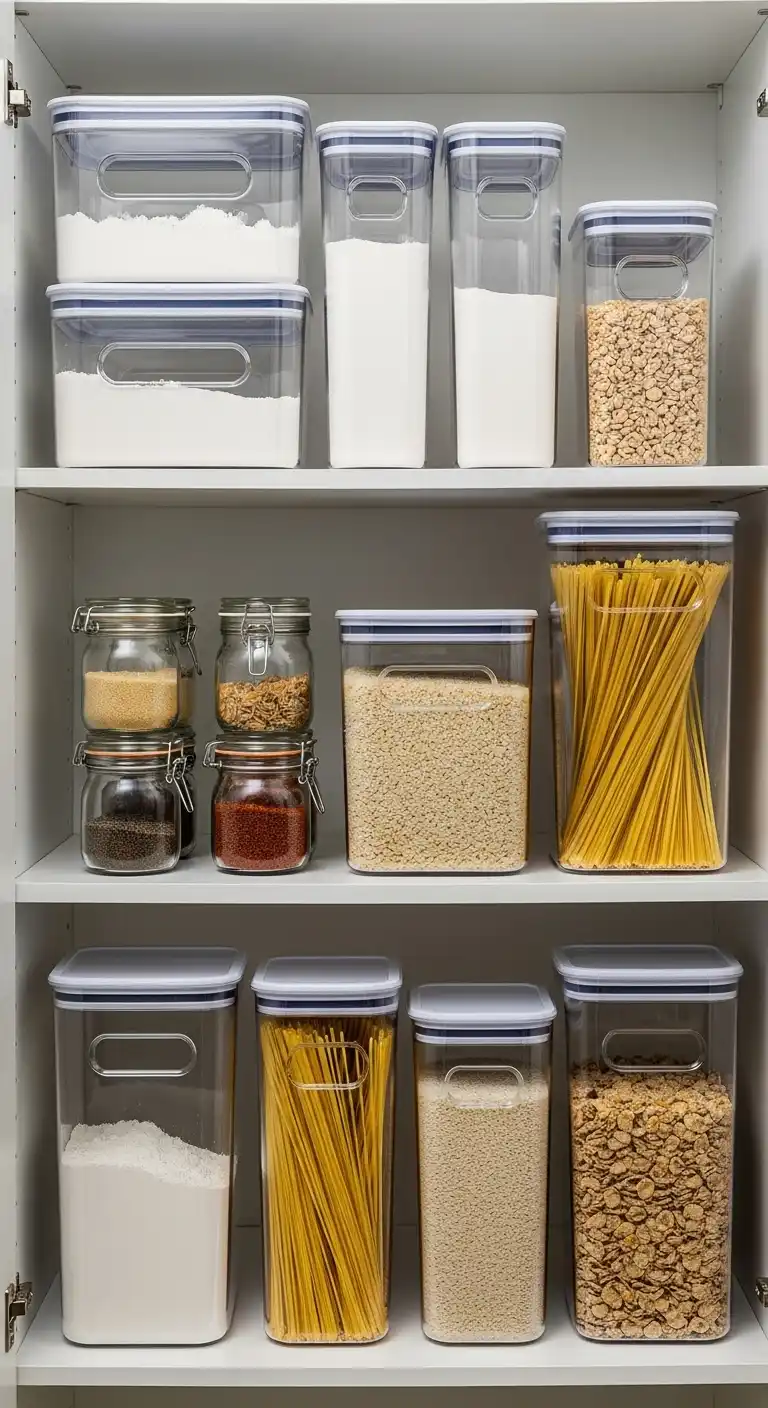
Switch to transparent bins and jars for storing dry goods like flour, rice, and pasta.
Visibility prevents overbuying and keeps contents fresh.
Airtight seals extend shelf life.
Choose stackable options to save space in your walk-in pantry.
Decant bulk items into uniform containers.
🎃 Spooky Good Amazon Deals This Fall !
From cozy fall essentials to Halloween must-haves, shop Amazon’s seasonal discounts now. Don’t wait, deals vanish fast!
*As an Amazon Associate, I earn from qualifying purchases.
This creates a cohesive, aesthetically pleasing look.
Mix sizes for versatility.
Small jars for spices, larger ones for cereals.
If space is tight in other areas, explore small pantry organization techniques that adapt well here.
4. Label Shelves and Containers
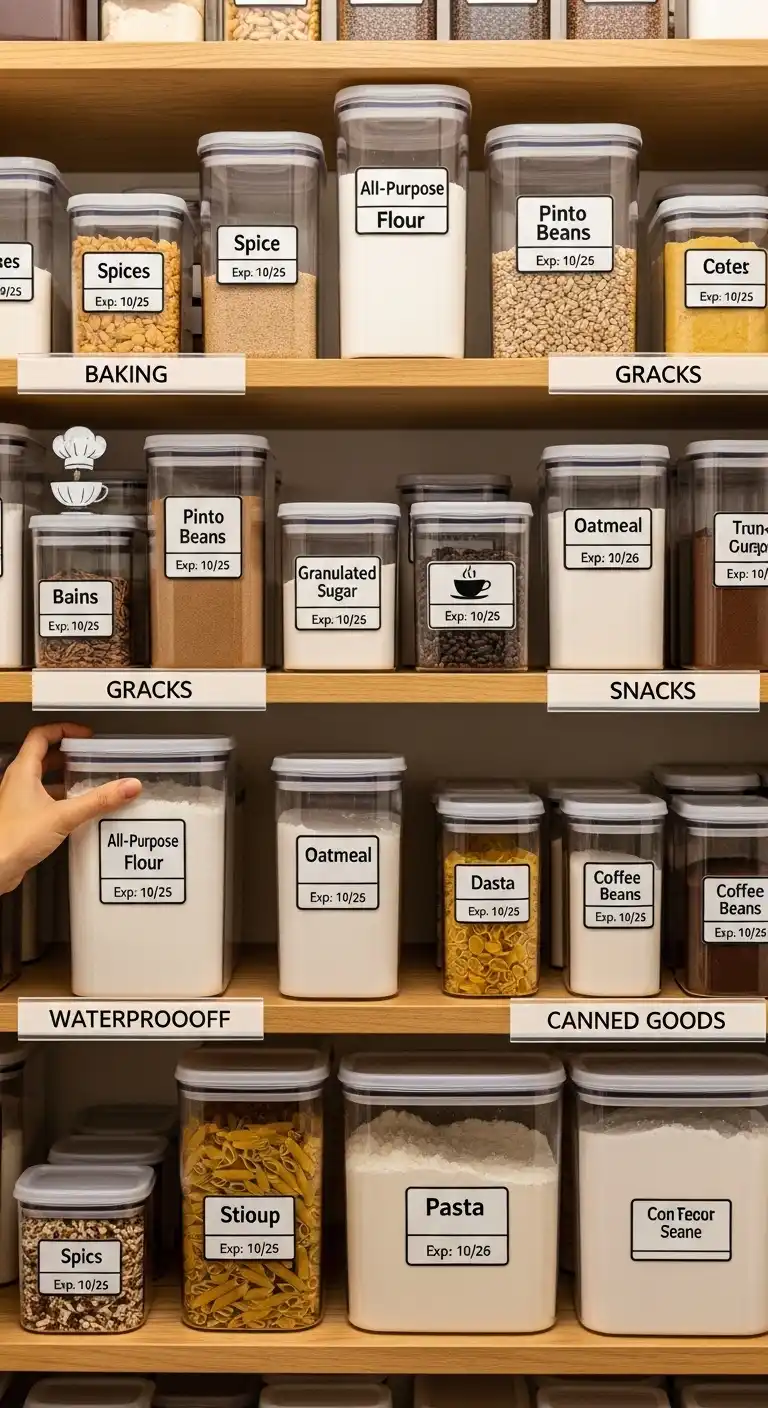
Apply clear labels to every container and shelf edge.
Use a label maker for durability and a professional finish.
Include details like expiration dates on labels.
This reminds you to rotate stock regularly.
Custom labels add a fun touch.
Opt for waterproof materials to withstand spills.
🎃 Spooky Good Amazon Deals This Fall !
From cozy fall essentials to Halloween must-haves, shop Amazon’s seasonal discounts now. Don’t wait, deals vanish fast!
*As an Amazon Associate, I earn from qualifying purchases.
Update labels as contents change.
Consistency maintains the system’s integrity over time.
5. Optimize Shelf Spacing
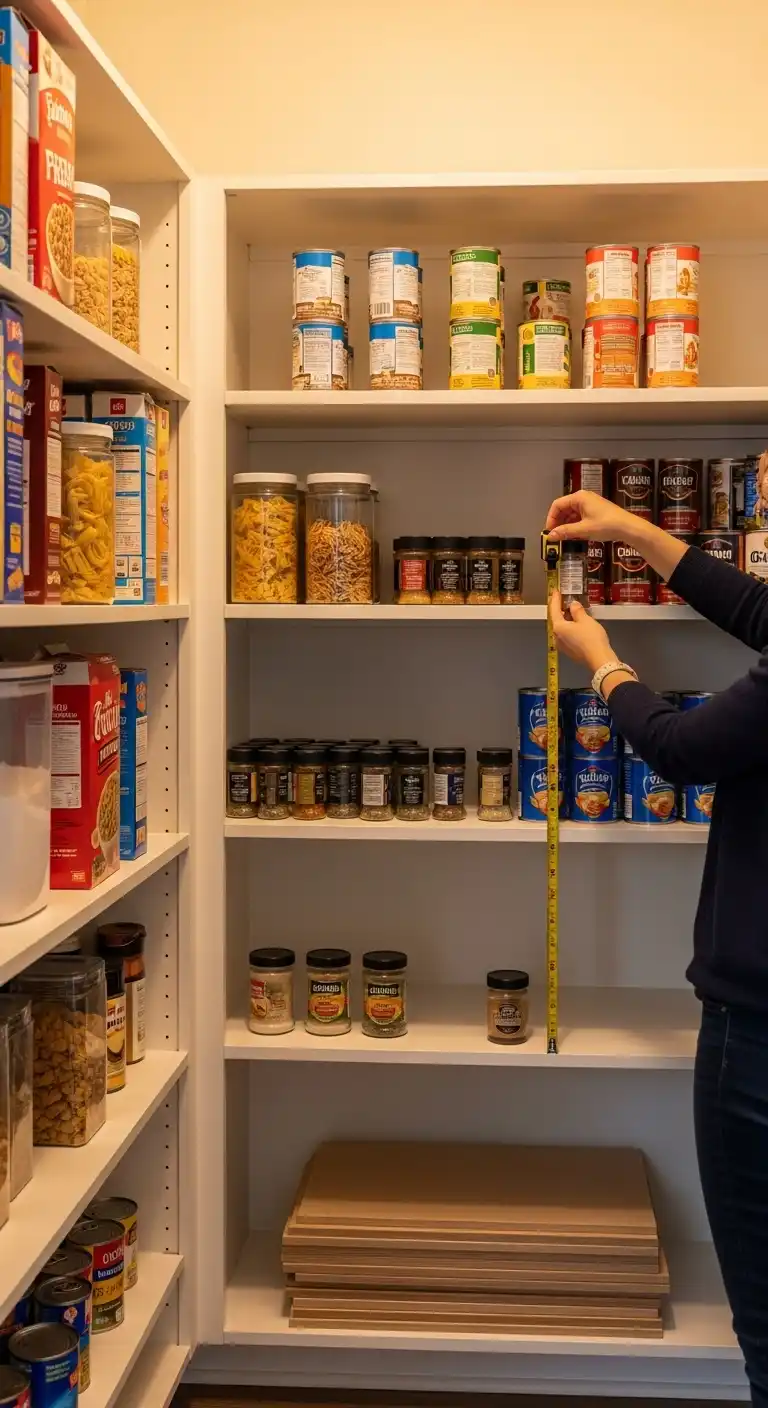
Adjust shelf heights to fit your items perfectly.
Taller spaces for cereals, shorter for cans.
Measure items before adjusting.
This ensures no wasted vertical space in your walk-in pantry.
Removable shelves offer flexibility.
Rearrange as your inventory evolves.
Consider adding extra shelves if needed.
Hardware stores have affordable options.
For clutter-free tips, see how to organize a small pantry without clutter.
6. Walk In Pantry Organization Wire Shelves
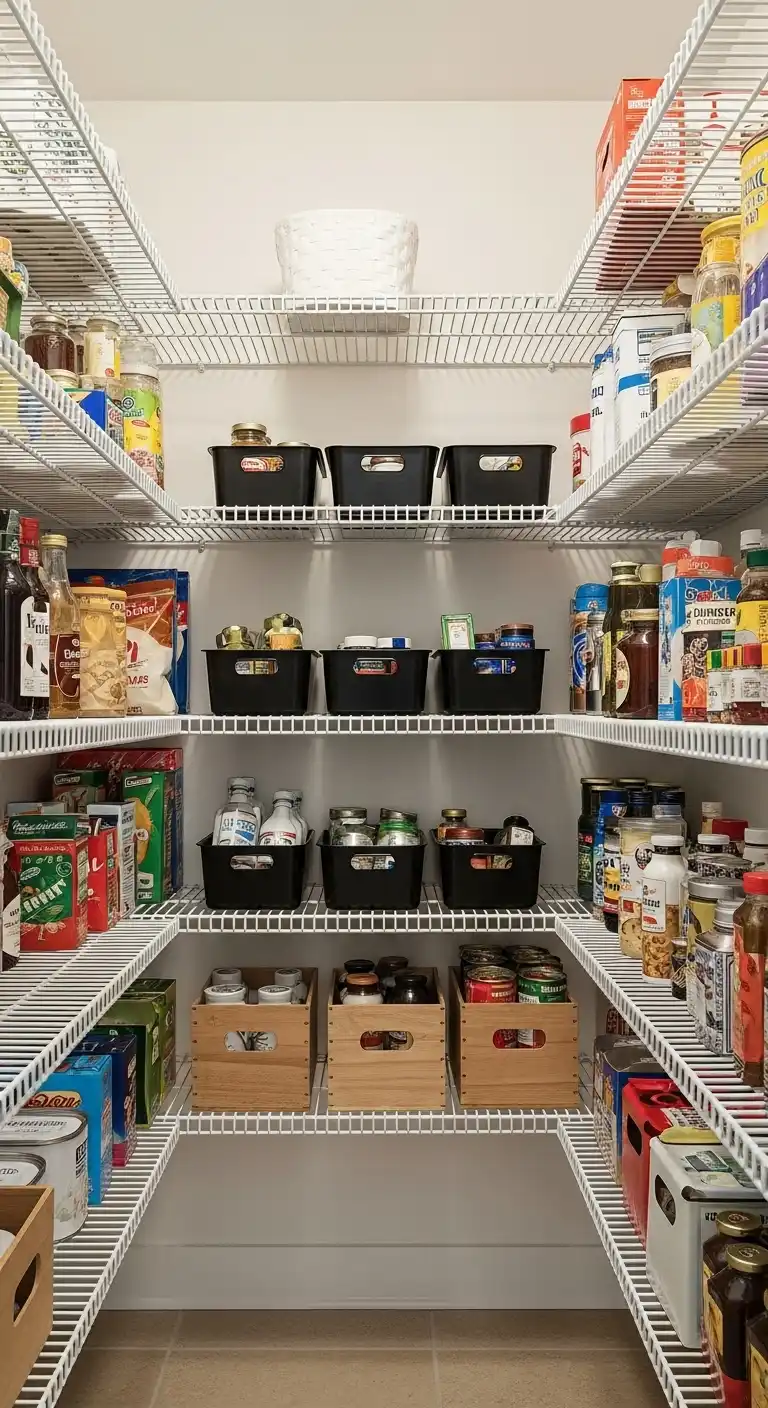
Incorporate wire shelves for better airflow and visibility.
🎃 Spooky Good Amazon Deals This Fall !
From cozy fall essentials to Halloween must-haves, shop Amazon’s seasonal discounts now. Don’t wait, deals vanish fast!
*As an Amazon Associate, I earn from qualifying purchases.
They prevent small items from falling through while allowing light to pass.
Walk in pantry organization wire shelves excel in humid climates, reducing moisture buildup.
Coat them with liners for added stability.
Stack bins on wire surfaces easily.
This setup promotes circulation around stored goods.
Choose adjustable wire units.
They adapt to changing needs without major renovations.
7. Utilize Lazy Susans for Corners
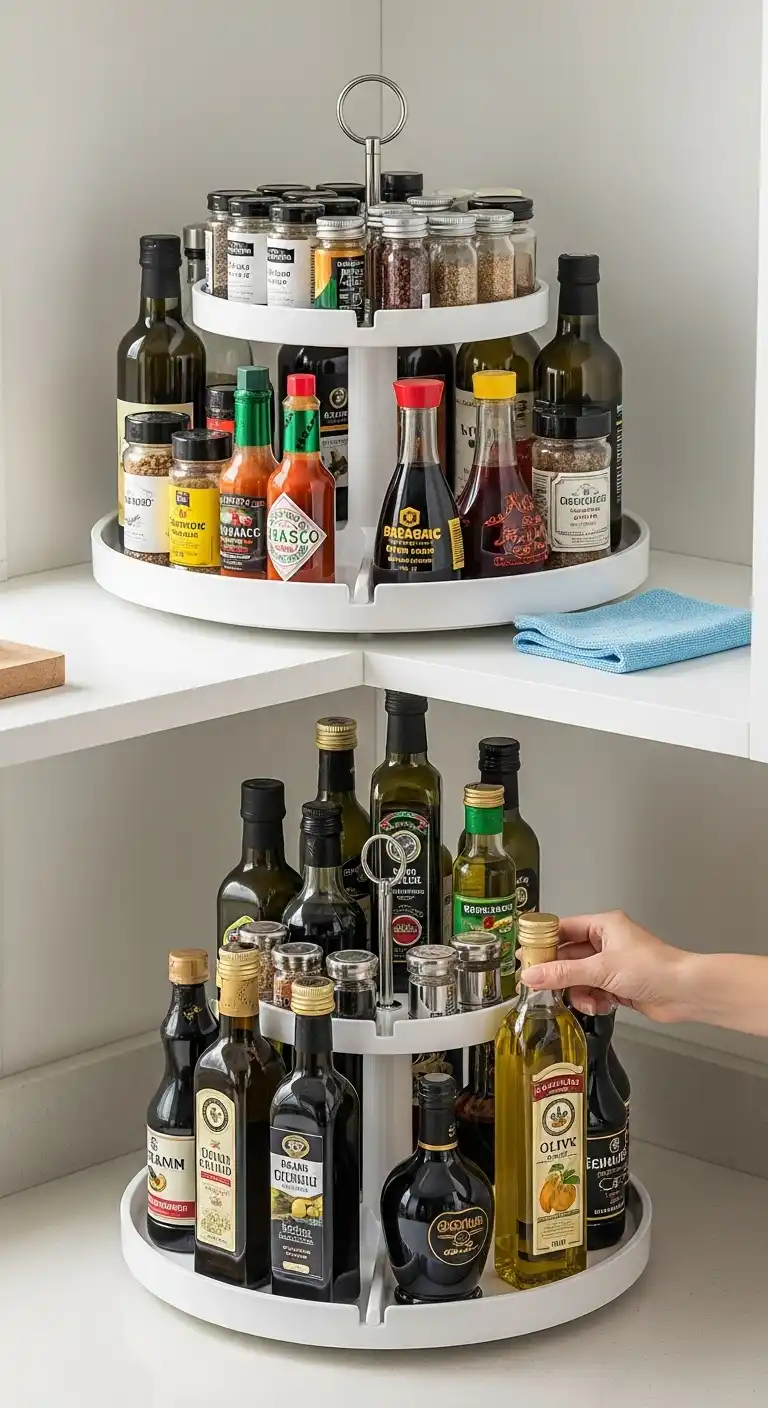
Place turntables in corner spaces to access items without digging.
Ideal for oils, vinegars, and condiments.
Spin for quick grabs during cooking.
This eliminates forgotten bottles in the back.
Double-tiered lazy Susans double storage.
Keep lighter items on top for safety.
Clean them regularly.
A quick wipe keeps everything hygienic.
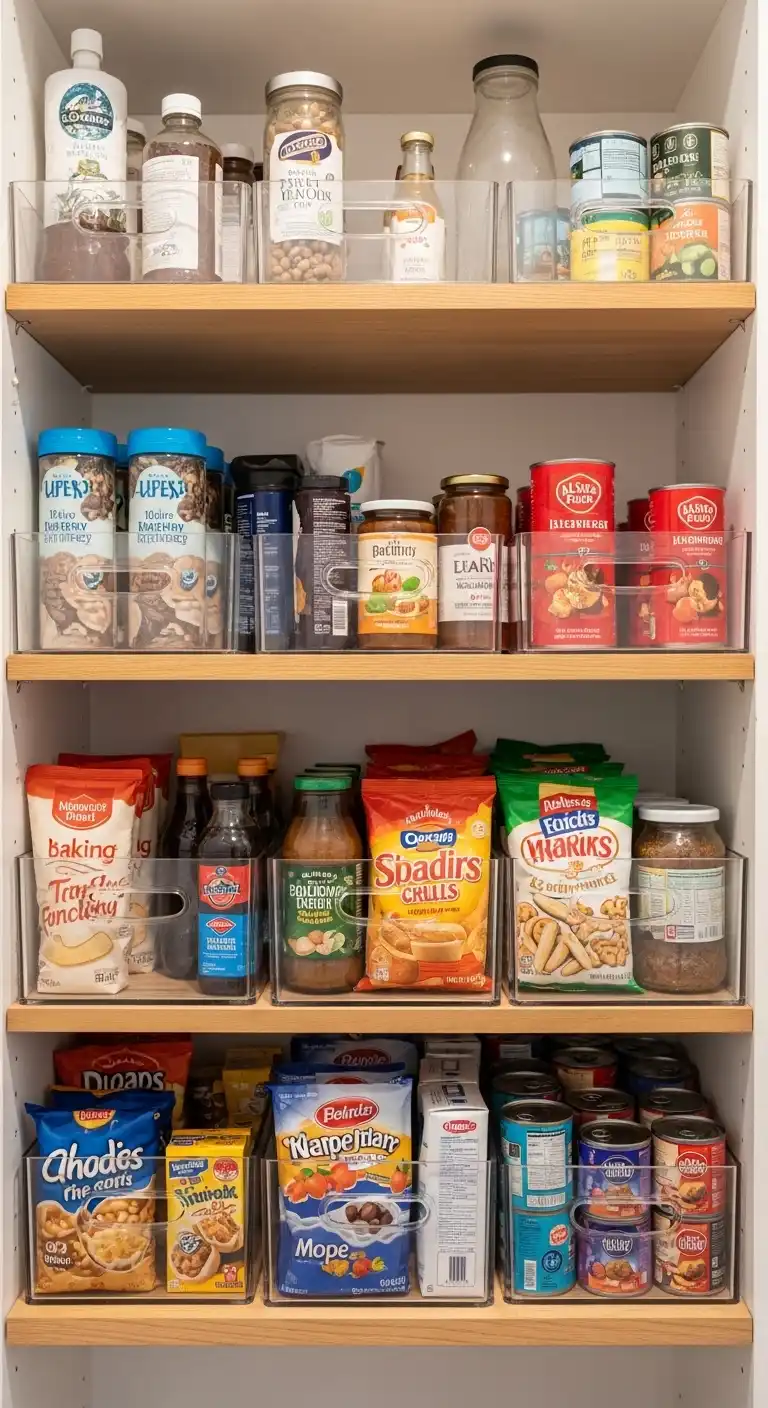
8. Group Items with Baskets and Bins

Use woven baskets for produce and fabric bins for snacks.
They add texture while containing loose items.
Bins with handles make pulling out groups simple.
Perfect for weekly meal prep kits.
Color-code for categories. Blue for baking, green for grains.
Swap seasonal items in bins.
This keeps the pantry relevant year-round.
For extra storage solutions, consider kitchen cart ideas for extra storage.
9. Maximize Vertical Space with Stackable Organizers

Stack risers and tiered shelves to layer cans and jars.
This turns single-level storage into multi-tiered efficiency.
Vertical organizers free up floor space. Use them for spices or small packets.
Secure stacks to prevent tipping. Safety first in a busy kitchen.
Experiment with heights. Customize to your most-used items.
10. Add Over-the-Door Racks

Install racks on the pantry door for spices, packets, or cleaning supplies.
This underutilized space holds surprising amounts.
Adjustable hooks fit various door sizes. Keep lighter items here to avoid strain.
Door organizers swing with the door. Ensure they don’t obstruct closing.
This hack adds convenience. Grab what you need without entering fully.
Link to related storage with kitchen wall storage ideas.
11. Install Pull-Out Drawers
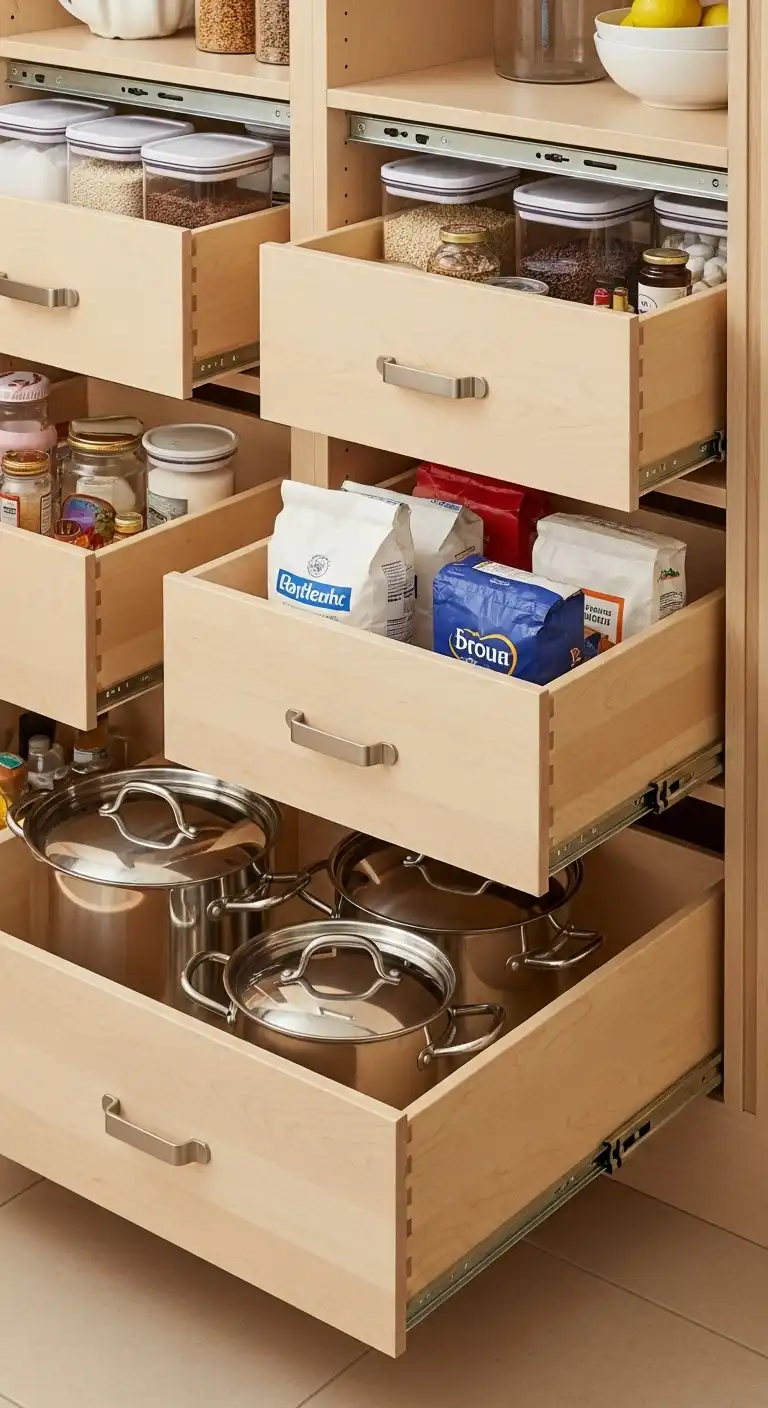
Add sliding drawers under shelves for deep storage access.
No more reaching into dark corners.
Pull-outs reveal everything at a glance. Great for heavy pots or bulk bags.
DIY kits are budget-friendly. Professional installation ensures smooth operation.
Maintain by greasing tracks occasionally. Longevity pays off in daily ease.
For more on this, explore pull-out pantry ideas.
12. Create Functional Zones
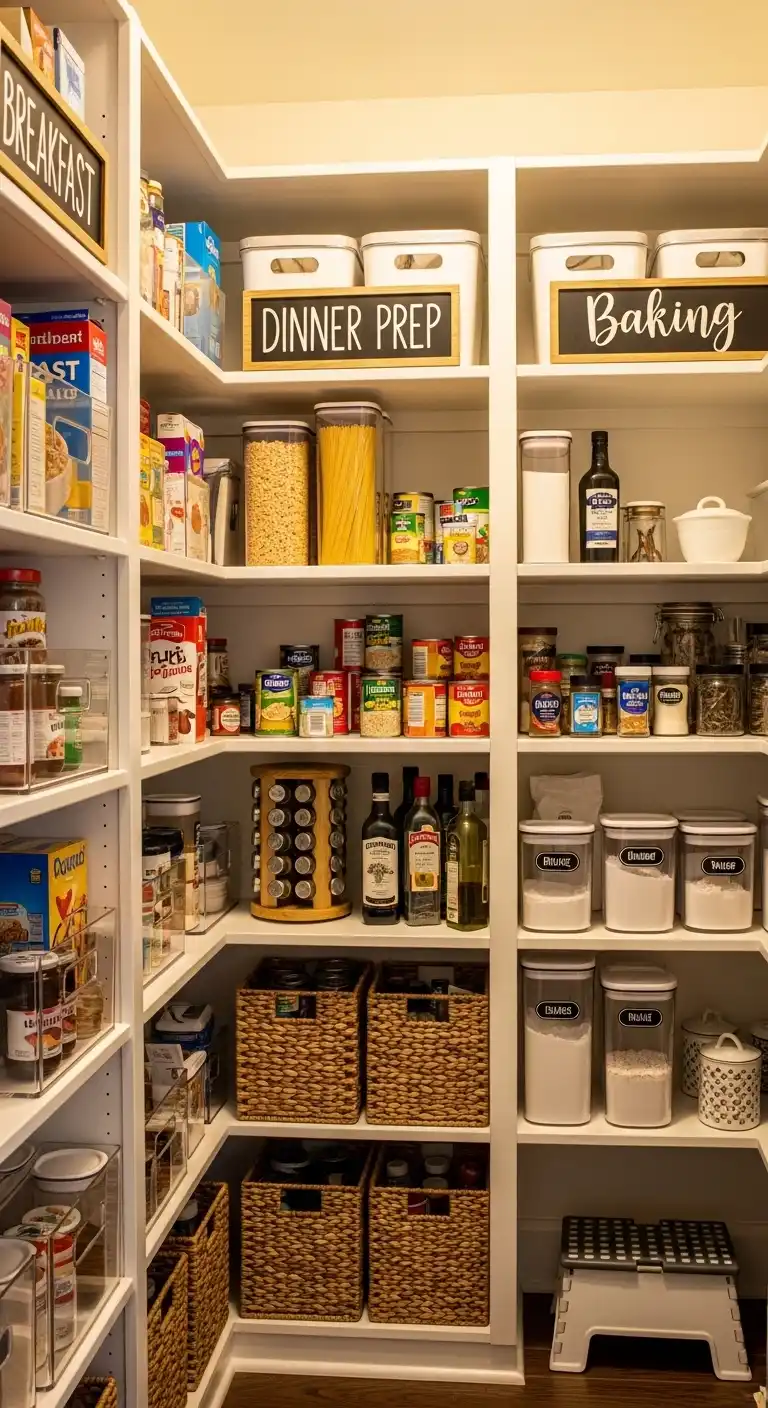
Divide your pantry into zones like breakfast, dinner prep, and baking.
This mirrors kitchen workflow.
Label zones clearly. Family members can follow the system easily.
Adjust zones based on habits. Evolve as your lifestyle changes.
Zoning reduces search time. Meals come together faster.
13. Use the Floor Wisely
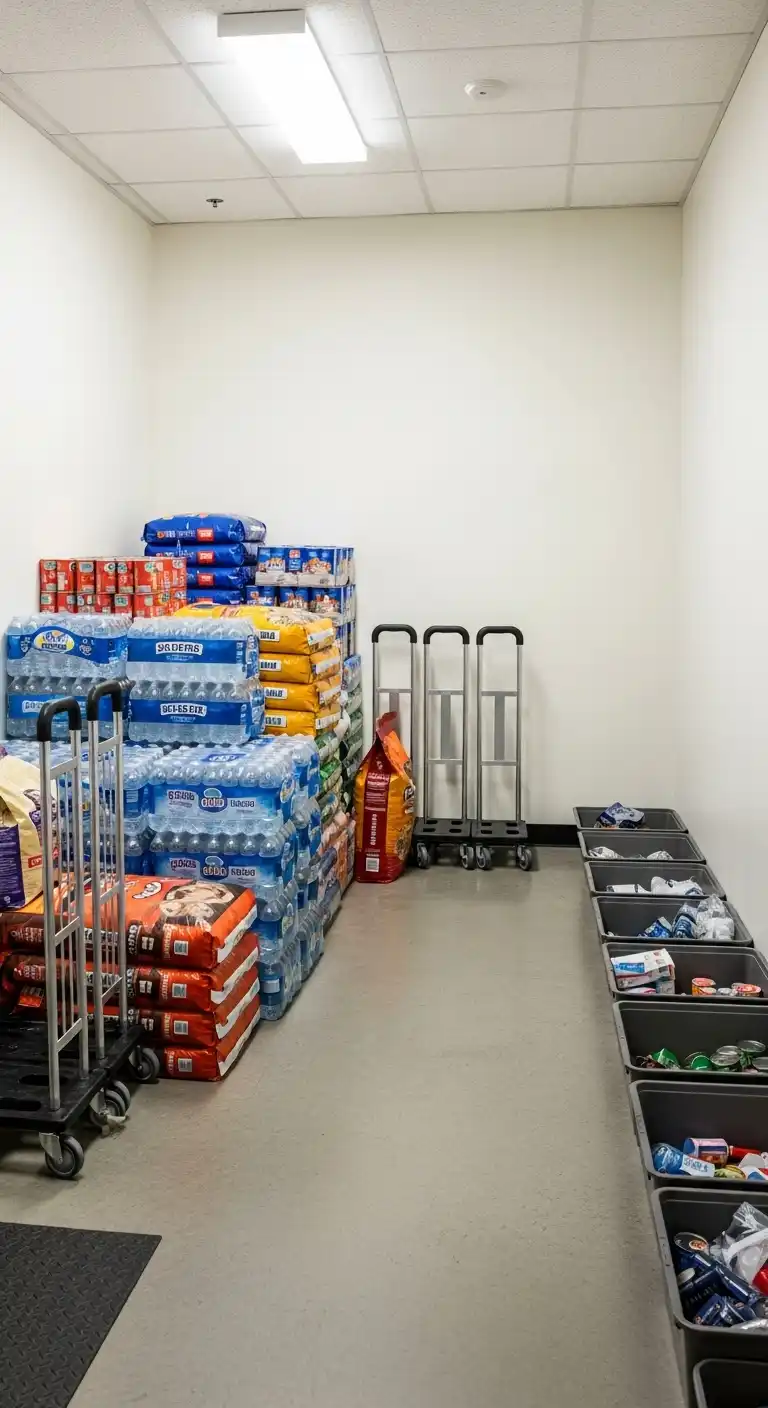
Reserve floor space for heavy items like pet food or cases of beverages.
Stack safely to avoid hazards.
Rolling carts on the floor add mobility. Wheel out bulk items when needed.
Keep the floor clear otherwise. This prevents tripping and eases cleaning.
Floor bins contain messes. Choose durable materials.
14. Improve Lighting

Install LED strips or motion-sensor lights for better visibility.
Shadows hide items in deep pantries.
Bright lighting highlights labels. It makes inventory checks quicker.
Battery-operated options are easy to add. No wiring required.
Good light enhances safety. Spot spills or pests early.
15. Store Appliances Efficiently

Dedicate a shelf for small appliances like blenders or mixers. Use protective covers to keep them dust-free.
Group with related accessories. Everything ready for use.
Slide-out trays for heavy appliances. Protect your back during retrieval.
This organization frees counter space. Kitchen stays clutter-free.
For cookware tips, see cookware storage ideas.
16. Organize Spices Creatively
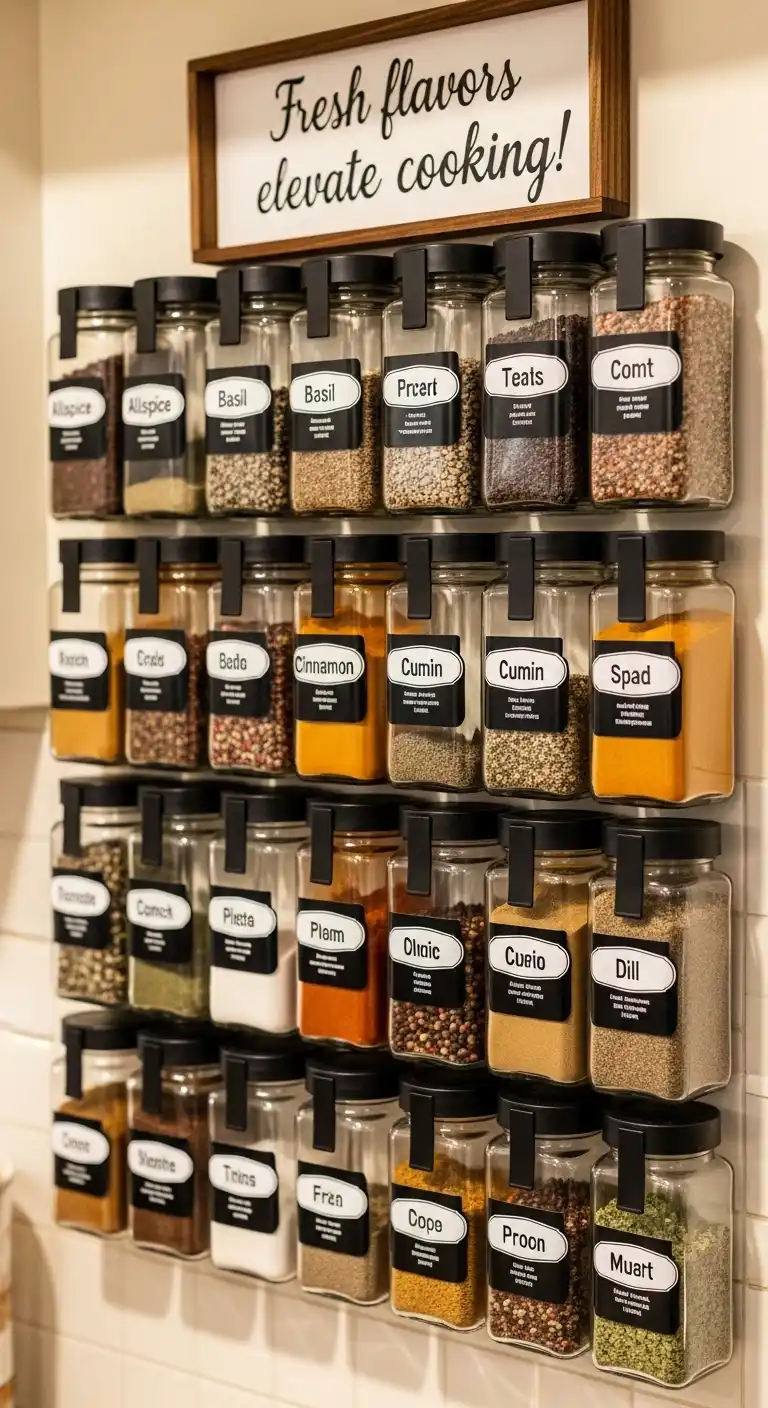
Mount magnetic strips or tiered racks for spice jars. Alphabetize for quick location.
Uniform jars streamline the look. Fill from bulk bins to save money.
Rotate spices frequently. Fresh flavors elevate cooking.
Creative organization sparks joy. Turn a chore into a pleasure.
17. Employ Can Dispensers
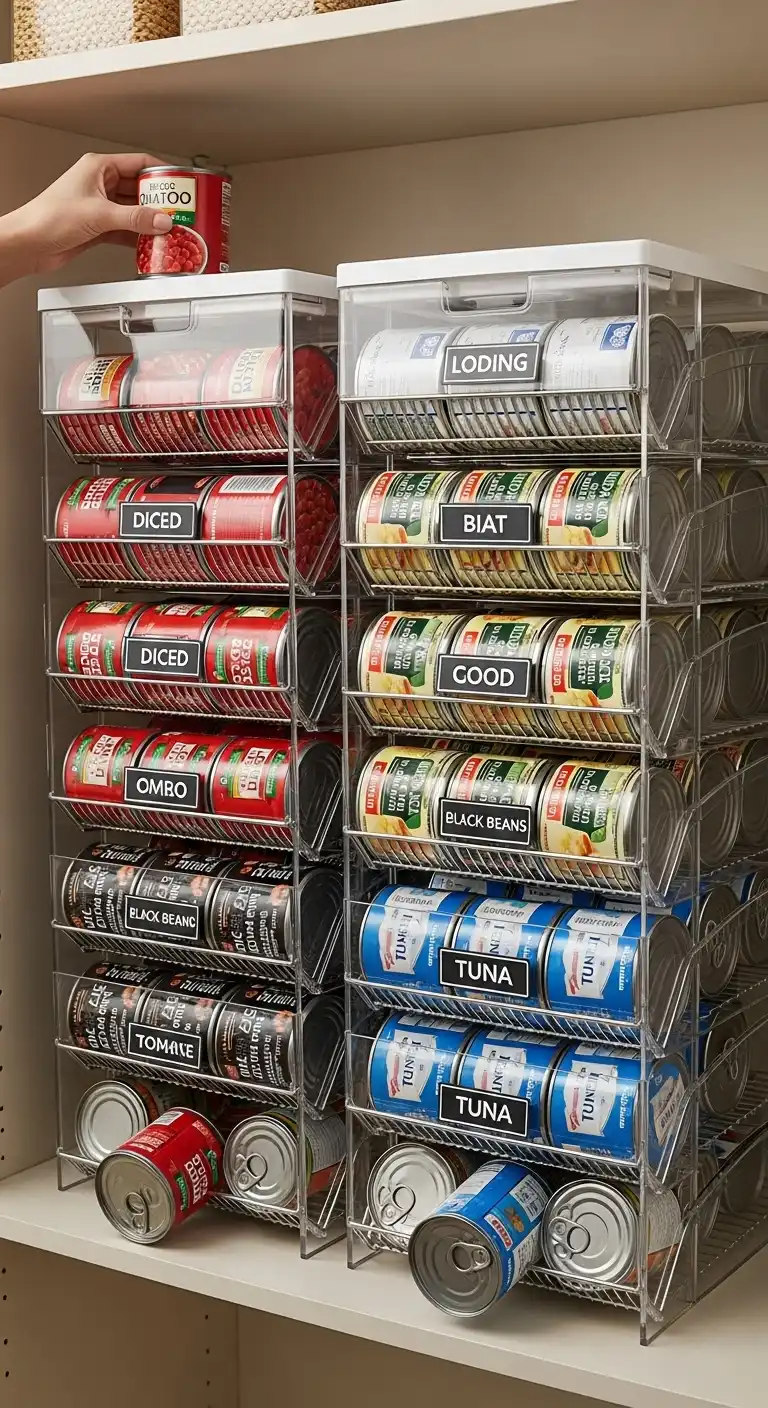
Use gravity-fed dispensers for canned goods.
First-in, first-out rotation keeps stock fresh.
Dispensers save shelf space. Stack multiple for variety.
Easy to refill from the top. Minimal effort for maximum order.
This system prevents can avalanches. Safety and convenience combined.
18. Hang Under-Shelf Baskets
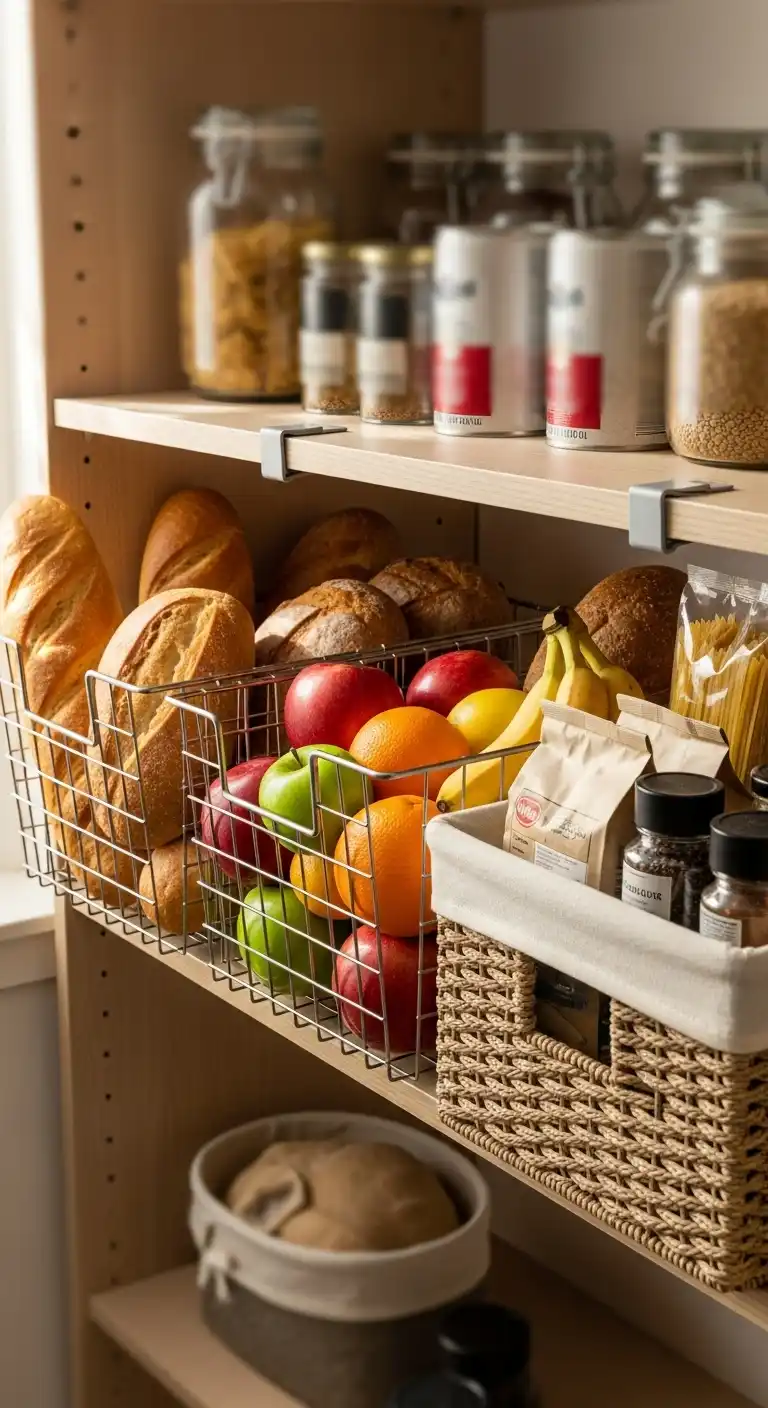
Clip baskets beneath shelves for extra storage. Ideal for bread, fruits, or packets.
Under-shelf options utilize airspace. No drilling needed.
Choose wire or fabric styles. Match your pantry’s aesthetic.
Baskets add layers without bulk. Smart space-saving.
For hanging ideas, check hanging cookware storage ideas.
19. Incorporate Hanging Storage Solutions
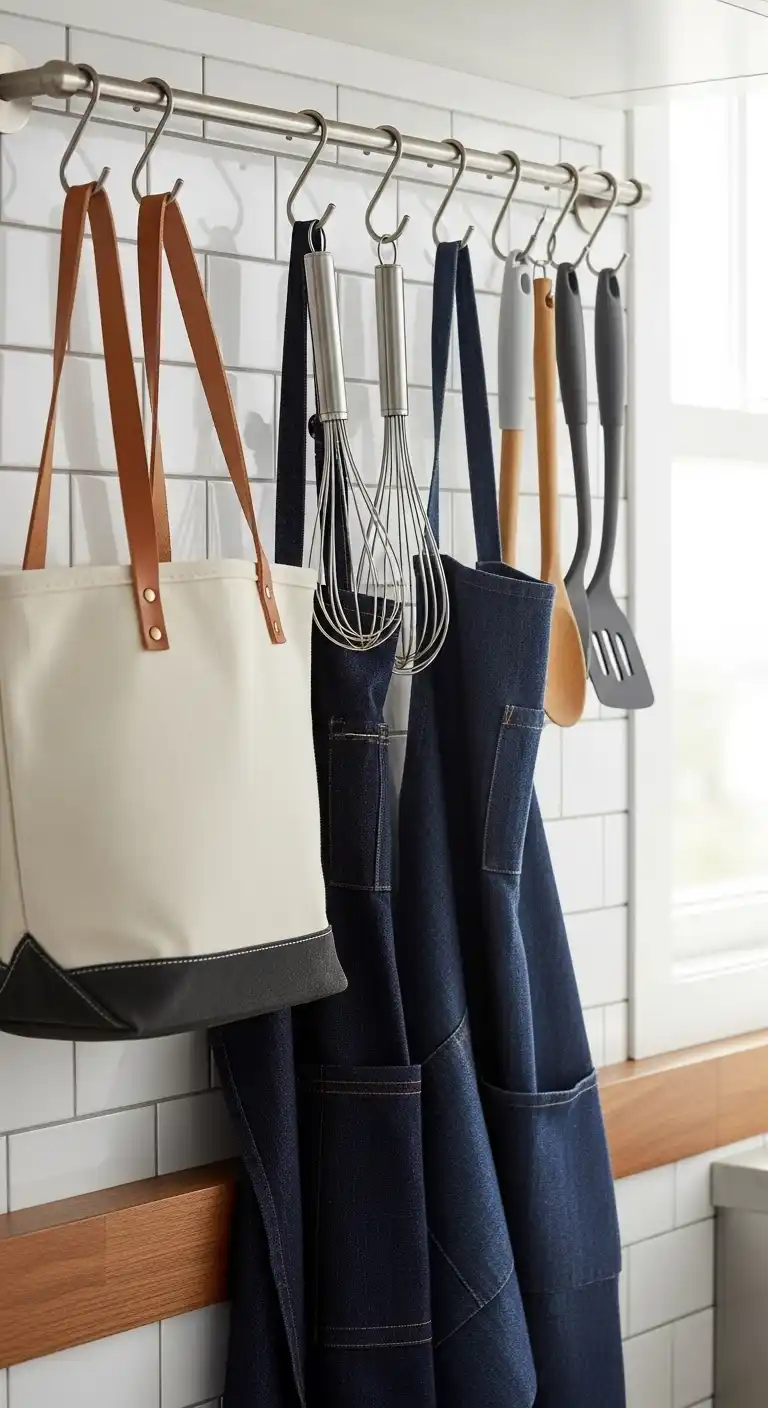
Hang hooks or rods for bags, aprons, or utensils. Vertical hanging clears shelves.
S-hooks on rods multiply options. Adjustable for different items.
Hanging keeps items off surfaces. Reduces clutter buildup.
This method airs out items. Better for longevity.
20. Set Up a Beverage Station
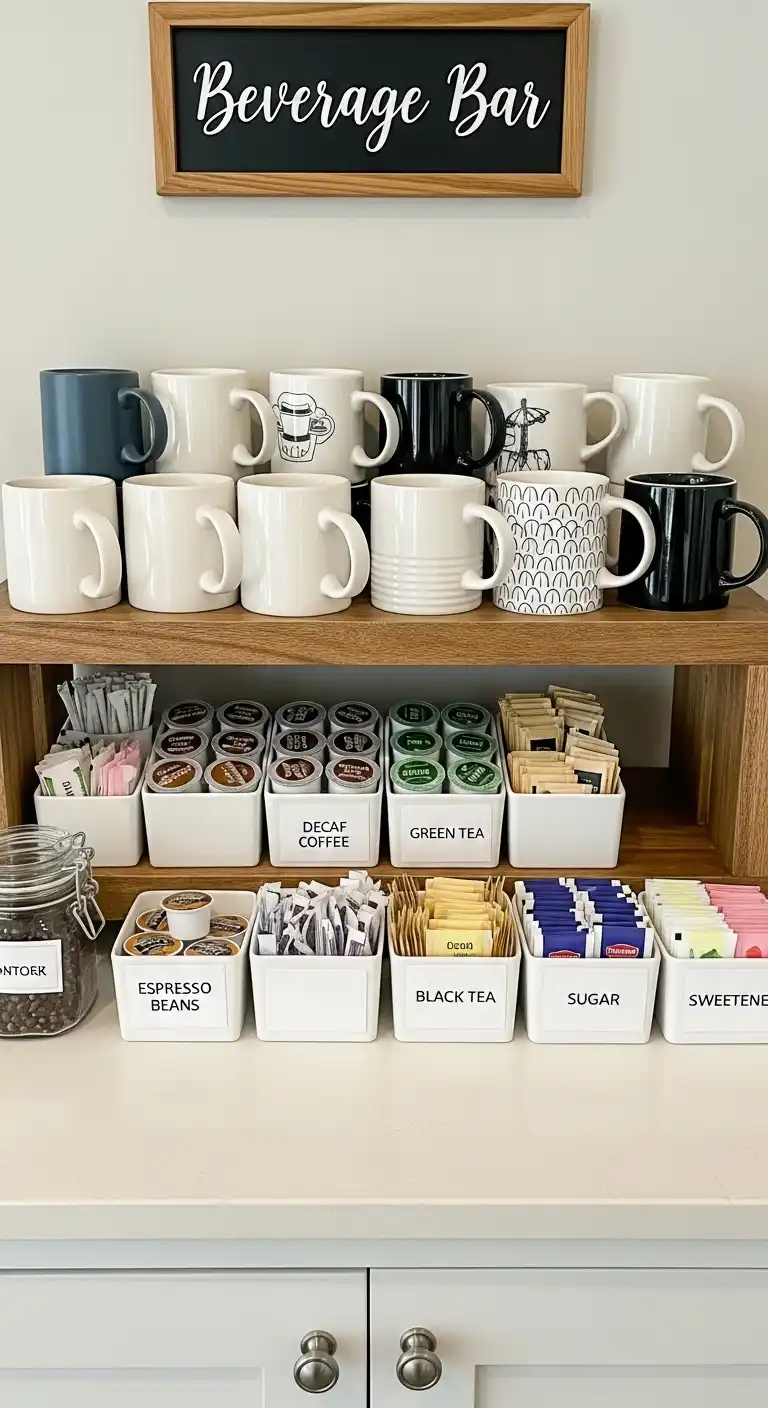
Create a dedicated area for coffees, teas, and bottles. Use trays to contain spills.
Tiered stands for mugs and pods. Everything at arm’s reach.
A station encourages organization. Guests can self-serve easily.
Personalize with labels. Make it a focal point.
For wall-mounted options, see kitchen wall rack ideas.
21. Implement a Rotation System
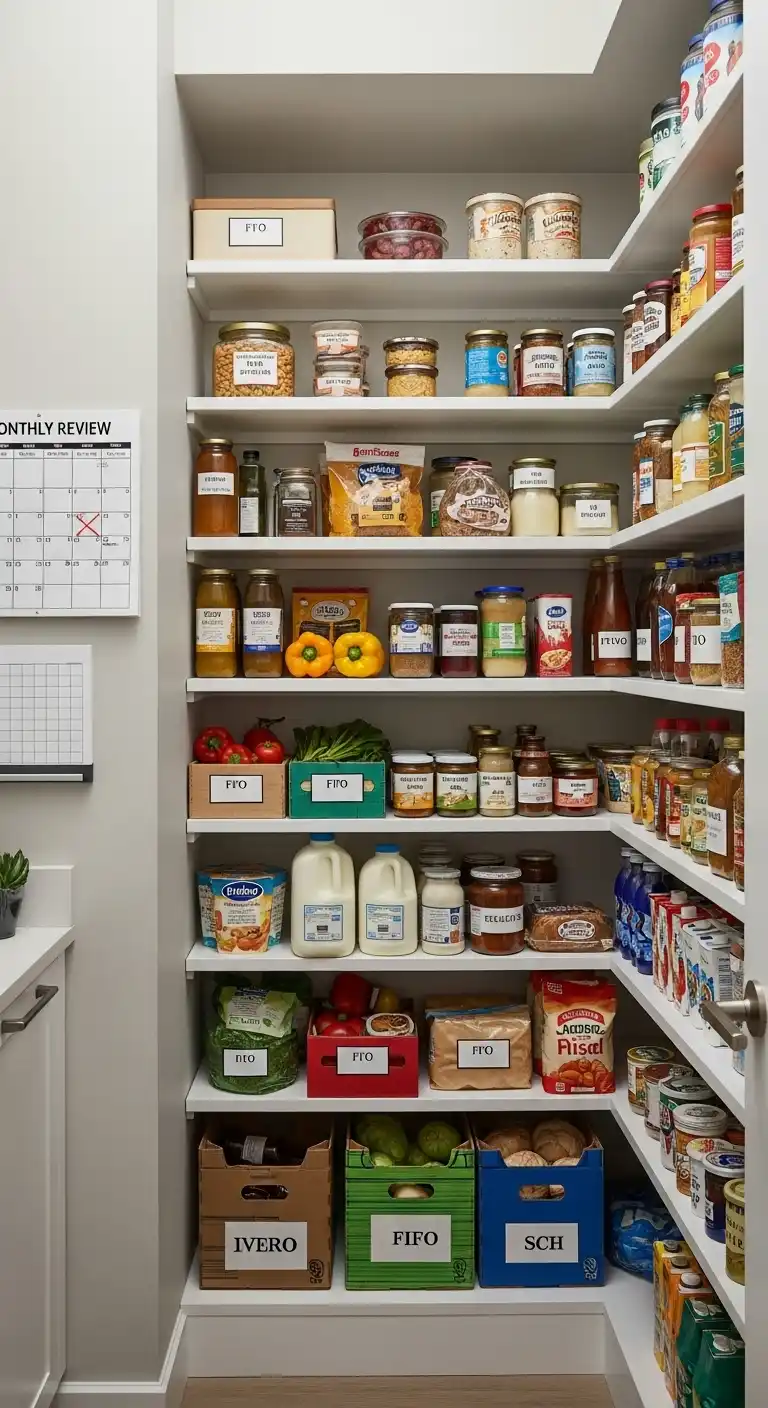
Adopt a FIFO (first-in, first-out) method for all perishables. Place new items behind old ones.
Regular checks prevent waste. Schedule monthly reviews.
Rotation maintains freshness. Saves money on groceries.
This habit sustains your walk-in pantry organization long-term. Consistency is key.
How to Organize a Walk-In Pantry Step-by-Step
Step 1: Empty Everything
Clear every shelf. Yes, even the dusty top one. It’s the only way to truly start fresh.
Step 2: Categorize & Declutter
Separate items into groups—baking, snacks, canned goods, condiments. Toss expired food and donate anything you won’t use.
Step 3: Measure Your Space
You’ll need accurate measurements before buying bins, baskets, or risers.
Step 4: Choose Storage Solutions
Opt for adjustable shelves, airtight containers, lazy Susans, or wire baskets based on your pantry’s needs.
Step 5: Label Everything
Labels aren’t just pretty—they save time and keep everyone in the house on the same page.
Step 6: Maintain Weekly
A five-minute weekly tidy-up keeps your pantry looking Pinterest-worthy without a full re-do.
Tips for a Long-Lasting Organized Pantry
- Use See-Through Containers – You’ll instantly know when it’s time to restock.
- Go Vertical – Add shelf risers to double your storage capacity.
- Group by Use, Not Just Category – Keep pasta, sauce, and spices for Italian night together for grab-and-go cooking.
- Leave a “Grab Zone” – A dedicated shelf for quick snacks or school lunches saves time on busy mornings.
Final Thoughts & Action Plan
A walk-in pantry is one of the most underrated storage spaces in your home—but it can also be one of the most rewarding to organize.
Start small: clear it out, group similar items, and add simple containers or baskets.
Over time, refine the system until it feels effortless.
The goal isn’t just a pretty pantry—it’s a space that works for your lifestyle and makes daily cooking less stressful.
FAQs: Walk-In Pantry Organization
Q: How often should I reorganize my pantry?
Every 3–6 months is ideal, but light weekly touch-ups will keep things under control.
Q: What’s the best container type for dry goods?
Airtight BPA-free plastic or glass jars are your best bet for freshness and pest prevention.
Q: Is labeling worth the effort?
Yes! Labels cut down on confusion, prevent duplicate purchases, and make your pantry look pulled together.
Q: Can I organize my pantry without spending a lot?
Absolutely. Repurpose mason jars, shoe boxes, and baskets you already own.