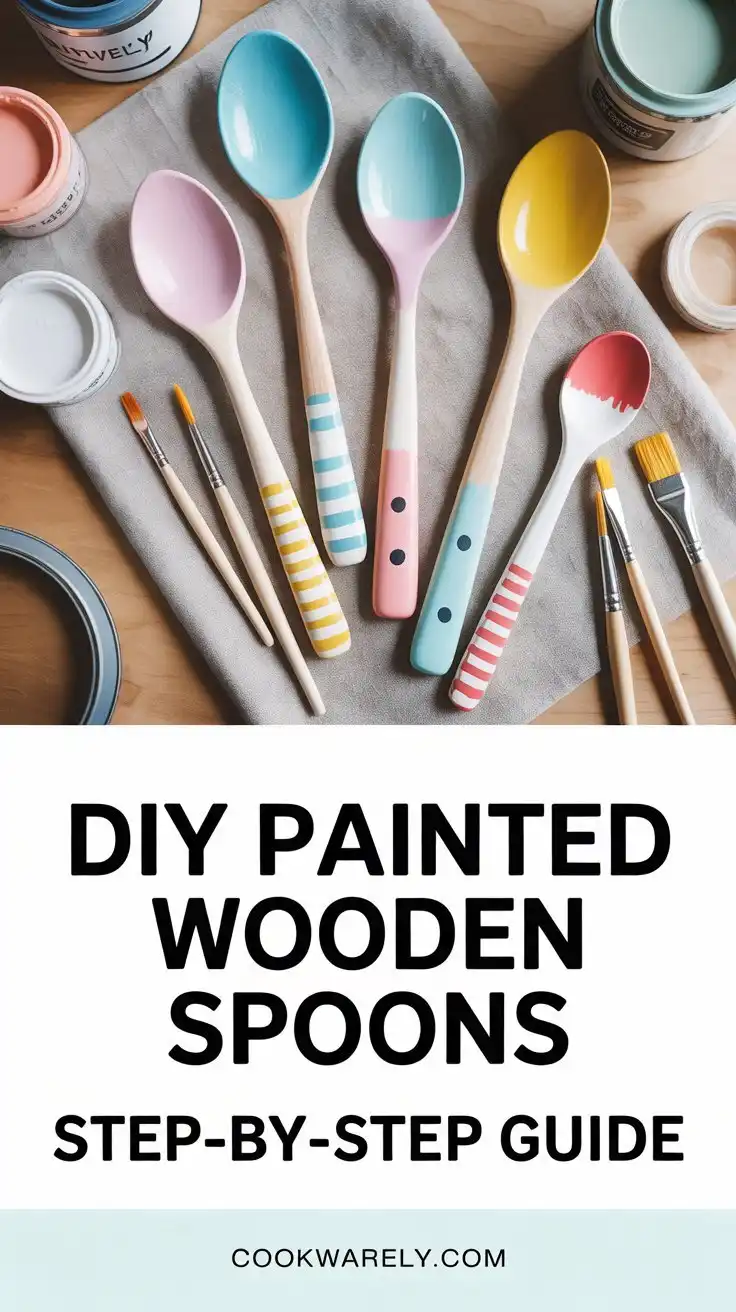
DIY Painted Wooden Spoons: A Step-by-Step Guide
If your kitchen needs a little pop of personality, look no further than painted wooden spoons.
These vibrant, hand-crafted tools aren’t just functional—they’re mini works of art that stir joy into your everyday cooking.
Whether you’re crafting them for your own kitchen or wrapping them up as a handmade gift, this project is the perfect mix of creativity and practicality.
Let’s walk through how you can make your very own set of painted wooden spoons—easy, affordable, and oh-so-satisfying.
🎄 Christmas & Year-End Amazon Deals !
Don’t miss out on the best discounts and top-rated products available right now!
*As an Amazon Associate, I earn from qualifying purchases.
Why Customize Wooden Spoons?
Before we get into the creative process, let’s understand the appeal of painted wooden spoons:
- Aesthetic Appeal: They can match any kitchen project theme, from rustic farmhouse to modern minimalist.
- Gift-Worthy: Great for housewarming presents, holiday bundles, or wedding favors.
- Eco-Friendly Creativity: You’re upcycling natural materials in a fun, functional way
What You Might Need
Before we begin, gather these simple supplies. Most are affordable and easy to find at a craft store or online.
Supplies List
- Plain wooden spoons (as many as you’d like)
- Non-toxic acrylic paint or food-safe paint
- Painter’s tape or washi tape
- Small paintbrushes
- Food-safe sealer or varnish
- A cup of water (for rinsing brushes)
- Old newspaper or drop cloth (for a mess-free workspace)
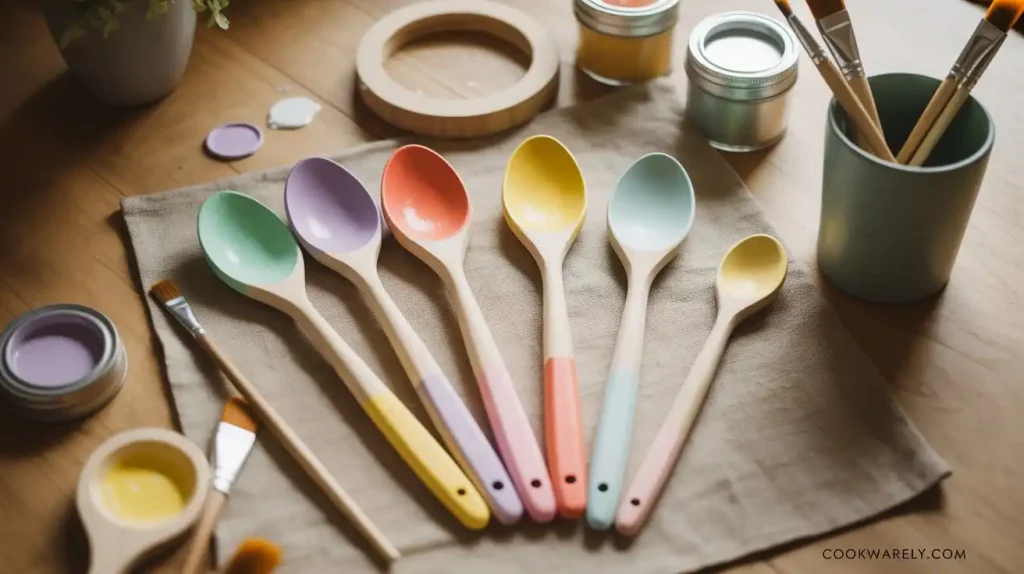
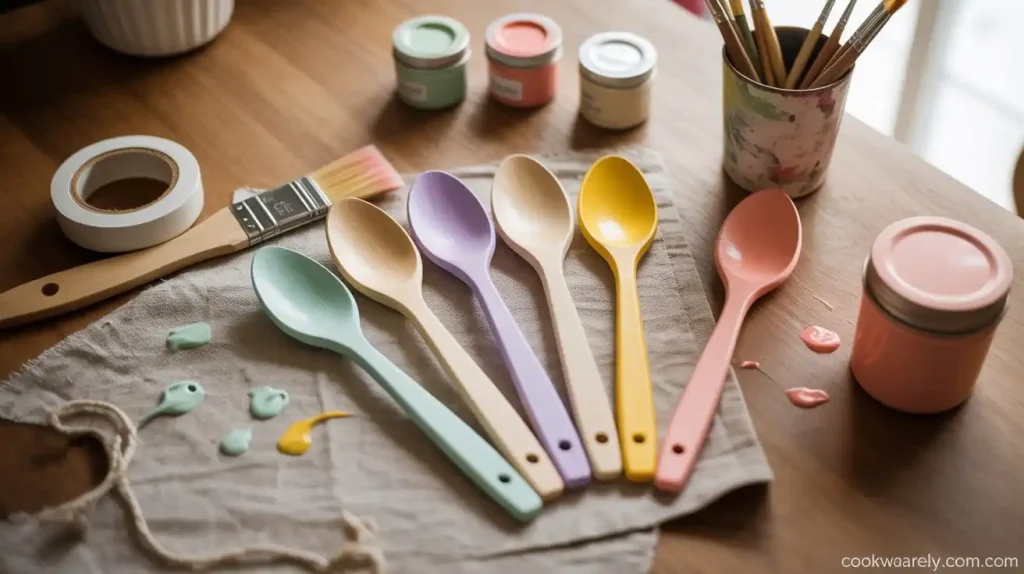
Picture This: A sunlit table with a handful of wooden spoons laid out, surrounded by cute paint bottles, tiny brushes, and a cup of coffee on the side. Ready, set, paint!
Prep Your Wooden Spoons
Clean and Sand If Needed
Start by wiping down the spoons with a damp cloth to remove any dust or residue.
If the wood feels rough, give it a gentle sanding with fine-grit sandpaper. Clean again to remove any dust.
Tape Off Your Design Area
Use painter’s tape to section off the handle—or whatever area you want to paint.
This helps create clean, crisp lines and prevents paint from creeping into the spoon bowl.
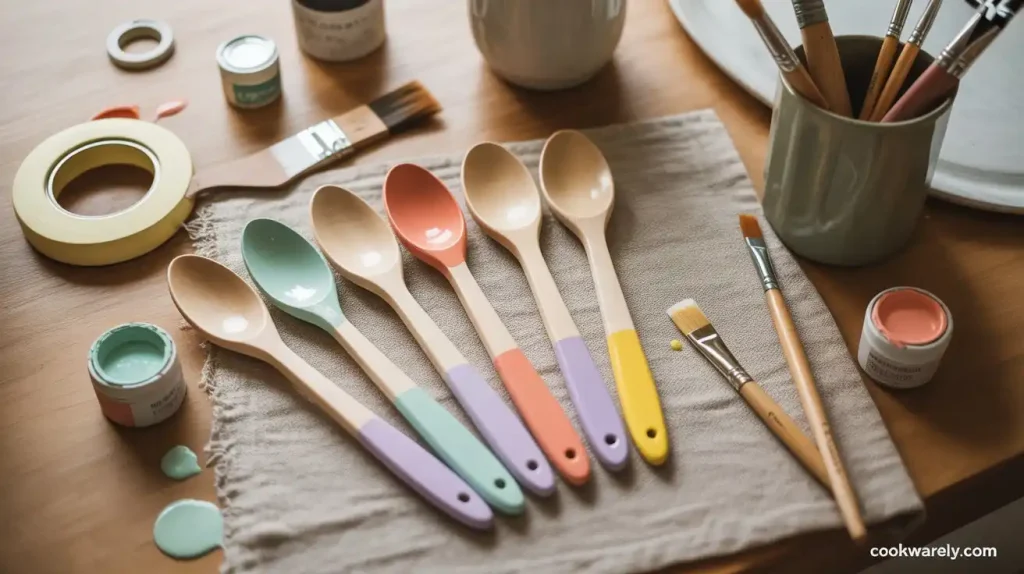
Picture This: A row of spoons, each taped with angled or straight lines, waiting for their splash of color like blank canvases.
Paint with Personality
Choose Your Colors and Patterns
Now the fun begins! Think sunny yellow, mint green, soft pink, or bold navy—whatever matches your kitchen vibe.
You can go color-block, polka dots, stripes, or even freehand doodles if you’re feeling brave.
Apply Thin Coats
Start painting within the taped-off area using thin, even coats.
Let the first coat dry fully (about 20–30 minutes) before applying another.
Two coats usually do the trick for vibrant color.
Picture This: Little pops of color blooming across wooden handles—some pastel, some bold—creating a playful, curated collection of tools.
🎄 Christmas & Year-End Amazon Deals !
Don’t miss out on the best discounts and top-rated products available right now!
*As an Amazon Associate, I earn from qualifying purchases.
Seal for Safety and Durability
Why Use a Food-Safe Sealer?
To make sure your beautiful spoons stay vibrant and safe for kitchen use, seal the painted area with a food-safe varnish.
This helps protect the paint from chipping and prevents moisture damage.
How to Apply
Once the paint is fully dry, gently brush on the varnish in thin layers.
Let each coat dry as directed (usually 1–2 hours). Apply 2–3 coats for durability.
Picture This: Finished spoons drying upright in a mason jar, their colorful handles gleaming under a coat of clear varnish.
Style, Gift, or Display!
Now that your spoons are sealed and ready, it’s time to put them to use. You can:
- Display them in a utensil crock for a burst of color
- Tie them with twine and gift them to a friend
- Use them for serving at your next brunch
They’re practical, adorable, and they’ll bring a smile every time you stir the pot.
Picture This: A styled kitchen corner with a white jar full of painted spoons next to a bowl of lemons and a mini cutting board—a Pinterest-worthy moment.
Additional Tips for a Flawless Finish
Once you start painting, keep these tips in mind to make the process smoother and your final results more professional-looking:
- Work in Layers: Apply multiple thin coats instead of one thick one to avoid streaks and clumps.
- Drying Time Matters: Allow each coat to dry completely before applying the next.
- Protect the Head: If you plan to use the spoon for cooking, never paint the part that touches food.
- Seal it Right: Use a food-safe finish to protect your design and ensure longevity.
Wrapping It Up: What You’ve Learned
Painting wooden spoons is a relaxing and rewarding project that blends creativity with function.
From prep to paint to final seal, each step allows you to infuse your personal style into something useful.
Whether you’re crafting for your kitchen or making thoughtful gifts, the result is always unique and handmade with love.
🎄 Christmas & Year-End Amazon Deals !
Don’t miss out on the best discounts and top-rated products available right now!
*As an Amazon Associate, I earn from qualifying purchases.
Actionable Takeaways:
- Always use food-safe paint and sealant if spoons will touch food.
- Let each layer dry fully for a neat, long-lasting finish.
- Customize your designs to match your kitchen or seasonal themes.
Frequently Asked Questions (FAQs)
Q: Can I use any paint for wooden spoons?
A: Stick to non-toxic, water-based acrylics or food-safe paints. Avoid oil-based or heavy-duty craft paints.
Q: Will painted spoons be dishwasher-safe?
A: No. Always hand-wash painted spoons gently with mild soap and water to preserve the design.
Q: What sealant is safe to use?
A: Beeswax polish, food-grade mineral oil, or shellac labeled as food-safe are excellent options.
Q: How long does the whole project take?
A: Including drying and curing time, the process can take 2–3 days, though actual painting may only take an hour or two.