How to Install and Remove a Kitchen Backsplash: A Complete DIY Guide for Beginners
Over the years, I’ve helped countless homeowners transform their kitchens from ordinary to functional showpieces.
One project that never fails to impress is installing a timeless kitchen backsplash.
Whether you’re installing a fresh backsplash paint or replacing an outdated one, this guide offers a complete walk-through.
With step-by-step instructions and essential tips, this resource is ideal for DIY beginners and intermediate renovators alike.
🎄 Christmas & Year-End Amazon Deals !
Don’t miss out on the best discounts and top-rated products available right now!
*As an Amazon Associate, I earn from qualifying purchases.
So, let’s get started on creating a kitchen that looks stunning and lasts for years.
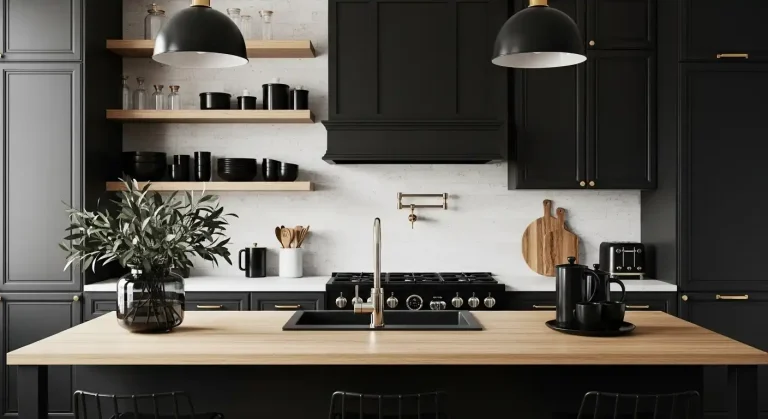
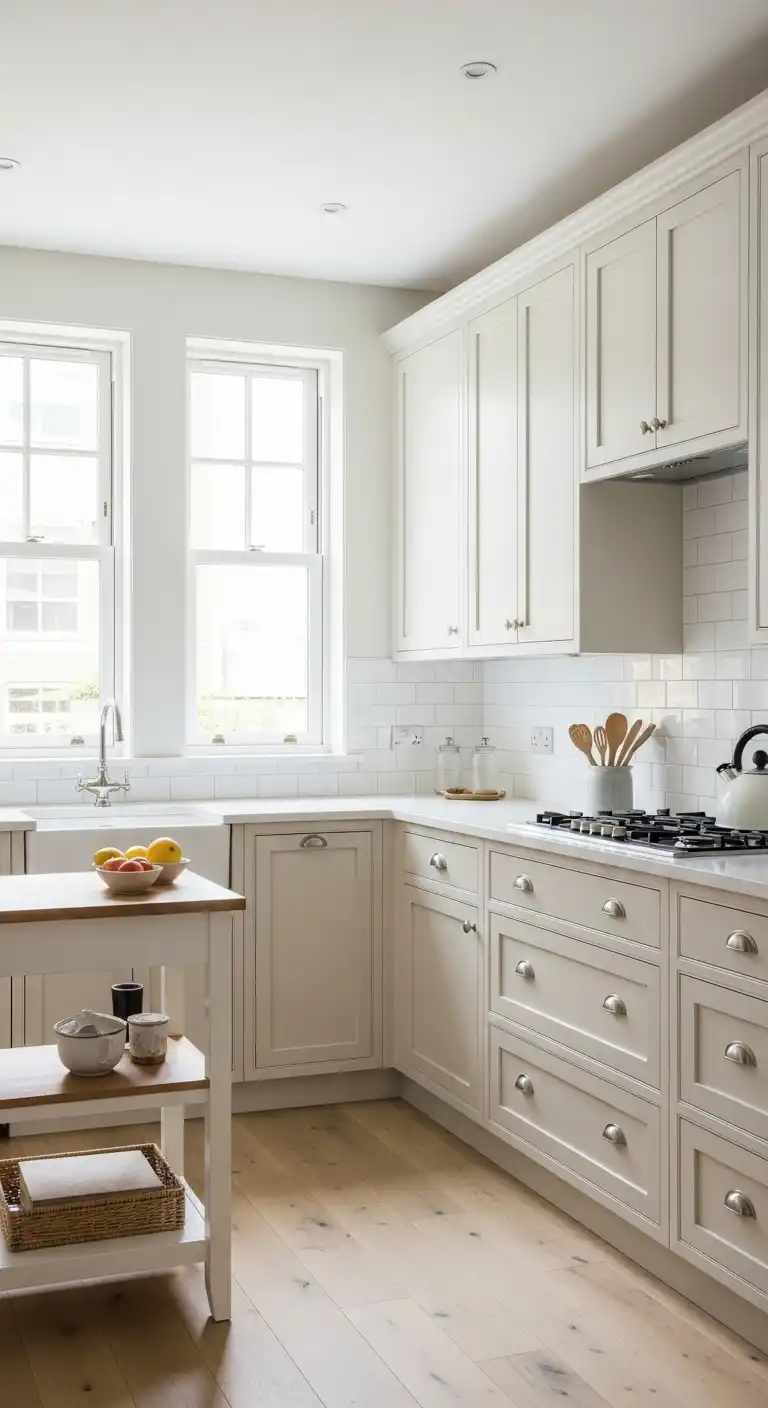
What is a Backsplash and Why Your Kitchen Needs One

A backsplash is the vertical surface behind sinks and stoves, designed to protect walls from splashes, grease, and food stains.
But beyond its practical role, it serves as a focal point in your kitchen’s design.
Materials like ceramic, porcelain, glass, stone, or even peel-and-stick options can reflect your personal style while enhancing the space.
Timeless designs, such as subway tile or marble, ensure that your kitchen remains stylish for years to come.
Why it matters:
- Prevents water and grease damage
- Easy to clean and maintain
- Adds texture and color
- Enhances resale value
Things to Know Before You Start
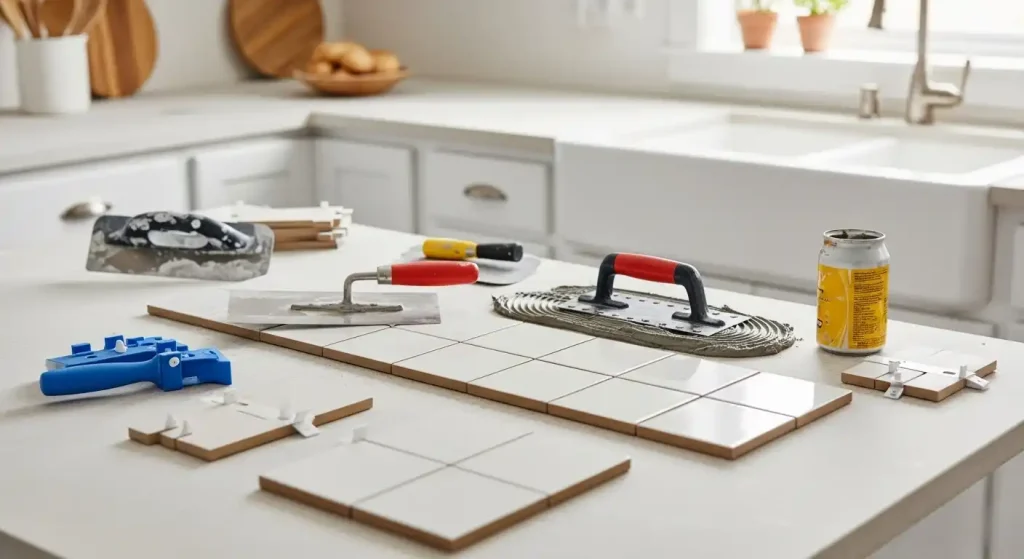
Before diving into installation, it’s crucial to prepare.
Having the right tools, understanding the layout, and choosing the right tile will save time and frustration.
Tools & Materials Needed:
- Tape measure, level, pencil
- Notched trowel, tile cutter or wet saw
- Tile adhesive (mastic or thinset)
- Grout, grout float, sponge
- Tile spacers, mixing bucket, utility knife
- Safety gear (gloves, goggles)
Choosing the Right Tile:
Pick tiles that suit your kitchen’s style and maintenance preferences. Ceramic is affordable and versatile.
Glass reflects light beautifully. Natural stone adds rustic charm. Peel-and-stick tiles are great for beginners and renters.
Prepare the Wall:
- Clean the surface
- Remove outlet covers
- Turn off power to outlets
- Sand glossy surfaces lightly for better adhesion
How to Install a Kitchen Backsplash (Step-by-Step)
How to install backsplash, how to install kitchen backsplash, how to put backsplash in kitchen, how to install backsplash tile
Step 1: Layout and Planning
Use a level to draw a guide line across the wall. Dry-lay your tile on a counter to visualize placement and cut patterns.
This helps avoid small tile pieces near edges or outlets.
🎄 Christmas & Year-End Amazon Deals !
Don’t miss out on the best discounts and top-rated products available right now!
*As an Amazon Associate, I earn from qualifying purchases.
Key phrases: how to layout backsplash tile, how to lay tile for backsplash
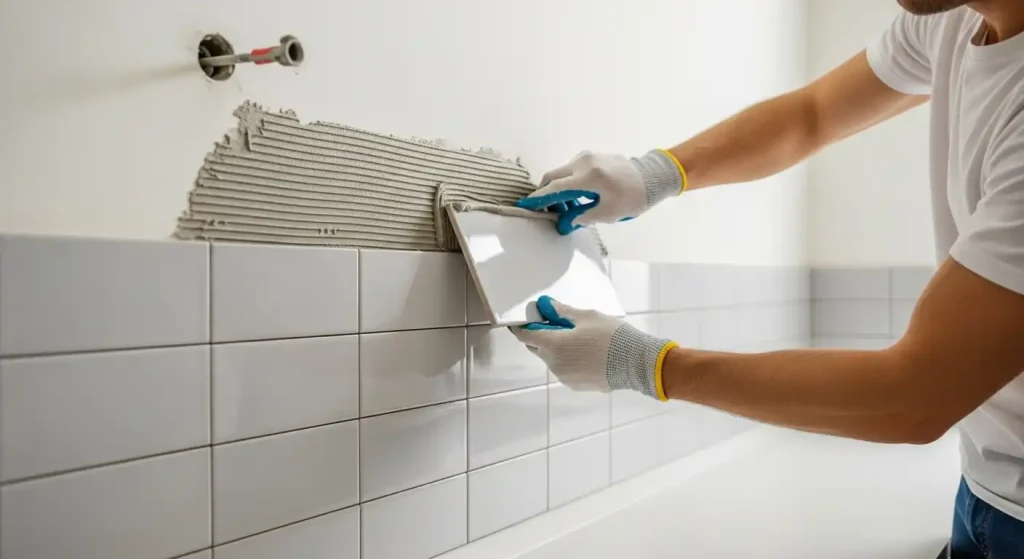
Step 2: Apply Adhesive
Using a notched trowel, apply thinset or mastic evenly on a small section of the wall.
Don’t cover too much area at once; the adhesive can dry quickly.
Key phrases: how to apply backsplash, how to apply tile adhesive
Step 3: Attach the Tiles
Place tiles gently against the adhesive, starting from the center and moving outward.
Insert tile spacers between each tile for consistent grout lines.
Key phrases: how to attach backsplash, how to hang backsplash tile, how to apply backsplash tile
Step 4: Cut Tiles as Needed
Use a wet saw or tile cutter to shape tiles around edges, outlets, or windows.
Always measure twice before cutting to avoid waste.
Step 5: Let It Set
Allow adhesive to dry for at least 24 hours before proceeding with grouting.
Step 6: Grouting
Use a rubber float to apply grout at a 45-degree angle.
Press it into the gaps and wipe off excess with a damp sponge. Once dried, polish off the haze with a dry cloth.
🎄 Christmas & Year-End Amazon Deals !
Don’t miss out on the best discounts and top-rated products available right now!
*As an Amazon Associate, I earn from qualifying purchases.
Key phrases: how to tile a backsplash, how to tile backsplash, how to grout backsplash tile
Step 7: Finishing Touches
- Seal grout if required
- Reinstall outlet covers
- Caulk edges and corners for a clean finish
Installing Peel-and-Stick Backsplash Tiles

If you’re looking for a quick, mess-free project, peel-and-stick tiles are an excellent alternative.
How to Install:
- Clean the wall thoroughly
- Peel backing and stick tiles in place, pressing firmly
- Use scissors or a utility knife for trimming
- Apply caulk for a finished edge
Key phrases: how to install backsplash tiles, how to apply backsplash tile, how to put up kitchen backsplash.
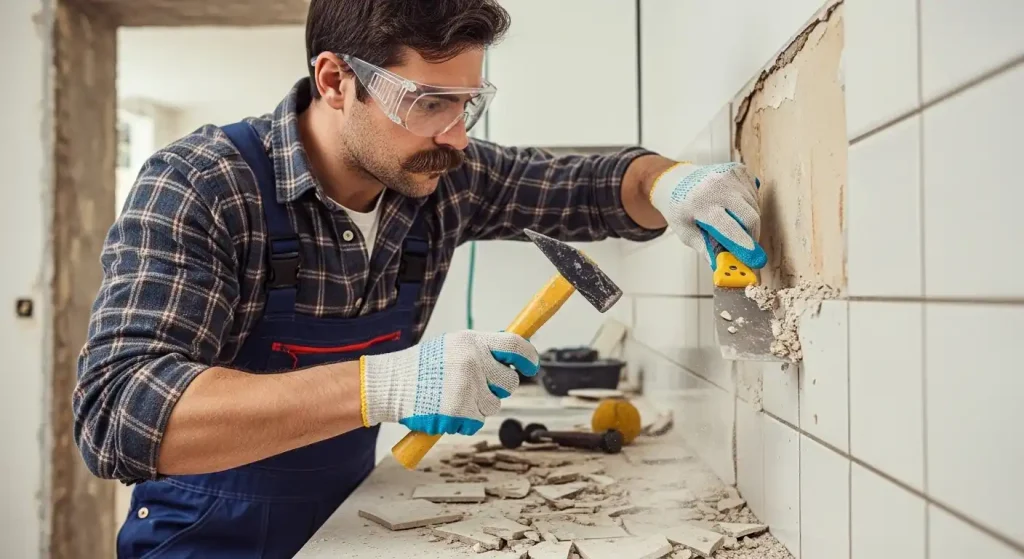
How to Remove a Tile Backsplash Safely
How to remove backsplash tile, how to remove tile backsplash, how to remove backsplash tiles
Tools You’ll Need:
- Utility knife, putty knife
- Pry bar, hammer
- Safety goggles, gloves
- Drop cloth or plastic sheeting
Step-by-Step Removal:
- Cut around the edges of the tile with a utility knife.
- Insert a putty knife behind the tile and tap gently with a hammer.
- Pry the tile off slowly to avoid damaging drywall.
- Scrape off remaining adhesive.
- Patch and sand the wall if installing new tiles.
Repair Tips:
- Use joint compound to fill holes
- Sand the wall smooth before reinstalling a new backsplash
Conclusion: Your Kitchen Backsplash, Done Right
Installing a backsplash might seem intimidating, but with the right guidance, it’s a manageable and rewarding DIY project.
From choosing the right tile to applying adhesive and grout—and even removing an outdated backsplash—this guide covers every step in detail.
Whether you’re working with ceramic tiles, peel-and-stick options, or planning to remove tile and replace an old installation, the key is preparation and patience.
So, grab your tools, follow the steps, and enjoy the satisfaction of a kitchen that reflects your taste and stands the test of time.
Ready to transform your kitchen? Start planning your backsplash today!