How to Organize Fridge: A Complete Guide
Your fridge is the heart of your kitchen. It’s where fresh produce, leftovers, condiments, and late-night snacks all live together in one chilly little ecosystem.
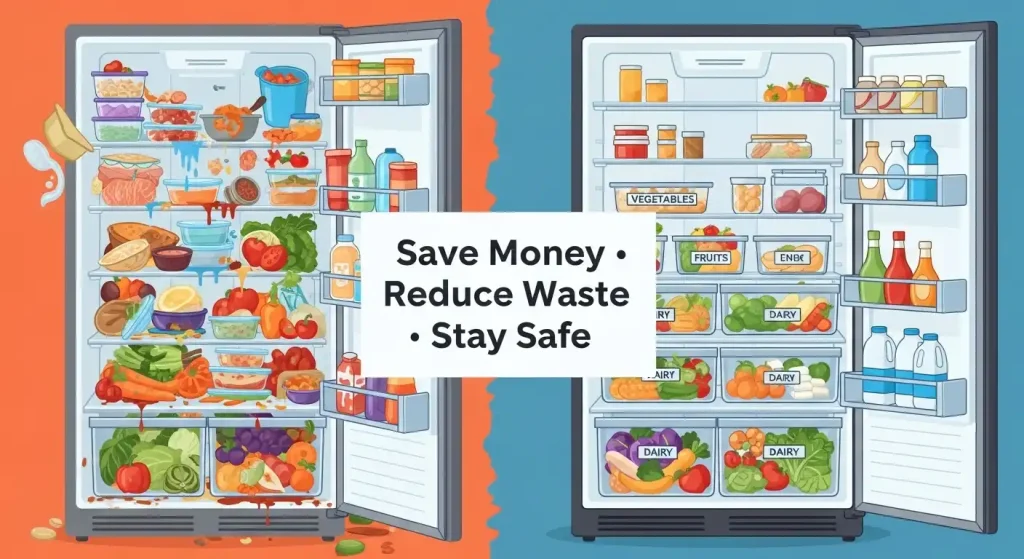
But if you’ve ever struggled to find that half-used jar of salsa, or discovered slimy lettuce that got shoved behind the milk, you know fridge chaos is real.
Learning how to organize your fridge isn’t just about making it look Pinterest-perfect (though that’s a bonus). It’s about saving money, preventing food waste, and keeping your family safe from food-borne bacteria.
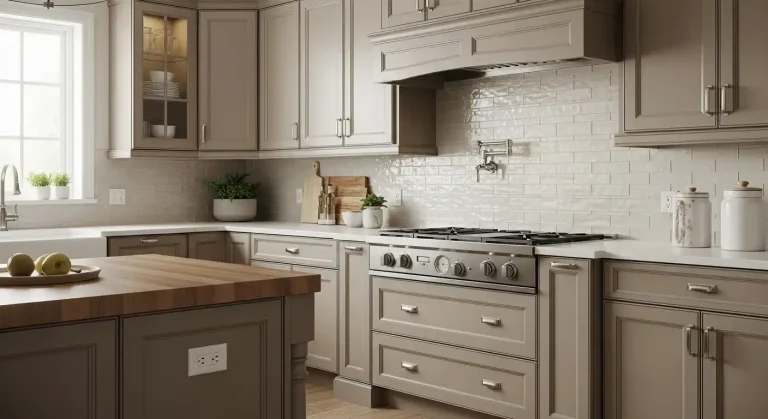
This guide breaks down fridge organization from every angle—whether you have a small apartment fridge, a side-by-side model, or even a commercial one for your food business.
We’ll cover food safety rules, container hacks, condiment storage, and even what you should (and shouldn’t) put on top of your fridge. Ready to bring order to the cold chaos? Let’s start.
Why Fridge Organization Matters
Fridge organization is more than just aesthetic satisfaction. It has a direct impact on your lifestyle and budget.
A messy fridge makes it easier to forget what you have, which leads to spoiled food and extra grocery bills. By simply keeping items visible and accessible, you can reduce food waste dramatically.
There’s also the food safety angle—when raw chicken is stored above fresh veggies, you’re risking dangerous cross-contamination.
Proper organization ensures that meats are kept in the coldest section and away from ready-to-eat items.
Plus, when your fridge is clean and categorized, meal prep becomes less of a headache.
You’ll always know where the yogurt cups are for breakfast or where that block of cheddar is hiding for your cheese board.
Think of fridge organization as your secret weapon: it saves money, improves safety, and makes daily life easier.
General Fridge Organization Tips
Before diving into fridge styles and special hacks, let’s talk general rules:
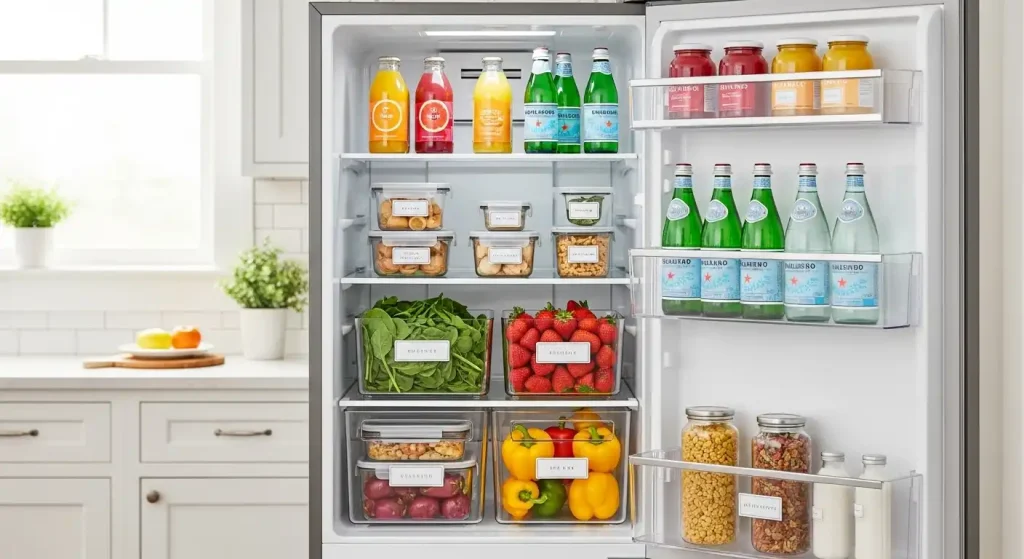
- Group like items together – Keep dairy on one shelf, condiments on the door, and produce in drawers. This way, you won’t forget what you already have.
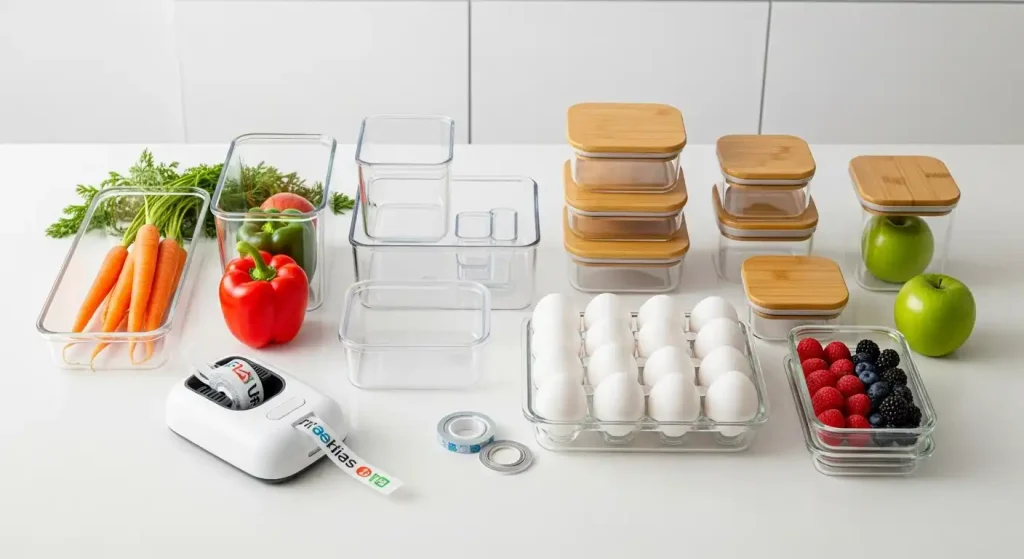
- Use containers for clarity – Clear bins or stackable organizers (how to organize fridge with containers) can instantly transform your fridge. Put all your snacks in one bin, sauces in another, and grab-and-go breakfasts in another.
- Label everything – A simple label maker or even masking tape helps you know what’s inside a container and when it was made.
- FIFO method (First In, First Out) – Rotate older food to the front so it gets eaten first. This is a restaurant trick that works at home too.
- Respect temperature zones – Coldest areas are usually the bottom shelves, so keep meats there. Doors are warmer, so they’re best for condiments, not milk.
Food Safety & Storage Rules
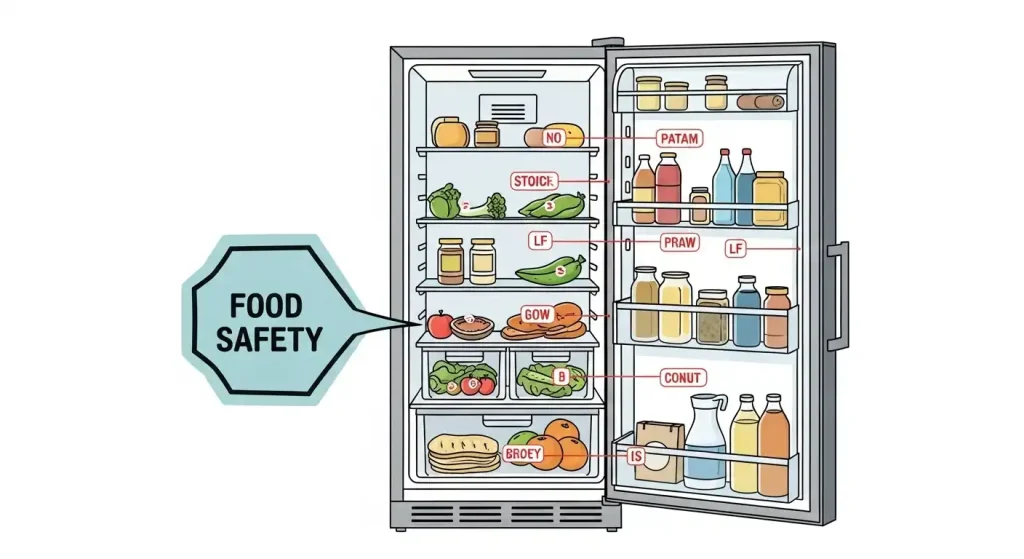
This is where most people make mistakes. Your fridge isn’t just a giant cold box—it has different zones that affect how long your food stays safe.
Here’s how to keep your fridge food-safe:
- Top shelf → Ready-to-eat foods (leftovers, drinks, cooked meals).
- Middle shelves → Dairy like cheese, yogurt, and milk (if not in the door).
- Bottom shelf → Raw meats, poultry, and fish. Always keep them in sealed containers to prevent drips.
- Crisper drawers → Fruits in one, veggies in the other. Many fridges let you adjust humidity to keep produce fresh longer.
- Fridge door → Condiments, sauces, and juices. Never keep eggs or milk here—it’s too warm.
Keeping raw meat and fresh veggies separate is essential. It’s not just about neatness, it’s about preventing food-borne illnesses.
If you’ve ever wondered “how to organize a fridge for food safety,” this is the golden rule: ready-to-eat foods on top, raw meats at the bottom.
Why Temperature and Rotation Matter
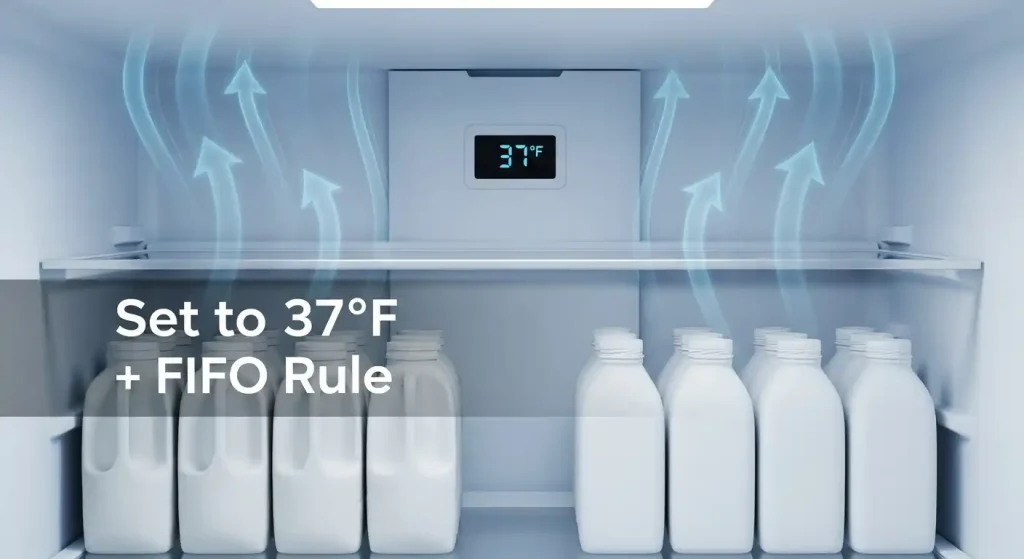
Even the best fridge organization fails if you ignore temperature and rotation.
Your fridge should be set at 37–40°F (3–4°C) to keep food safe but not frozen. Invest in a fridge thermometer if you’re not sure.
Then there’s rotation. Ever find yogurt cups shoved to the back, months past their expiration? That’s where the FIFO rule comes in.
Always move older items forward and newer ones to the back. Restaurants do this daily, and it works wonders at home.
Also, avoid overpacking your fridge. Air needs to circulate for even cooling.
Stuffing your fridge like a suitcase makes it harder to maintain the right temperature, and food goes bad quicker.
How Long Do Organic Eggs Last in the Fridge?
Eggs are a fridge staple, but their shelf life depends on how you store them.
Organic eggs—just like conventional eggs—can last about 3 to 5 weeks in the fridge.
The difference is, many organic eggs aren’t treated with the same preservatives, so freshness depends on how quickly they were transported after laying.
Here’s the key: store eggs in their original carton on a middle or lower shelf (never the fridge door).
The door is the warmest spot, thanks to frequent opening, which speeds up spoilage.
The carton also prevents the eggs from absorbing odors from other foods (no one wants onion-flavored scrambled eggs).
A quick freshness trick? Do the water test. Drop an egg in a glass of water—if it sinks and lies flat, it’s fresh. If it tilts up or floats, it’s time to toss.
For families who love to meal prep, organizing your eggs also makes life easier.
Consider a clear egg organizer tray—it looks tidy and lets you see exactly how many are left.
Just make sure to rotate new eggs to the back and keep the older ones in front.
So if you’re wondering how long organic eggs last in the fridge, the answer is: a few weeks, if stored correctly.
With the right spot and container, you’ll maximize freshness while keeping your fridge clutter-free.
How to Organize Fridge Shelves
Fridge shelves are like prime real estate—you have to use every inch wisely.
Most people shove things in without a plan, which leads to hidden leftovers and forgotten produce.
Instead, think of your fridge shelves as zones with specific jobs:
- Top shelf: Best for drinks, cooked foods, and items that don’t need cooking before eating.
- Middle shelves: Keep dairy here—milk, yogurt, cheese. This area is consistently cold.
- Bottom shelf: Raw meats, fish, or anything that might leak. Always in sealed containers.
To maximize space:
- Use risers or stackable bins. They double your vertical space, which is perfect for small containers.
- Add lazy Susans. Perfect for jars, dips, and small bottles. Spin it, grab what you need, and stop losing items in the back.
- Group items by category. For example: breakfast bin (butter, jam, yogurt), snack bin (cheese sticks, hummus, grapes).
Top of Fridge Organization
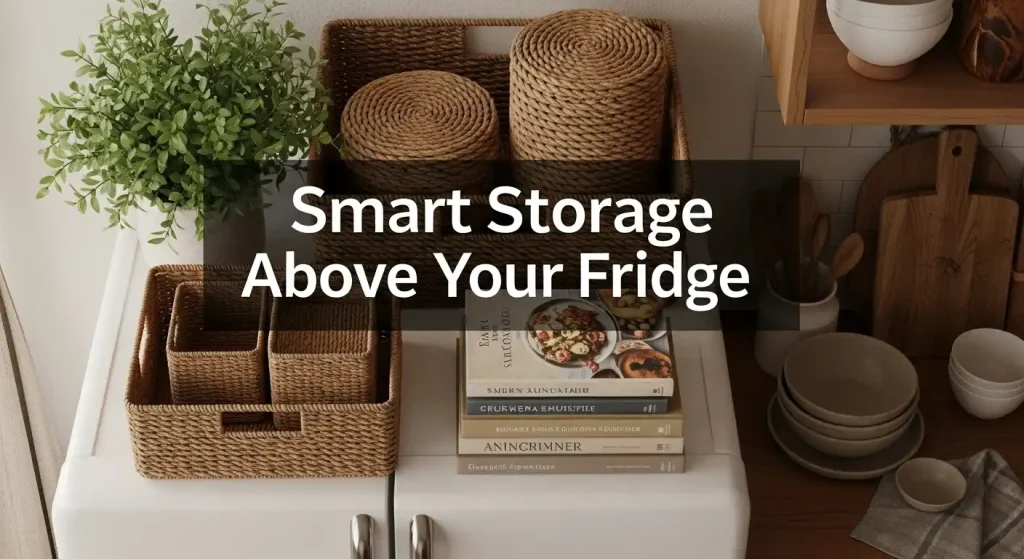
The space above your fridge is often overlooked, but it can either be a clutter trap or a functional storage zone.
If yours has turned into a dumping ground for cereal boxes and paper bags, it’s time to rethink.
Here are smarter ways to use it:
- Baskets or bins. Place matching woven or clear bins to store less-used items like party platters, lunch bags, or snacks. This keeps the area looking tidy instead of chaotic.
- Cookbook display. If you’re short on kitchen shelves, the top of your fridge is a perfect spot for your recipe collection.
- Decor and function. A plant or stylish basket can soften the bulky look of the fridge while hiding storage.
But here’s a warning: never store heat-sensitive items like wine, chocolate, or electronics up there. The top of the fridge gets warm from the motor, so stick to dry goods or non-perishables.
How to Organize a Side-by-Side Fridge
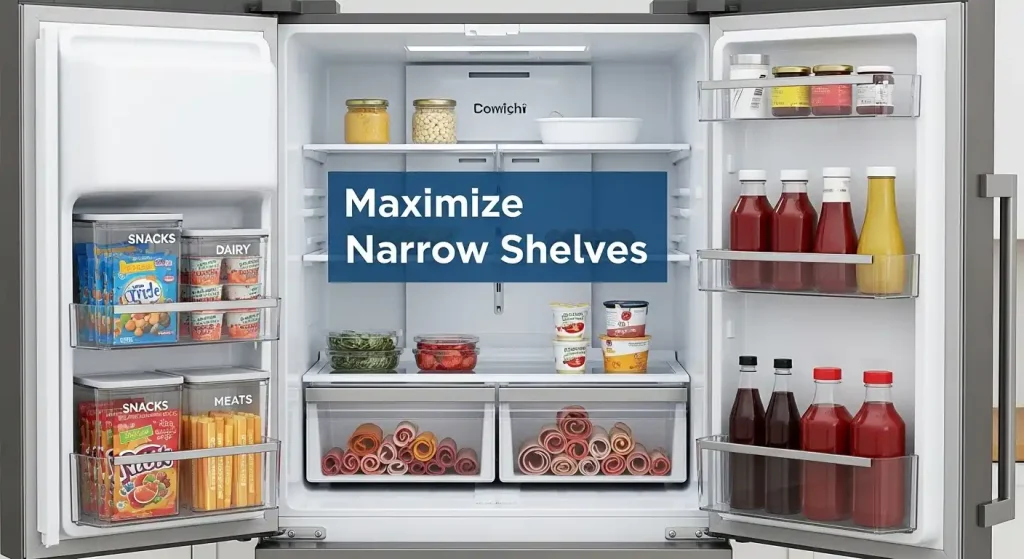
Side-by-side fridges are stylish but can be tricky because the shelves are narrow. The key is using vertical space and containers wisely.
- Left side (freezer): Use bins to group meats, frozen veggies, and snacks. Label each bin so you don’t have to dig through piles of frosty bags.
- Right side (fridge): Keep shelves divided by purpose. Top for drinks and leftovers, middle for dairy, bottom for meats and produce.
- Door shelves: These are best for condiments, sauces, and juices. Avoid putting milk or eggs here—it’s too warm.
A genius trick? Use slim containers that fit the narrow shelves. Instead of stacking random items, bins help you slide out exactly what you need.
Another pro tip is labeling shelves (“dairy,” “snacks,” “meats”) so the whole household knows where things go.
Side-by-side fridges can feel cramped, but once you group items by category and use organizers, they actually become super efficient.
How to Organize a Small Fridge
Small fridges can feel like playing Tetris every time you go grocery shopping. The key is maximizing vertical and door space.
- Use stackable bins. Clear plastic bins let you pile items without crushing them.
- Magnetic organizers. Attach small racks or spice jars to the inside walls or door.
- Shelf risers. Add extra layers so you’re not wasting tall shelf space.
Also, think portion control. If you’re storing bulky packaging, remove it and transfer items into slimmer containers.
For example, take yogurt cups out of their cardboard box or slice large cheese blocks into smaller portions.
The door should only hold condiments, butter, and drinks—anything stable. Put your most-used items in the middle so you don’t have to dig.
With a smart system, even the tiniest fridge can handle weekly groceries without feeling crammed.
How to Organize a French Door Fridge
French door fridges offer more width than side-by-side models, but they come with deep shelves where food gets lost in the back. The trick is to divide and conquer.
- Top shelves: Drinks, ready-to-eat items, and snacks.
- Middle shelves: Dairy and leftovers in clear glass containers.
- Bottom shelves: Raw meat in leakproof trays, plus produce drawers for fruits and veggies.
- Door shelves: Condiments, juice, and smaller bottles.
Pro tip: Use pull-out bins for deep shelves. This way, nothing disappears behind that gallon of milk. You can also use a lazy Susan for sauces and jars.
The wide layout is perfect for meal preppers—just group containers by meal (breakfast, lunch, dinner).
French doors aren’t just stylish; with good organization, they’re a time-saver.
How to Organize Fridge with Containers
Containers are the secret weapon of a clutter-free fridge. They keep items grouped, prevent spills, and make cleaning easier.
- Clear bins: Perfect for snacks, condiments, or small produce. You see everything at a glance.
- Glass containers: Ideal for leftovers—microwave-friendly and stackable.
- Egg trays & drink holders: Specialized organizers make eggs and cans look neat while saving space.
A popular system is to assign bins for each food group. For example, a “deli bin” for lunch meats, a “breakfast bin” for butter and spreads, and a “snack bin” for fruits and yogurt cups.
The best part? Containers force you to stay organized. When a bin fills up, you know it’s time to use things up before shopping again.
How to Organize Condiments in Fridge (and Condiment Organizers)
Condiments are the messiest category—they multiply fast, and suddenly you’ve got three half-empty ketchup bottles. Here’s how to tame them:
- Door shelves for daily condiments. Ketchup, mustard, mayo—easy to grab.
- Lazy Susan on a shelf. Great for sauces, dressings, and jars you don’t use daily.
- Condiment caddies. Narrow bins or trays keep bottles upright and stop them from rolling around.
Do a quick purge monthly—toss expired sauces and combine duplicates. A good rule is: if you don’t use it at least once a month, it doesn’t deserve shelf space.
Commercial Fridge Organization
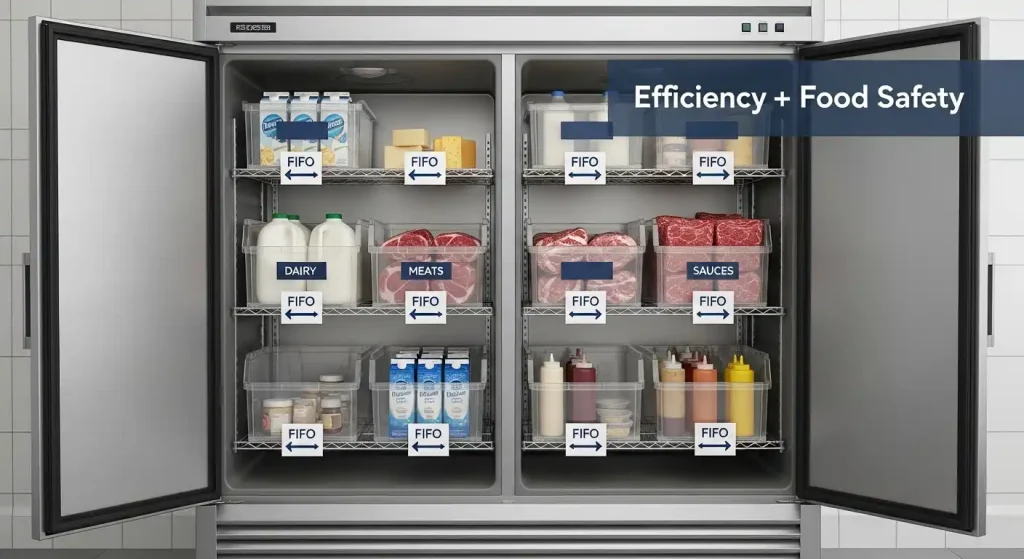
Commercial fridges are built for heavy use, but chaos strikes fast if you don’t have a system.
The golden rule here is First In, First Out (FIFO)—new items go to the back, older items in front.
- Label everything with dates.
- Separate raw and cooked foods. Always store raw meats at the bottom, away from ready-to-eat items.
- Use industrial bins. Larger, durable bins group bulk items like dairy, sauces, and prepped veggies.
Commercial fridges should also be cleaned frequently, since turnover is high.
The goal is efficiency—kitchen staff should grab ingredients fast without wasting time searching.
Restaurant Fridge Organization
Restaurant kitchens follow stricter standards because food safety is everything. Organization here is about both speed and compliance.
- Top shelves: Ready-to-eat foods and prepared meals.
- Middle shelves: Dairy, eggs, and cooked proteins.
- Bottom shelves: Raw meats—always sealed in trays.
- Doors: Never used for perishables; stick to condiments and stable items.
Restaurants often use color-coded bins to separate allergens (like dairy-free or gluten-free) and reduce cross-contamination.
Many also rely on clear labeling systems so every employee knows exactly where things belong.
For restaurants, fridge organization isn’t just about neatness—it’s about safety, speed, and consistency during rush hours.
Wrap-Up: A Fridge That Works for You
Learning how to organize your fridge isn’t just about making it look Instagram-worthy—it’s about saving money, preventing food waste, and keeping your meals safe.
From figuring out how long organic eggs last, to taming condiments, to setting up commercial or restaurant fridges, the principles stay the same: assign zones, use containers, label everything, and rotate foods.
Whether you’re working with a tiny dorm fridge or a giant French door beauty, the right system makes daily life smoother.
Once you set it up, maintenance takes just a few minutes a week.
And trust me—future you will thank present you when dinner prep takes seconds instead of a scavenger hunt.