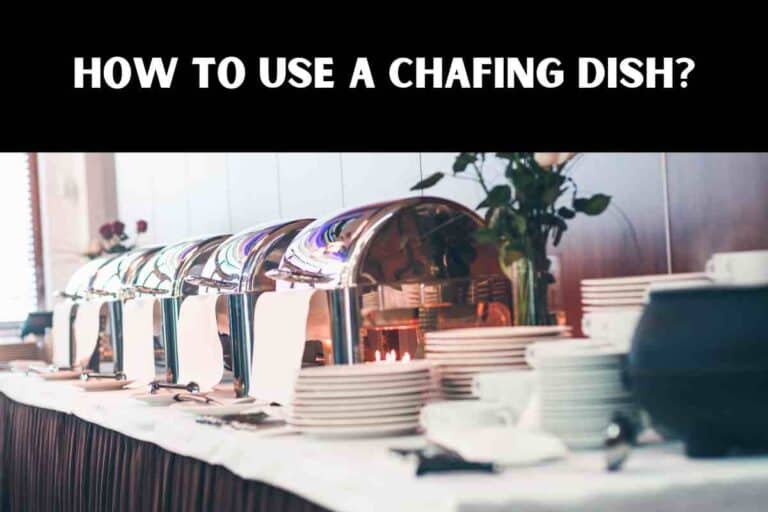
What Is the Best Way to Clean a Chafing Dish?
Chafing dishes are a staple for anyone hosting buffets, catering events, or large gatherings.
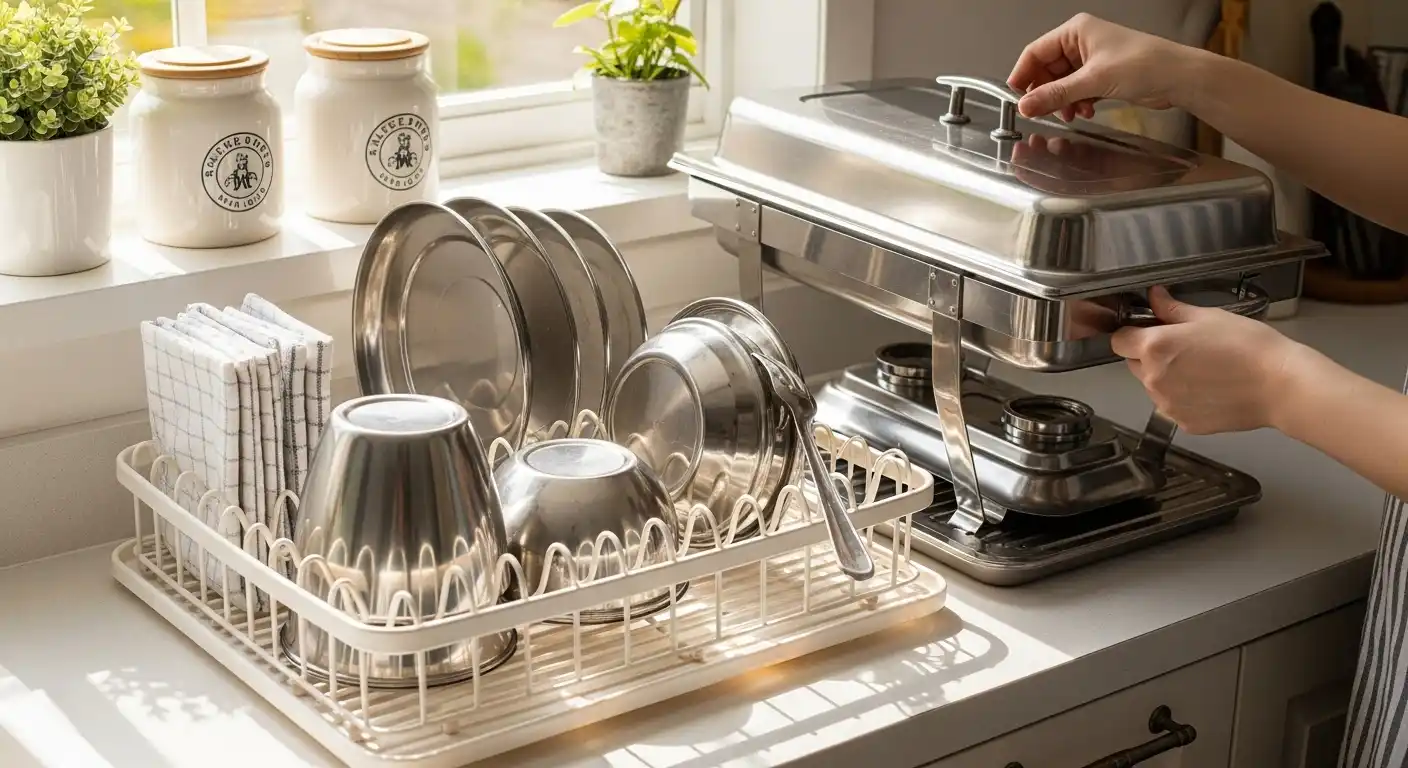
These versatile kitchen tools keep food warm and presentable for hours, making them a go-to for everything from weddings to backyard barbecues.
But after the party’s over, cleaning a chafing dish can feel like a daunting task, especially if it’s caked with grease, sauce, or stubborn food residue.
In this guide, we’ll walk you through the best methods to clean a chafing dish, ensuring it stays in pristine condition for your next event.
🛍️ Top Amazon Deals & Must-Have Finds
Discover great discounts and highly rated products you’ll love—updated regularly so you never miss a smart buy.
*As an Amazon Associate, I earn from qualifying purchases.
Whether it’s stainless steel, aluminum, or even an electric model, we’ve got you covered with practical tips and tricks.
Why Proper Cleaning of a Chafing Dish Matters
A chafing dish isn’t just a functional piece of cookware—it’s often a centerpiece of your buffet setup, gleaming under the lights and showcasing your culinary spread.
Keeping it clean not only ensures it looks its best but also extends its lifespan and maintains food safety.
Neglecting proper cleaning can lead to discoloration, corrosion, or even bacterial buildup, which is the last thing you want when serving food.
For more on how long chafing dishes can safely keep food warm, check out our article on how long chafing dishes keep food warm.
Before diving into the cleaning process, let’s understand the components of a typical chafing dish: the food pan, water pan, frame, lid, and sometimes a fuel holder or electric heating element.
Each part may require specific care, especially if your chafing dish is made of stainless steel, aluminum, or a combination of materials.
Step-by-Step Guide to Cleaning a Chafing Dish
Step 1: Let It Cool Completely
Safety first! After use, allow the chafing dish to cool down completely before cleaning.
Handling a hot chafing dish can lead to burns, and hot water or steam can damage the finish or warp the metal.
If you’re using a fuel-based chafing dish, ensure the fuel canister is extinguished and removed.
For electric models, unplug the unit and let it cool.
Curious about whether you need water in an electric chafing dish? Learn more in our post on using water in electric chafing dishes.
Step 2: Disassemble the Chafing Dish
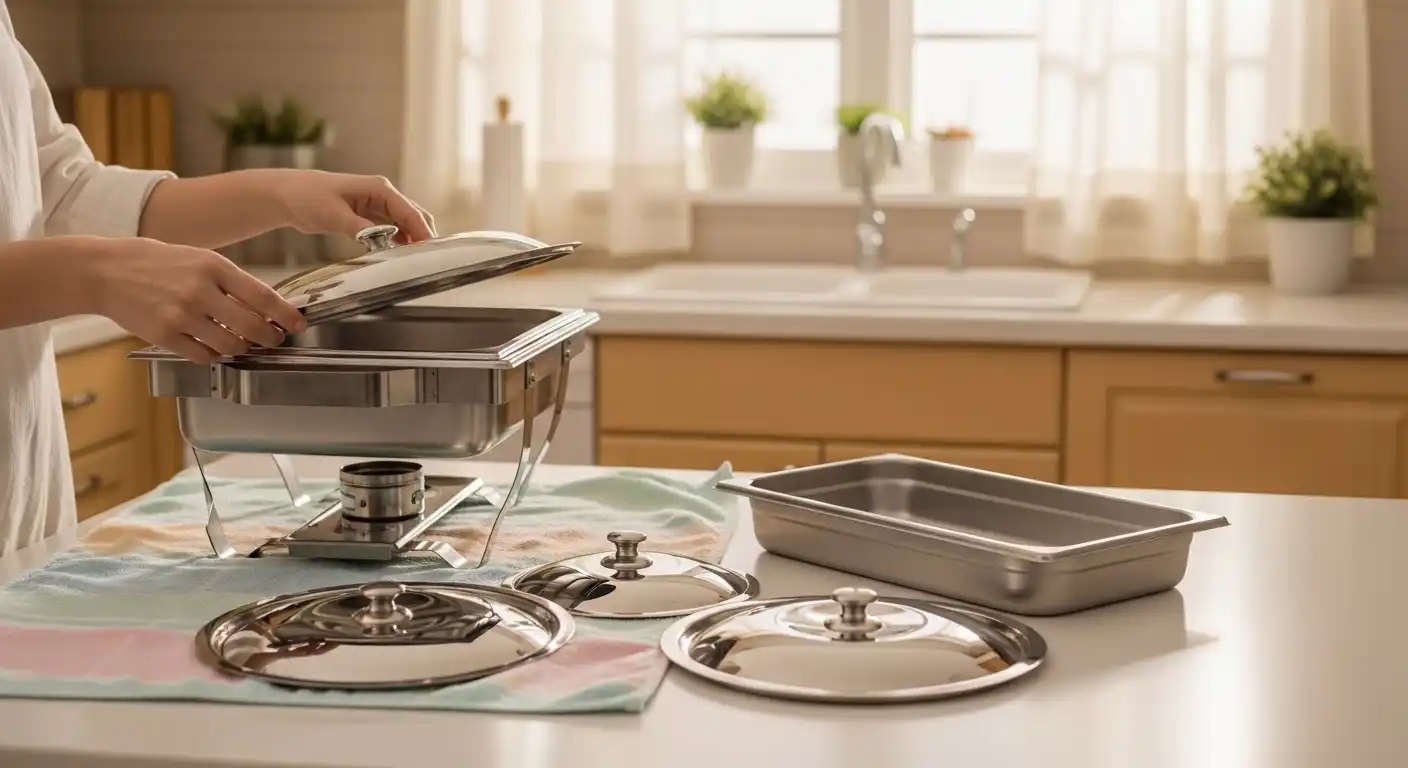
Take apart all removable components: the food pan, water pan, lid, and any fuel holders or stands.
This makes it easier to clean each part thoroughly.
🛍️ Top Amazon Deals & Must-Have Finds
Discover great discounts and highly rated products you’ll love—updated regularly so you never miss a smart buy.
*As an Amazon Associate, I earn from qualifying purchases.
If you’re using a disposable chafing dish, you might skip cleaning altogether, but for reusable ones, disassembly is key.
For tips on choosing the right disposable chafing dish, see our guide on how to choose disposable chafing dishes.
Step 3: Scrape Off Food Residue
Use a plastic or silicone scraper to remove any stuck-on food from the food pan.
Avoid metal utensils, as they can scratch the surface, especially on stainless steel or aluminum chafing dishes.
For stainless steel models, scratches can lead to pitting over time, which may affect safety.
Learn more about the safety of pitted stainless steel in our article on pitted stainless steel pots.
If you’re dealing with particularly stubborn residue, soak the food pan in warm water for 10–15 minutes to loosen it.
This step is especially helpful for dishes like lasagna or cheesy casseroles, which can cling to the pan.
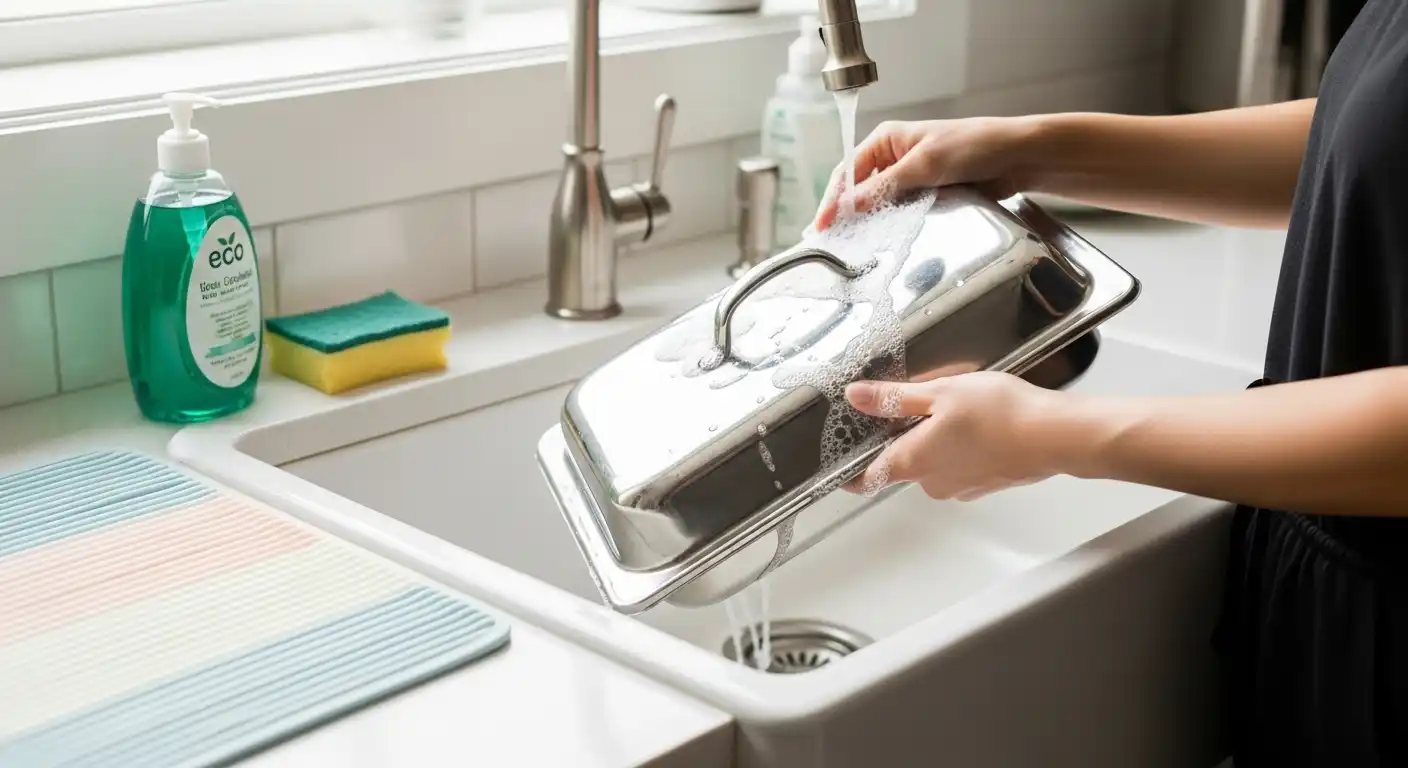
Step 4: Wash with Mild Dish Soap
Fill a sink or basin with warm water and a few drops of mild dish soap.
Using a soft sponge or cloth, gently scrub each component of the chafing dish.
For stainless steel chafing dishes, this method helps prevent discoloration and maintains shine.
If you’re struggling with discoloration, our guide on removing discoloration from stainless steel pots offers additional tips that apply to chafing dishes too.
🛍️ Top Amazon Deals & Must-Have Finds
Discover great discounts and highly rated products you’ll love—updated regularly so you never miss a smart buy.
*As an Amazon Associate, I earn from qualifying purchases.
Avoid abrasive scrubbers like steel wool, as they can damage the surface and make future cleaning harder.
For aluminum chafing dishes, be cautious with prolonged soaking, as it can lead to oxidation.
Check out our advice on restoring scruffed aluminum pans for more on handling aluminum cookware.
Step 5: Tackle Stubborn Stains and Grease
For grease or burnt-on food, create a paste with baking soda and water.
Apply it to the affected areas, let it sit for 10 minutes, then gently scrub with a soft sponge.
Baking soda is a gentle abrasive that works wonders without scratching.
For white spots or cloudy stains, which can sometimes appear on stainless steel, vinegar is your best friend.
Soak a cloth in white vinegar, apply it to the stains, and wipe clean.
For more on this, see our post on cleaning white spots on stainless steel.
If you’re cleaning an electric chafing dish, avoid submerging the heating element or any electrical components.
Instead, wipe them with a damp cloth and dry immediately to prevent damage.
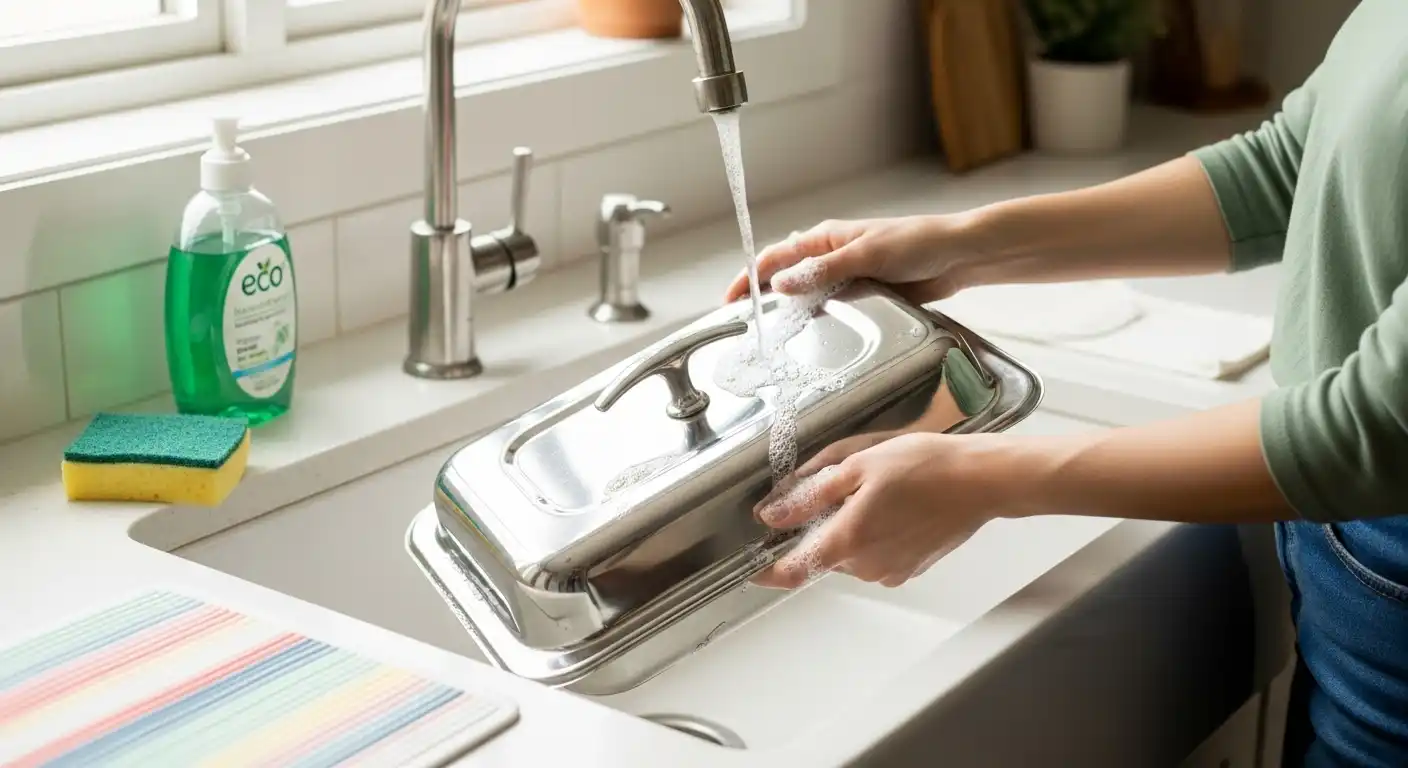
Step 6: Rinse and Dry Thoroughly
Rinse all components thoroughly to remove soap or cleaning residue.
🛍️ Top Amazon Deals & Must-Have Finds
Discover great discounts and highly rated products you’ll love—updated regularly so you never miss a smart buy.
*As an Amazon Associate, I earn from qualifying purchases.
Soap left on the surface can affect the taste of food in future uses.
Dry each part with a clean, lint-free cloth to prevent water spots, especially on stainless steel, which can develop a cloudy appearance if not dried properly.
For more on restoring shine to stainless steel, visit our article on restoring shine to stainless steel pots and pans.
Step 7: Polish for Extra Shine (Optional)
To give your chafing dish that showroom glow, polish stainless steel components with a microfiber cloth and a small amount of olive oil or a stainless steel polish.
This step is especially useful if your chafing dish is a focal point at events.
Be sure to wipe off excess oil to avoid a greasy residue.
Special Considerations for Different Chafing Dish Types
Stainless Steel Chafing Dishes
Stainless steel is durable and resistant to rust, but it’s prone to water spots and discoloration if not cleaned properly.
Always use non-abrasive cleaners and dry thoroughly.
If you’re wondering whether stainless steel cookware is safe for other uses, our post on the safety of stainless steel pots provides more insight.
Aluminum Chafing Dishes
Aluminum is lightweight but can discolor or pit if exposed to acidic foods or harsh cleaners.
Avoid dishwashers for aluminum chafing dishes, as the detergents can cause oxidation.
For more on cleaning aluminum cookware, see our guide on using aluminum pans in dishwashers.
🛍️ Top Amazon Deals & Must-Have Finds
Discover great discounts and highly rated products you’ll love—updated regularly so you never miss a smart buy.
*As an Amazon Associate, I earn from qualifying purchases.
Electric Chafing Dishes
Electric models require extra care to avoid damaging the heating element.
Never submerge the base, and always follow the manufacturer’s instructions.
For guidance on choosing the right electric chafing dish, check out our article on how to choose an electric chafing dish.
Common Mistakes to Avoid When Cleaning a Chafing Dish
- Using Harsh Chemicals: Bleach or ammonia-based cleaners can damage stainless steel or aluminum, causing pitting or discoloration.
- Dishwasher Cleaning: While some stainless steel chafing dishes are labeled dishwasher-safe, the high heat and detergents can dull the finish over time. Handwashing is safer. For more on this, see our post on putting stainless steel pots in the dishwasher.
- Neglecting the Water Pan: Food splashes or water scale can build up in the water pan, so clean it as thoroughly as the food pan.
- Storing While Damp: Always dry completely before storing to prevent mold or corrosion. For storage tips, check out our guide on storing chafing dishes.
Maintaining Your Chafing Dish for Longevity
Regular cleaning after each use keeps your chafing dish in top shape.
For stainless steel models, occasional polishing can maintain their shine, while aluminum dishes benefit from gentle cleaning to avoid scratches.
If you’re using your chafing dish for specific foods like pizza or pancakes, learn how to keep them from getting soggy with our tips on keeping pizza warm in a chafing dish or keeping pancakes warm.
Concluding
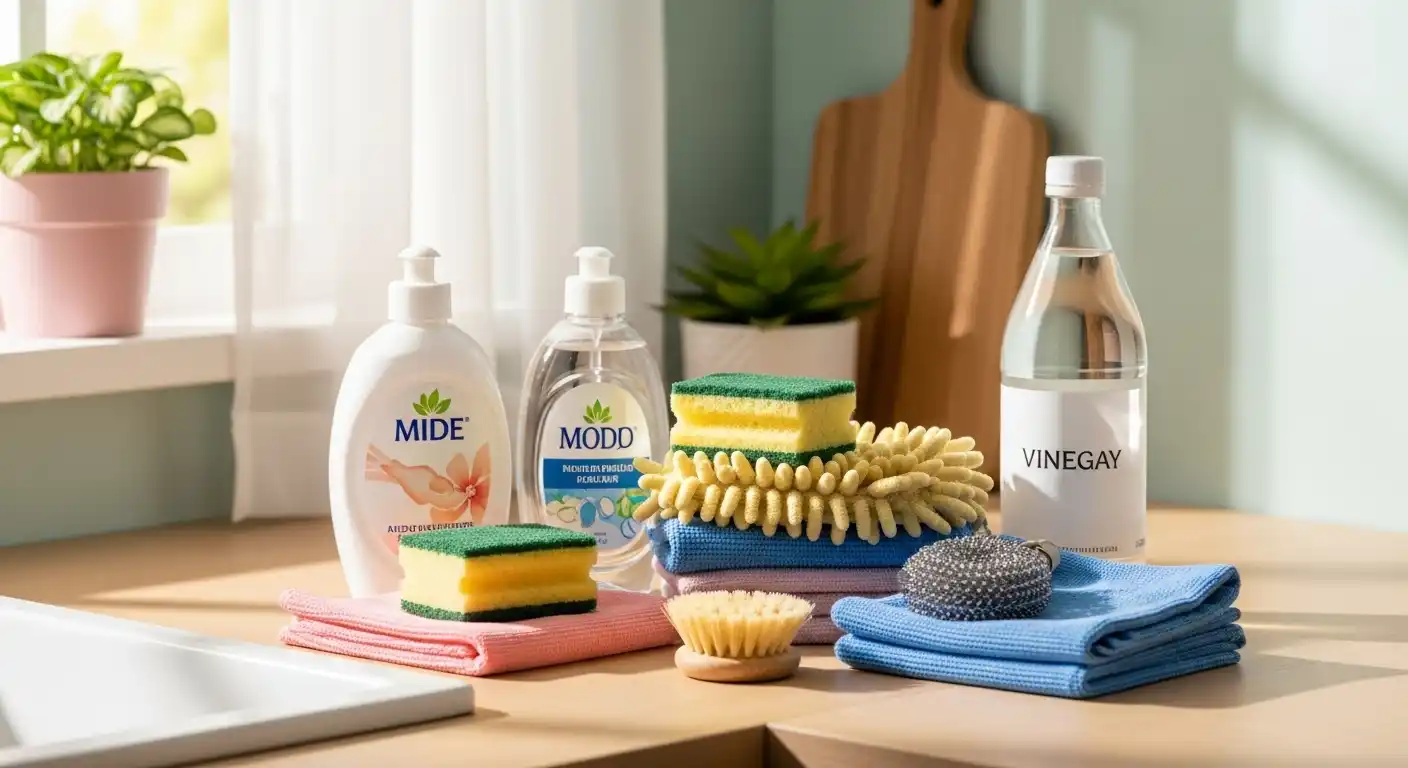
Cleaning a chafing dish doesn’t have to be a chore.
With the right tools—mild soap, a soft sponge, baking soda, and vinegar—you can keep your chafing dish sparkling and ready for your next gathering.
By following these steps and avoiding common pitfalls, you’ll ensure your chafing dish remains a reliable and elegant part of your hosting toolkit.
For more kitchen maintenance tips or to explore how to use your chafing dish effectively, visit our guide on how to use a chafing dish.