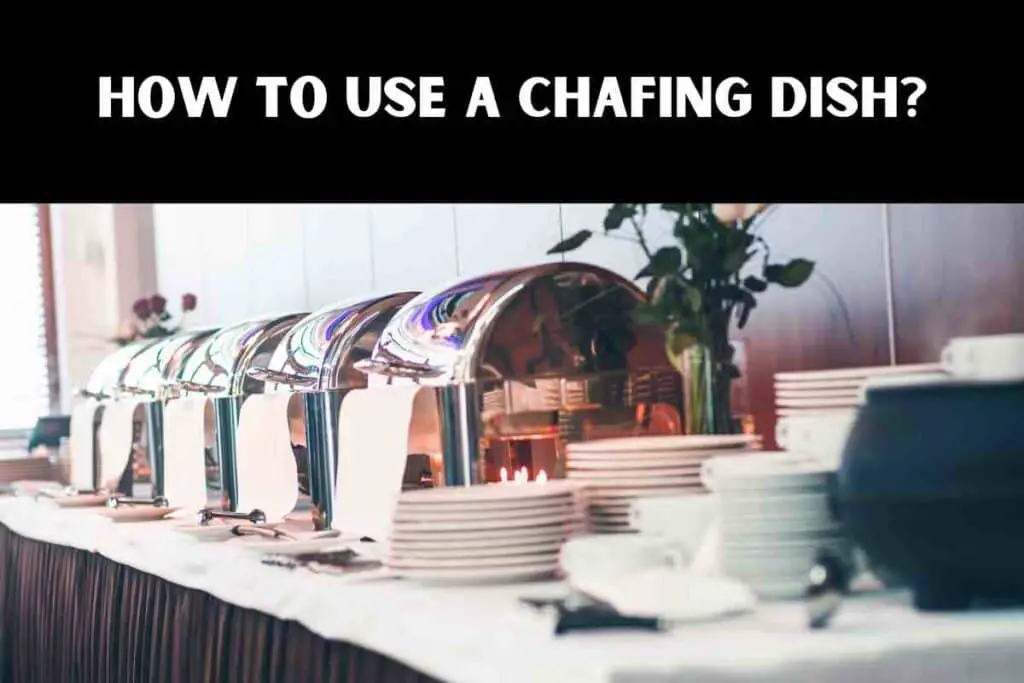
How to Use a Chafing Dish – The Basics You Need to Know About
If you have a chafing dish, you will likely use it for the first time on a camping trip or perhaps even a special occasion. But you’re probably not sure how to use it properly.
For most people, a chafing dish is a useful tool for cooking meals on the road.
However, you can also use it for various other purposes, including heating water and boiling and baking food.
In this blog post, I’ll explain everything you need to know about using a chafing dish, including what size to buy and how to care for it.
How to Use a Chafing Dish: Step-By-Step Guide
Here’s a detailed explanation of how to use a chafing dish:
Step #1: Setup and Preparation:
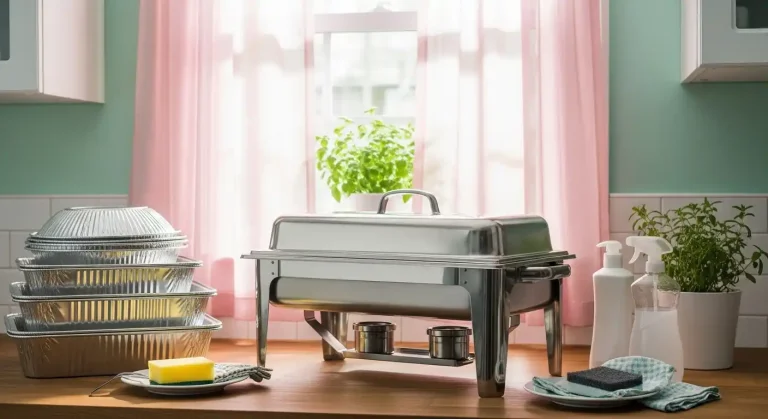
Gather all the necessary components: chafing dish, food pans, fuel canisters, water pan, serving utensils, and the food you wish to keep warm.
Place the chafing dish on a stable and heat-resistant surface, ensuring it is away from any flammable materials.
Fill the water pan with hot water, leaving about 1-2 inches of space from the top.
Adjust the size and number of fuel canisters based on the duration and heat required for your specific dish.
Step #2: Lighting the Fuel:
Open the chafing dish cover and remove the lid from the fuel canisters.
Using a long-reach lighter or match, carefully light the wick or gel in the fuel canisters.
Allow the flame to spread evenly across the wick or gel surface.
Step #3: Setting up the Food Pans:
Place the desired food pans inside the chafing dish, making sure they fit securely.
Fill each food pan with the prepared food, leaving some space at the top to prevent overflow while serving.
Step #4: Placing the Water Pan:
Carefully position the water pan inside the chafing dish, ensuring it sits level and does not spill.
The water acts as a heat conductor and helps maintain a consistent temperature, preventing food from drying out or burning.
Step #5: Covering the Chafing Dish:
Place the chafing dish cover on top, ensuring it fits properly and rests securely on the edges.
Subscribe to Cookwarely
Get updates on the latest posts and more from Cookwarely straight to your inbox.
The cover traps heat inside the dish, contributing to the even distribution of heat and the preservation of food temperature.
Step #6: Monitoring and Serving:
Regularly check the water level in the water pan, refilling it with hot water as necessary to maintain the desired temperature.
Monitor the fuel canisters, ensuring they are burning steadily. Replace them if they start to run out or lose their flame.
Use the appropriate serving utensils to portion and serve the warm food from the chafing dish.
Remember to handle the chafing dish and the food pans with caution as they will be hot.
Step #7: Cleaning and Maintenance:
Once you have finished using the chafing dish, extinguish the fuel canisters by using a snuffer or covering them with their respective lids.
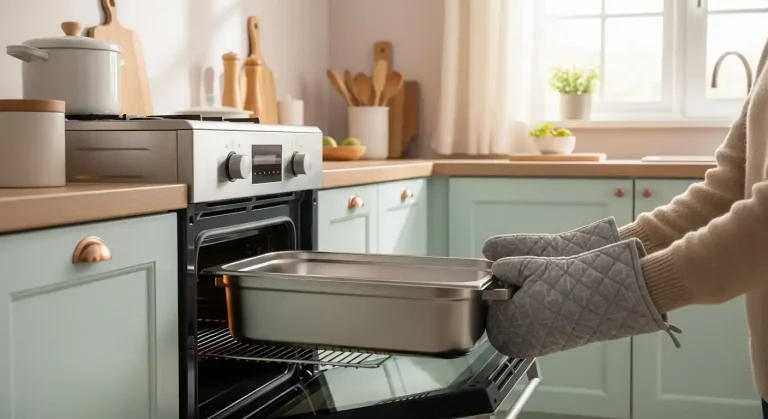
Allow the chafing dish and the food pans to cool down before handling them for cleaning.
Wash the chafing dish, food pans, and other components with warm, soapy water. Rinse thoroughly and dry before storage.
Regularly inspect the chafing dish for any damages or wear and replace any parts that are no longer safe to use.
The Basics of How Chafing Dishes Work
A chafing dish is a vessel that heats food with hot water. It is often used for cooking outdoors and is one of the best ways to prepare a meal on the go.
They are small and portable and come with a small base and a lid on top of the base. Some also have a handle for easy transport.
Most chafing dishes are designed to heat water and work best when placed on a hot surface. That means you should use a campfire or a grill, or any other type of hot surface.
If you don’t have a suitable surface nearby, you can heat the dishes by placing a pot on top. Just make sure the pot is made from a sturdy material that won’t break under the weight of the chafing dish.
You can also use a chafing dish to warm up a soup or stew. Simply add the pot to the dish and fill it with hot water.
To remove the pot, you can either place it on a cool surface or carry it with the handle.
Do You Have to Use Water in a Chafing Dish?
It’s common to assume that you must use water in a chafing dish. But this is only true if you plan on boiling food in the dish.
You’ll find that chafing dishes are generally best for heating liquids.
Subscribe to Cookwarely
Get updates on the latest posts and more from Cookwarely straight to your inbox.
The reason is that when you boil food in a chafing dish, the heat causes the dish to expand and the liquid to boil at a higher temperature. This can cause the dish to crack and leak.
So instead of boiling food in a chafing dish, you should use the stovetop and a pot.
The stovetop will provide the heat you need to keep your food warm, and the pot will hold the water you need to boil your food.
You can even use a stovetop with a grill top for better results.
Do You Put Food Directly in Chafing Dish?
There are a few common mistakes when using a chafing dish. The most obvious mistake is putting food directly into the dish.
This can lead to food burning or sticking to the sides of the dish.
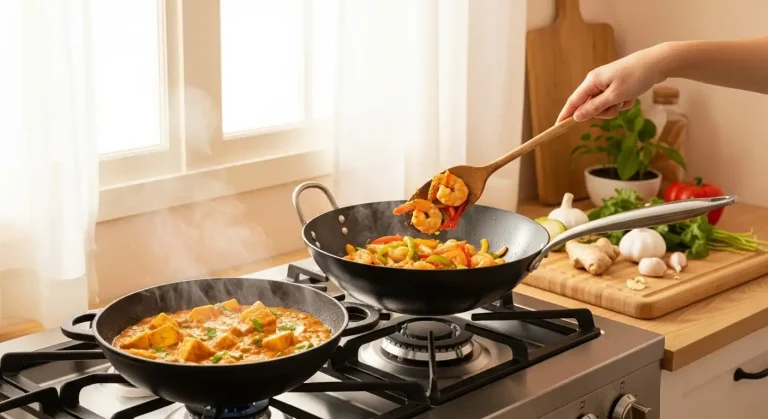
A better method is to heat the food in a separate pan before placing it in the dish. You should always cook food in a separate pan for safety reasons.
How Much Water Do You Put in a Chafing Dish?
Chafing dishes are incredibly useful and versatile pieces of cookware.
They’re great for camping, picnics, and even keeping your food warm when you’re out for a hike.
When used correctly, however, a chafing dish is also a very dangerous piece of equipment.
That’s why it’s important to know how much water to put inside.
While most chafing dishes have a capacity of 2-4 quarts, you’ll need to experiment to find the best size for your needs.
You can always add more water, but filling a chafing dish too full could cause it to overflow.
How Long Does It Take to Heat Food in a Chafing Dish?
The size of the chafing dish is important in heating food because it will affect the surface area of the food. For example, a large pan with a capacity of over 2 liters will heat food faster than a small pan with only 0.5 liters.
If you’re buying a chafing dish for a camping trip, you should choose a pan that is the size of a frying pan or larger. A pan with a capacity of over 3 liters will be sufficient.
You don’t need to worry about the size if you’re buying a chafing dish for a weekend camping trip.
The other factor is the type of fuel you’ll be using. Wood, charcoal, and alcohol are the most common fuels.
Subscribe to Cookwarely
Get updates on the latest posts and more from Cookwarely straight to your inbox.
Wood is the most reliable, but it’s slow to heat up. Charcoal is cheap, but it tends to smoke. Alcohol is quick to heat, but it’s expensive and flammable.
What to Consider When Choosing a Chafing Dish?
Chafing dishes are typically made of stainless steel and come in several sizes. Different designs are available, including those that look like a candle or a small stove.
When buying a chafing dish, you’ll need to consider what you’ll use it for and how much space you have available.
First, you’ll need to decide what type of device you’re looking for. You can choose from the following:
- A stove-like design
- A candle-shaped design
- A large pan
- A small pan
- A flat surface
You’ll also need to decide on the size you’re after. Here are a few things to keep in mind when choosing a size:
- How many people are you cooking for?
- What is your cooking style?
- What is your budget?
- Where are you going to store the chafing dish?
- Are you planning on traveling with it?
- Do you plan on cooking on the beach?
Chafing Dishes for Outdoor Use
If you are planning on going on a camping trip, you should consider purchasing a chafing dish. They are small and light enough to be taken anywhere you go.
Chafing dishes come in all different shapes and sizes, so ensure you get one that suits your needs. Some have a built-in pot for boiling water, while others require a separate pot.
You will also need to buy a lid, which can be challenging. Lids vary from small to large.
It would be best if you always bought a lid that matches the size of the pot; otherwise, it won’t fit properly. You should also check the material of the lid.
It is possible to use a plastic lid, but it is usually cheaper to buy a lid made of metal or stainless steel.
You may also want to buy a cover for the lid. This will protect the surface of the lid from rust and corrosion.
Chafing Dishes for Indoors
One common use for an indoor chafing dish is to keep warm appetizers, such as mini quiches or chicken wings, warm during a party.
This is especially helpful if the party is being held in a large space and there is a risk that the food will get cold before everyone has a chance to eat it. Using a chafing dish, you can keep the food warm and avoid having to reheat it constantly.
Another use for an indoor chafing dish is to keep main course items, such as pasta dishes or casseroles, warm during a family-style meal.
This can be helpful if you serve a large group of people and want to ensure everyone gets a hot meal. It can also be helpful if you are serving food that takes a long time to cook and you want to keep it warm until it is time to eat.
Chafing Dishes for Camping & Traveling
A chafing dish is the perfect travel companion for those who enjoy camping and boating. It doesn’t have to be fancy; a simple metal one can do the job.
A chafing dish works by creating a hot air pocket on a surface. You can do this by placing a small pan inside a larger pan. The heat from the smaller pan causes steam to build up, which heats the air surrounding the larger pan.
This creates a hot spot that can be used for cooking meals, boiling water, and even warming hands.
You can also use a chafing dish to heat water. In this case, place a pan on the bottom of the dish and fill it with water. The steam will rise and heat the water.