Homemade Banana Pudding Recipe – Creamy, Cozy, and Comforting
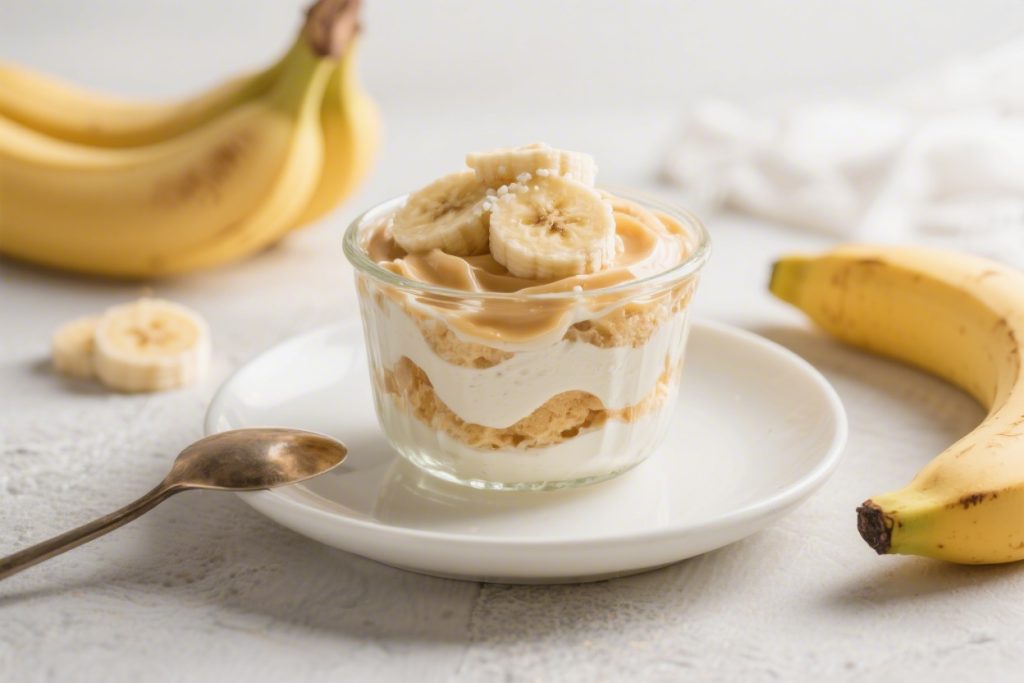
There’s something about a homemade banana pudding that feels like a warm hug. It’s simple, nostalgic, and always a crowd-pleaser.
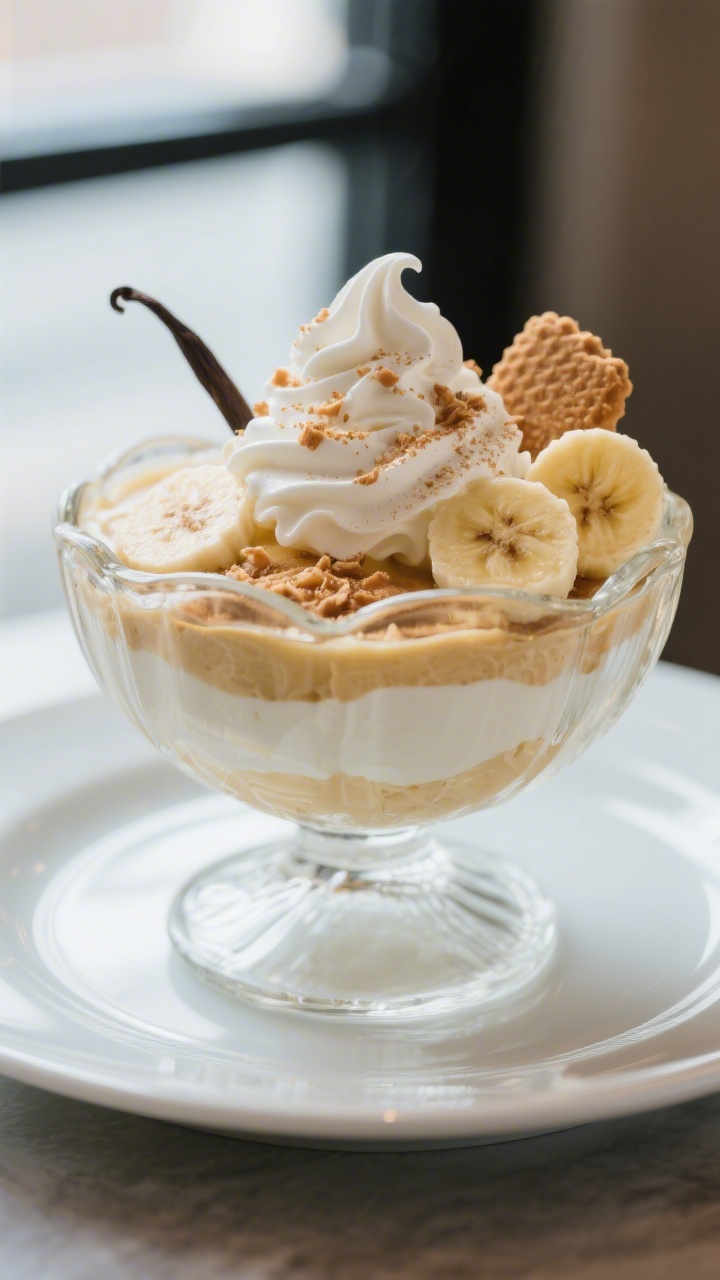
This version is silky and rich, layered with fresh bananas and vanilla wafers, and topped with a light whipped finish.
You can make it ahead, serve it chilled, and watch it disappear spoonful by spoonful.
Whether it’s a weeknight treat or a special occasion, this classic never lets you down.
Homemade Banana Pudding Recipe
Ingredients
- Whole milk: 2 cups
- Heavy cream: 1 cup (for extra rich pudding)
- Granulated sugar: 3/4 cup
- Cornstarch: 1/4 cup (for thickening)
- Egg yolks: 4 large (for a silky custard)
- Unsalted butter: 2 tablespoons
- Vanilla extract: 2 teaspoons
- Salt: A small pinch
- Ripe bananas: 4–5 medium, sliced
- Vanilla wafers: About 45–55 cookies (one standard box is perfect)
- Whipped cream: 2 cups lightly sweetened (or use store-bought)
- Optional meringue topping: 3 egg whites + 1/4 cup sugar + 1/4 teaspoon cream of tartar
- Optional garnish: Crushed wafers, banana slices, or a dusting of cinnamon
Instructions
- Prep your dish: Use a 2–2.5 quart baking dish or trifle bowl.Set aside.
- Make the custard base: In a medium saucepan off the heat, whisk together sugar, cornstarch, and a pinch of salt. Add milk and cream, whisking until smooth.
- Temper the eggs: In a separate bowl, whisk the egg yolks. Place the saucepan over medium heat and cook, whisking constantly, until the mixture is steaming and slightly thickened, about 4–5 minutes.Slowly ladle some hot mixture into the egg yolks while whisking, then pour the egg mixture back into the pot.
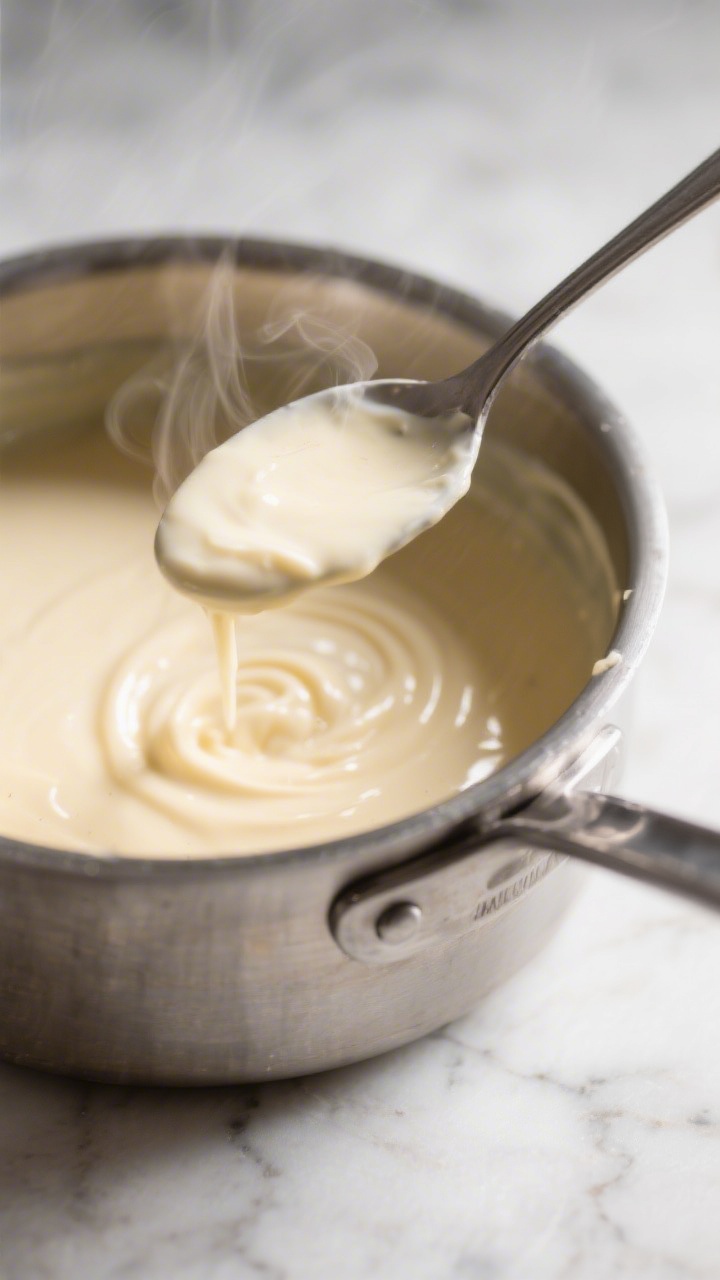
- Cook until thick: Continue whisking over medium heat until the pudding thickens and gently bubbles, 2–4 minutes. It should coat the back of a spoon.
- Finish the pudding: Remove from heat. Stir in butter and vanilla until smooth.Let it cool for 10 minutes, stirring occasionally to prevent a skin from forming.
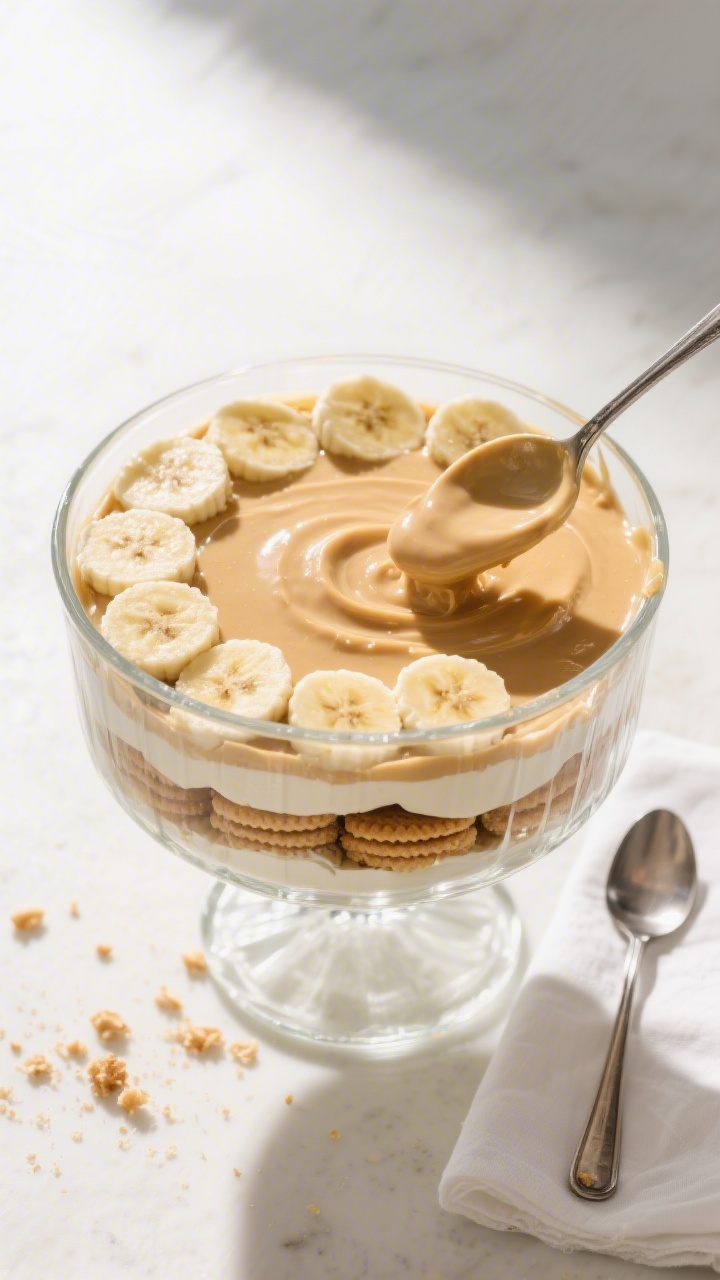
- Layer the dessert: Place a single layer of vanilla wafers on the bottom of your dish. Add a layer of sliced bananas. Spoon a generous layer of warm pudding over the bananas, spreading to the edges.
- Repeat: Continue layering wafers, bananas, and pudding until you run out, ending with a layer of pudding on top.
- Add topping: Spread whipped cream over the chilled pudding or, if using meringue, whip egg whites with cream of tartar to soft peaks, gradually beat in sugar to stiff glossy peaks, and spread over the warm pudding, sealing to the edges.
- Optional meringue bake: If using meringue, bake at 350°F (175°C) for 10–12 minutes, until lightly golden.Cool to room temperature.
- Chill: Cover and refrigerate at least 4 hours (overnight is best) so the flavors meld and the wafers soften.
- Garnish and serve: Top with crushed wafers or banana slices just before serving. Scoop and enjoy.
What Makes This Recipe So Good
- Real homemade custard: No instant mix here. The pudding is made from scratch, which gives it a deeper flavor and a luxuriously smooth texture.
- Balanced sweetness: Just sweet enough to feel indulgent without being heavy.
- Perfect layers: Crisp vanilla wafers soften into a cake-like texture, while the bananas stay fresh and bright.
- Make-ahead friendly: It tastes even better after it chills, making it perfect for parties and potlucks.
- Customizable finish: Top with whipped cream or a classic meringue—both are delicious.
What You’ll Need
- Whole milk: 2 cups
- Heavy cream: 1 cup (for extra rich pudding)
- Granulated sugar: 3/4 cup
- Cornstarch: 1/4 cup (for thickening)
- Egg yolks: 4 large (for a silky custard)
- Unsalted butter: 2 tablespoons
- Vanilla extract: 2 teaspoons
- Salt: A small pinch
- Ripe bananas: 4–5 medium, sliced
- Vanilla wafers: About 45–55 cookies (one standard box is perfect)
- Whipped cream: 2 cups lightly sweetened (or use store-bought)
- Optional meringue topping: 3 egg whites + 1/4 cup sugar + 1/4 teaspoon cream of tartar
- Optional garnish: Crushed wafers, banana slices, or a dusting of cinnamon
Instructions
-
Prep your dish: Use a 2–2.5 quart baking dish or trifle bowl.
Set aside.
- Make the custard base: In a medium saucepan off the heat, whisk together sugar, cornstarch, and a pinch of salt. Add milk and cream, whisking until smooth.
-
Temper the eggs: In a separate bowl, whisk the egg yolks. Place the saucepan over medium heat and cook, whisking constantly, until the mixture is steaming and slightly thickened, about 4–5 minutes.
Slowly ladle some hot mixture into the egg yolks while whisking, then pour the egg mixture back into the pot.
Subscribe to Cookwarely
Get updates on the latest posts and more from Cookwarely straight to your inbox.
- Cook until thick: Continue whisking over medium heat until the pudding thickens and gently bubbles, 2–4 minutes. It should coat the back of a spoon.
-
Finish the pudding: Remove from heat. Stir in butter and vanilla until smooth.
Let it cool for 10 minutes, stirring occasionally to prevent a skin from forming.
- Layer the dessert: Place a single layer of vanilla wafers on the bottom of your dish. Add a layer of sliced bananas. Spoon a generous layer of warm pudding over the bananas, spreading to the edges.
- Repeat: Continue layering wafers, bananas, and pudding until you run out, ending with a layer of pudding on top.
- Add topping: Spread whipped cream over the chilled pudding or, if using meringue, whip egg whites with cream of tartar to soft peaks, gradually beat in sugar to stiff glossy peaks, and spread over the warm pudding, sealing to the edges.
-
Optional meringue bake: If using meringue, bake at 350°F (175°C) for 10–12 minutes, until lightly golden.
Cool to room temperature.
- Chill: Cover and refrigerate at least 4 hours (overnight is best) so the flavors meld and the wafers soften.
- Garnish and serve: Top with crushed wafers or banana slices just before serving. Scoop and enjoy.
Storage Instructions
- Refrigerate: Cover tightly and store in the fridge for up to 3 days. Banana slices will gradually brown, but the flavor stays great.
-
Prevent browning: Lightly toss banana slices in a teaspoon of lemon juice if you plan to store for longer than a day.
Keep it subtle so the lemon doesn’t overpower.
- Freezing: Not recommended. The custard can separate and the wafers turn mushy after thawing.
- Make-ahead: Assemble the night before for best texture. Add fresh garnish right before serving.
Benefits of This Recipe
- Comfort-food classic: Familiar flavors that make everyone happy.
- No specialty tools: A whisk and saucepan are all you need.
- Kid-friendly: Soft texture, gentle sweetness, and fun layers.
- Budget-friendly: Uses pantry staples and ripe bananas.
- Scales easily: Double for a crowd, or assemble in jars for single servings.
What Not to Do
-
Don’t rush the custard: High heat can curdle the eggs.
Keep it at medium and whisk constantly.
- Don’t skip tempering: Adding yolks straight to hot liquid can scramble them. Temper slowly.
- Don’t overripe the bananas: Very spotty bananas turn mushy fast. Aim for yellow with light freckles.
- Don’t assemble too early with meringue: If using meringue, bake and cool the same day you serve for best texture.
- Don’t forget to seal the edges: When using meringue, make sure it touches the dish all around so it doesn’t weep.
Variations You Can Try
- Cookie swap: Use shortbread, graham crackers, or Biscoff cookies for a twist.
- Chocolate drizzle: Add a thin layer of melted chocolate between wafers and bananas for a “choco-banana” vibe.
- Peanut butter swirl: Whisk 2–3 tablespoons creamy peanut butter into the warm pudding.
- Coconut flair: Replace 1 cup of milk with coconut milk and sprinkle toasted coconut on top.
- No-cook shortcut: Use instant vanilla pudding with cold milk and fold in whipped cream for a lighter, faster version.
- Health-leaning: Use 2% milk, reduce sugar to 1/2 cup, and top with lightly sweetened Greek yogurt instead of whipped cream.
- Individual cups: Layer in parfait glasses or mason jars for easy serving.
Wrapping Up
Homemade banana pudding is simple, nostalgic, and endlessly satisfying.
With a smooth, from-scratch custard and fresh banana layers, it’s a dessert that feels special without being fussy.
Subscribe to Cookwarely
Get updates on the latest posts and more from Cookwarely straight to your inbox.
Make it ahead, add your favorite topping, and let the fridge do the rest. One spoonful, and you’ll see why this classic never goes out of style.
FAQ
Can I make this banana pudding the day before?
Yes.
In fact, it tastes better after chilling overnight. The wafers soften, the flavors blend, and the pudding sets beautifully.
How do I keep the bananas from turning brown?
Use just-ripe bananas and layer them quickly. If you need extra insurance, lightly brush or toss slices with a bit of lemon juice or pineapple juice.
Don’t overdo it, or the flavor will peek through.
Can I use store-bought pudding instead of homemade?
You can. Instant vanilla pudding with whole milk works well in a pinch. For a richer result, fold in whipped cream to make it extra fluffy.
Subscribe to Cookwarely
Get updates on the latest posts and more from Cookwarely straight to your inbox.
What’s the best cookie for banana pudding?
Classic vanilla wafers are traditional and soften to a cake-like texture.
Shortbread and graham crackers also work, but they’ll give a different flavor and bite.
Is there a dairy-free option?
Yes. Use full-fat coconut milk and a plant-based milk for the custard, vegan butter or coconut oil, and dairy-free whipped topping. Be sure your cookies are dairy-free too.
Why did my custard turn lumpy?
It likely cooked too hot or too fast.
Whisk constantly over medium heat and temper the eggs slowly. If lumps happen, strain the pudding through a fine-mesh sieve while warm.
Can I use egg whites left from the yolks?
Absolutely. Make a meringue topping by whipping the whites with cream of tartar and sugar, then bake until golden.
It’s a classic Southern touch.
How long will leftovers last?
About 2–3 days in the fridge. The texture softens over time, but the flavor stays cozy and comforting.