Can Kitchen Cabinets Be Restained: What You Need to Know
If your kitchen cabinets are looking worn, outdated, or simply no longer match your style, you might be wondering—can kitchen cabinets be restained instead of replaced?
The short answer is yes. Restaining is a cost-effective and transformative way to give your cabinets a fresh look without the expense of a full renovation.
In this guide, we’ll explore when restaining makes sense, the step-by-step process, and expert tips to ensure a beautiful, lasting finish.
Why Restaining Instead of Replacing?
Replacing kitchen cabinets can be one of the most expensive parts of a remodel.
🎄 Christmas & Year-End Amazon Deals !
Don’t miss out on the best discounts and top-rated products available right now!
*As an Amazon Associate, I earn from qualifying purchases.
Restaining, on the other hand, allows you to keep your existing cabinet structure while completely changing their appearance.
This approach is budget-friendly, eco-conscious, and often quicker than a full replacement.
Plus, it gives you the flexibility to choose from a wide range of timeless colors—see our guide on what kitchen cabinet colors are timeless for inspiration.
When Restaining Is a Good Option
Restaining works best if your cabinets are structurally sound.
Solid wood cabinets are ideal for this process since they can be sanded and refinished multiple times.
Veneer cabinets can also be restained, but they require more care to avoid damaging the thin surface layer.
If your cabinets are warped, cracked, or heavily water-damaged, replacing them might be a better option.
For more on how cabinets are classified and valued, see are kitchen cabinets considered furniture.
Benefits of Restaining Kitchen Cabinets
- Cost Savings – A fraction of the price of new cabinets.
- Customization – Choose any stain color to match your design vision.
- Sustainability – Reuse existing materials instead of sending them to a landfill.
- Faster Turnaround – Often completed in days rather than weeks.
Tools and Materials You’ll Need
Before starting, gather these essentials:
- Screwdriver (to remove doors and hardware)
- Drop cloths or plastic sheeting
- Sandpaper or an electric sander
- Wood stain in your chosen color
- Wood conditioner (for even absorption)
- High-quality brushes or staining pads
- Protective finish (polyurethane or varnish)
- Safety gear (gloves, mask, eye protection)
Step-by-Step Guide to Restaining Cabinets
1. Remove Doors and Hardware
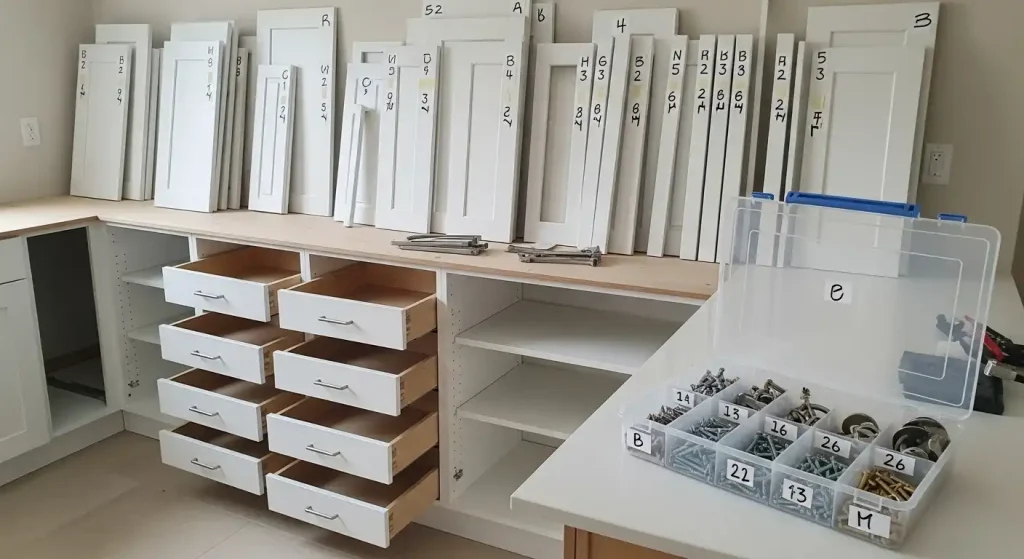
Take off all cabinet doors, drawers, and hardware.
Label each piece to make reassembly easier. Store screws and handles in a labeled container.
2. Clean Thoroughly
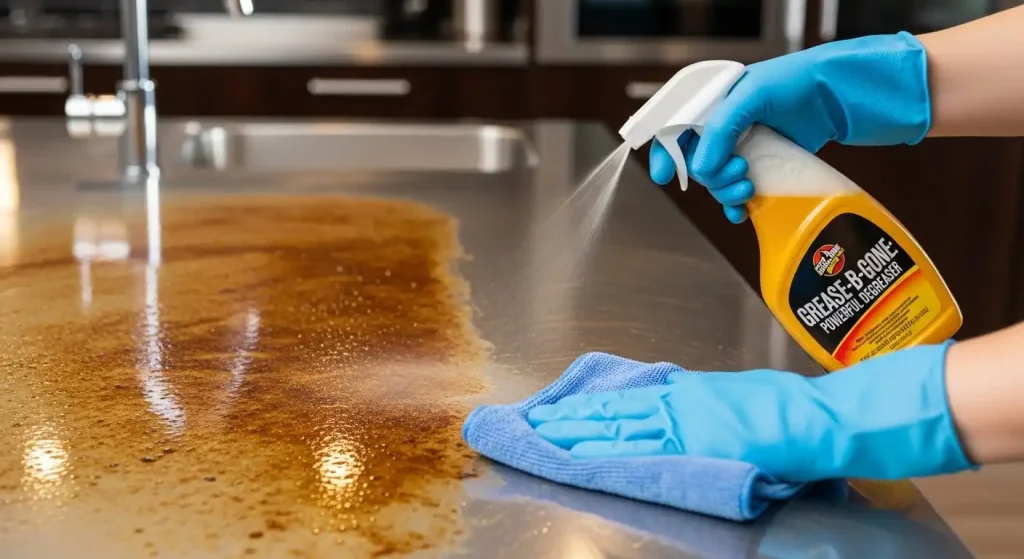
Kitchens accumulate grease and grime over time.
Use a degreasing cleaner to remove all residue—this ensures the stain adheres properly.
3. Sand the Surfaces
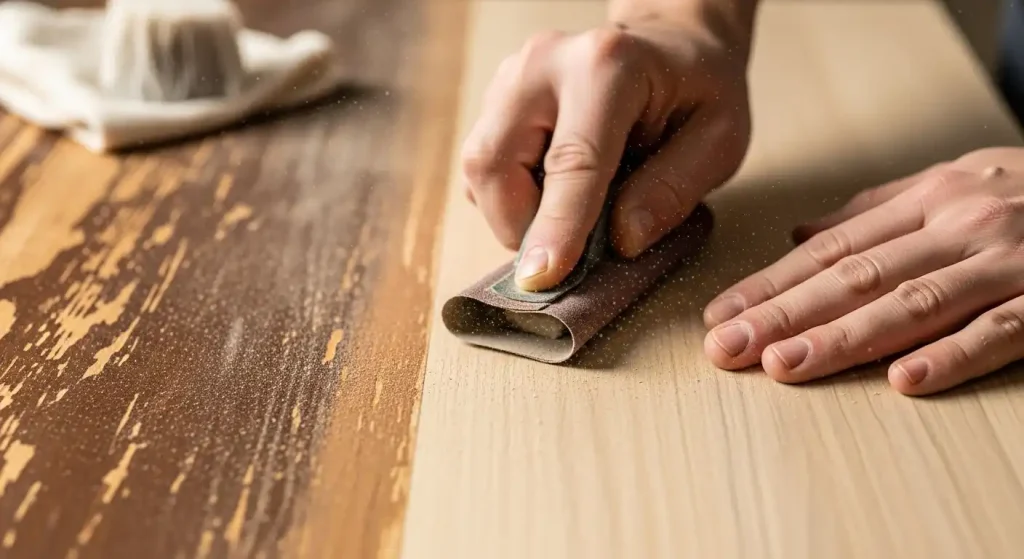
Sanding removes the old finish and smooths imperfections.
🎄 Christmas & Year-End Amazon Deals !
Don’t miss out on the best discounts and top-rated products available right now!
*As an Amazon Associate, I earn from qualifying purchases.
Start with medium-grit sandpaper, then move to a finer grit for a smooth surface. Wipe away dust with a tack cloth.
4. Apply Wood Conditioner
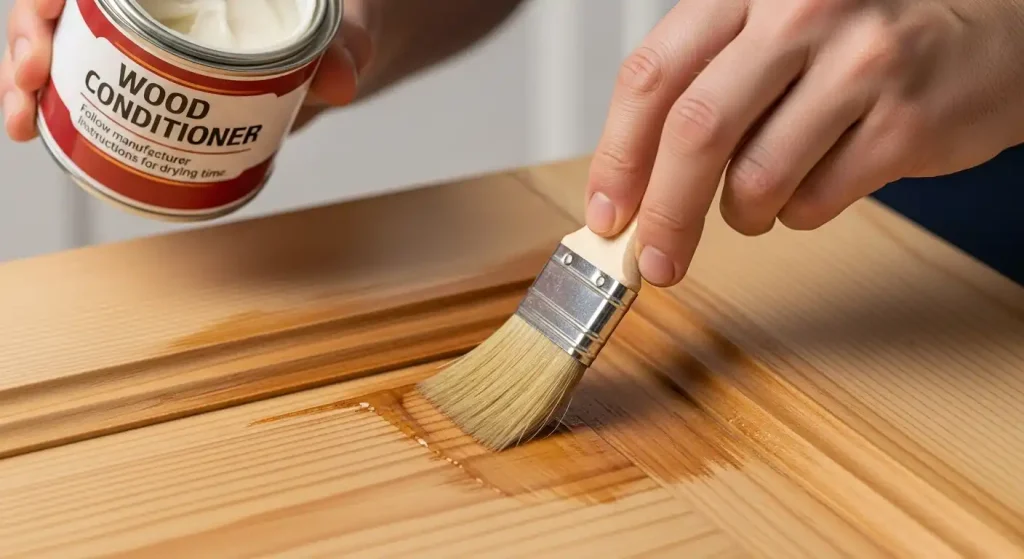
If your cabinets are made of softwood like pine, a wood conditioner helps the stain absorb evenly.
Follow the manufacturer’s instructions for drying time.
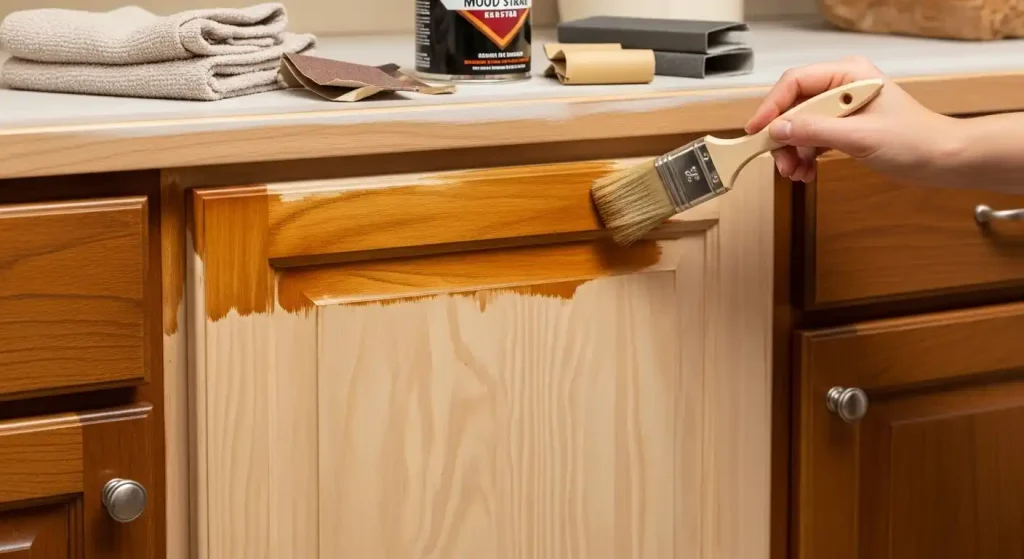
5. Stain the Cabinets
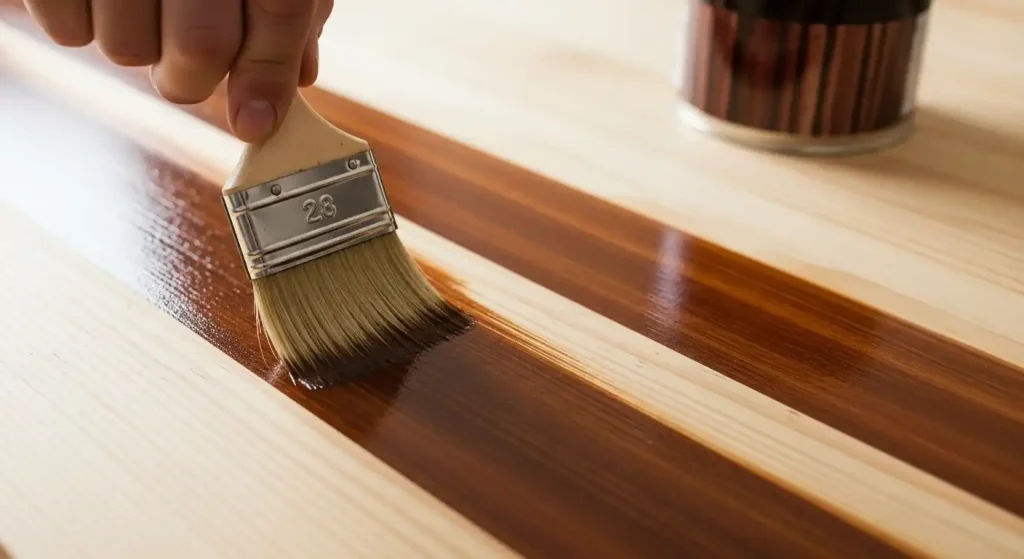
Apply the stain with a brush or staining pad, moving with the grain of the wood.
Wipe off excess stain after a few minutes for a lighter tone, or leave it longer for a richer color.
6. Apply Protective Finish
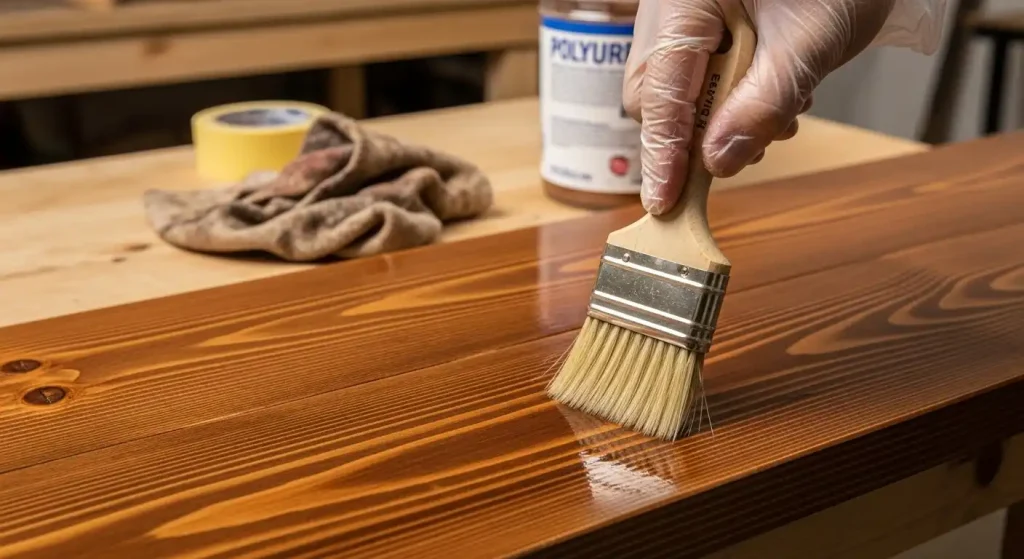
Once the stain is dry, seal it with a protective coat of polyurethane or varnish.
This protects against moisture, scratches, and everyday wear.
7. Reassemble and Enjoy
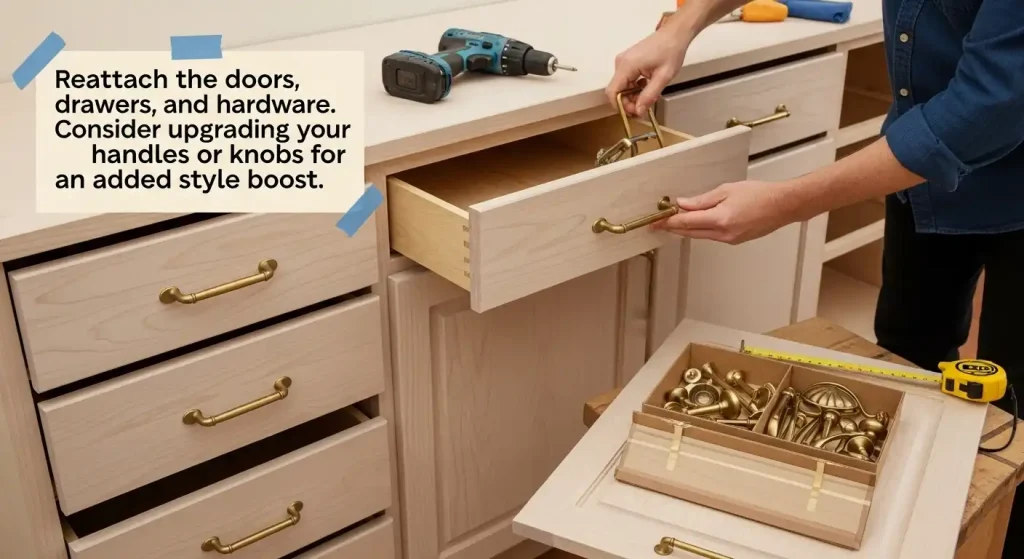
Reattach the doors, drawers, and hardware.
Consider upgrading your handles or knobs for an added style boost.
Choosing the Right Stain Color
The color you choose will set the tone for your entire kitchen.
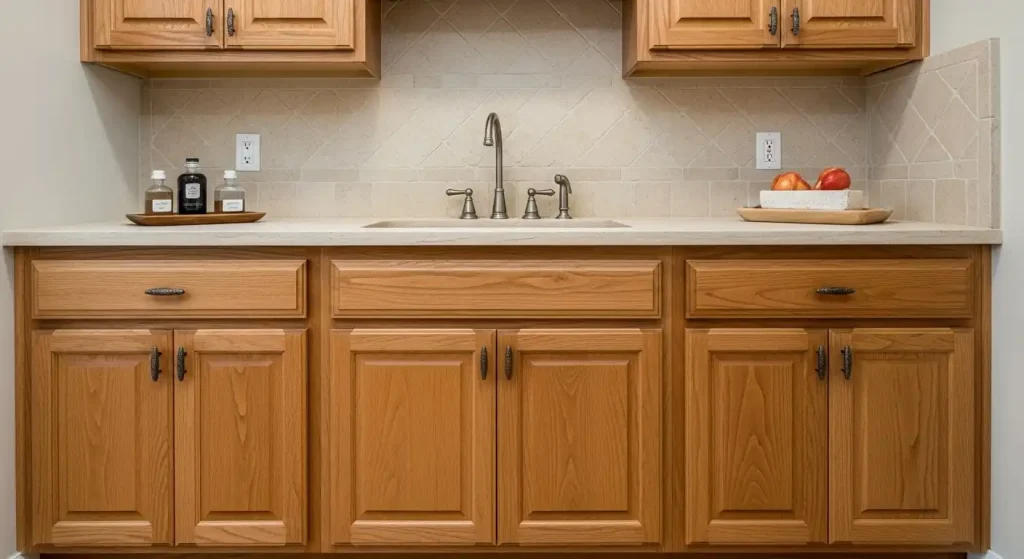
For a warm, classic look, consider honey or walnut tones—our honey oak kitchen cabinet guide offers great examples.
If you prefer a modern, bold style, a deep espresso or even dark blue (see kitchen cabinet color ideas dark blue) can make a statement.
🎄 Christmas & Year-End Amazon Deals !
Don’t miss out on the best discounts and top-rated products available right now!
*As an Amazon Associate, I earn from qualifying purchases.
For kitchens with brown floors, see our kitchen cabinet color ideas with brown floor for harmonious pairings.
Styling Restained Cabinets
Once your cabinets are refreshed, styling them can make your kitchen feel brand new.
- Add Glass Doors – See glass cabinet display ideas for kitchen for inspiration.
- Decorate Above Cabinets – If you have space, check out above kitchen cabinet decor ideas.
- Coordinate with Backsplash – Match your new stain with ideas from kitchen backsplash designs with dark cabinets.
Maintenance Tips for Stained Cabinets
To keep your cabinets looking their best:
- Wipe spills immediately to prevent staining.
- Use a gentle cleaner—avoid harsh chemicals.
- Reapply protective finish every few years if needed.
- Keep humidity levels stable to prevent warping.
When to Hire a Professional
While restaining can be a DIY project, hiring a pro may be worth it if:
- You have a large kitchen with many cabinets.
- The existing finish is difficult to remove.
- You want a specialty finish or custom color.
Professionals can ensure a flawless result and may complete the job faster.
Restaining vs. Painting
Restaining enhances the natural beauty of wood grain, while painting covers it completely.
If you love the organic look of wood, restaining is the way to go.
If you want a solid, opaque color, painting might be better—see kitchen color ideas for cabinets for inspiration.
Matching Restained Cabinets with Your Kitchen Style
Your new stain should complement your overall design theme.
For rustic or farmhouse kitchens, warm wood tones pair beautifully with natural elements—see kitchen color ideas with wood cabinets.
For modern spaces, try pairing your stain with sleek countertops and bold accents like a blue kitchen island.
Final Thoughts
So, can kitchen cabinets be restained? Absolutely—and in many cases, it’s the smartest way to refresh your kitchen without overspending.
🎄 Christmas & Year-End Amazon Deals !
Don’t miss out on the best discounts and top-rated products available right now!
*As an Amazon Associate, I earn from qualifying purchases.
By following the right steps, choosing a timeless stain color, and styling your cabinets thoughtfully, you can transform your space into something that feels brand new.
Whether you go the DIY route or hire a professional, restaining offers endless possibilities for customization and charm.