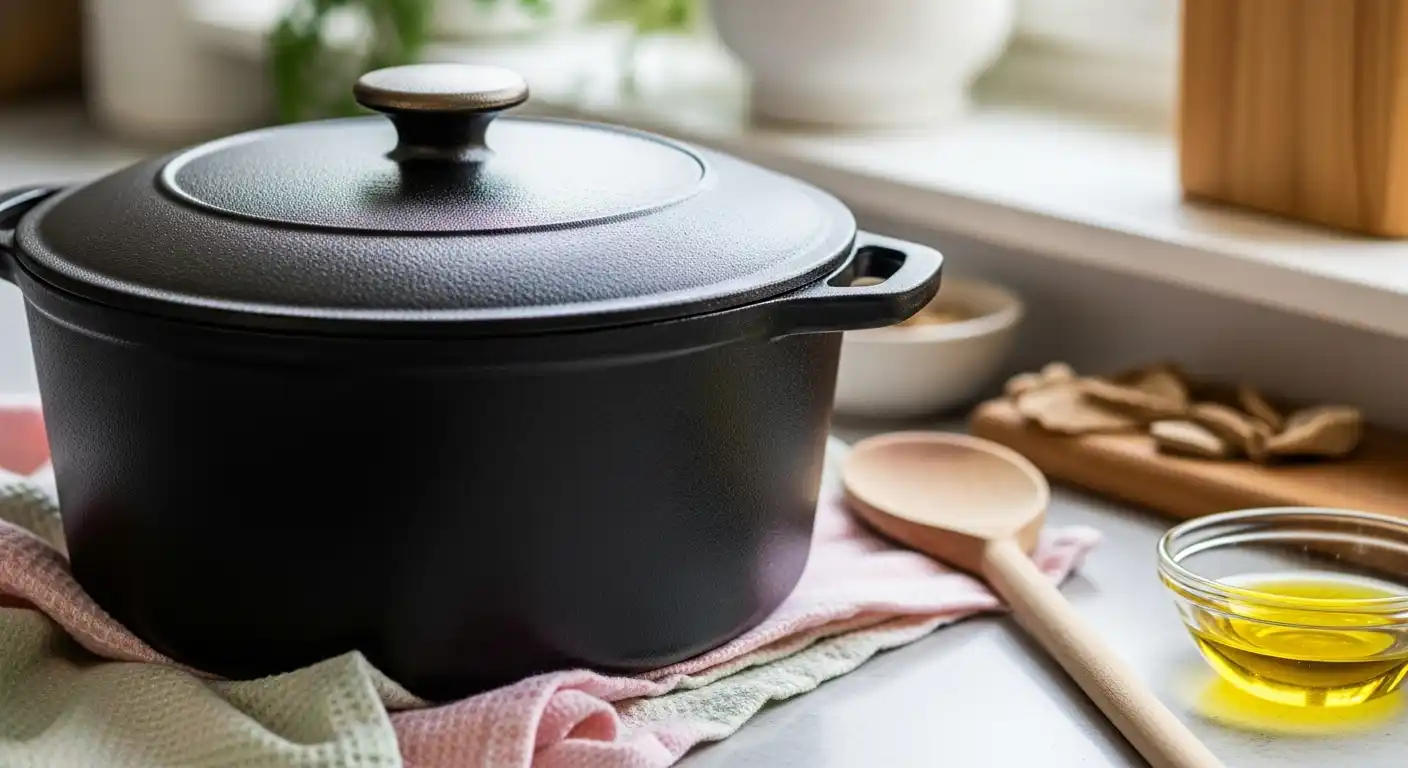
How to Season Cast Iron Dutch Oven [Step-By-Step Guide]
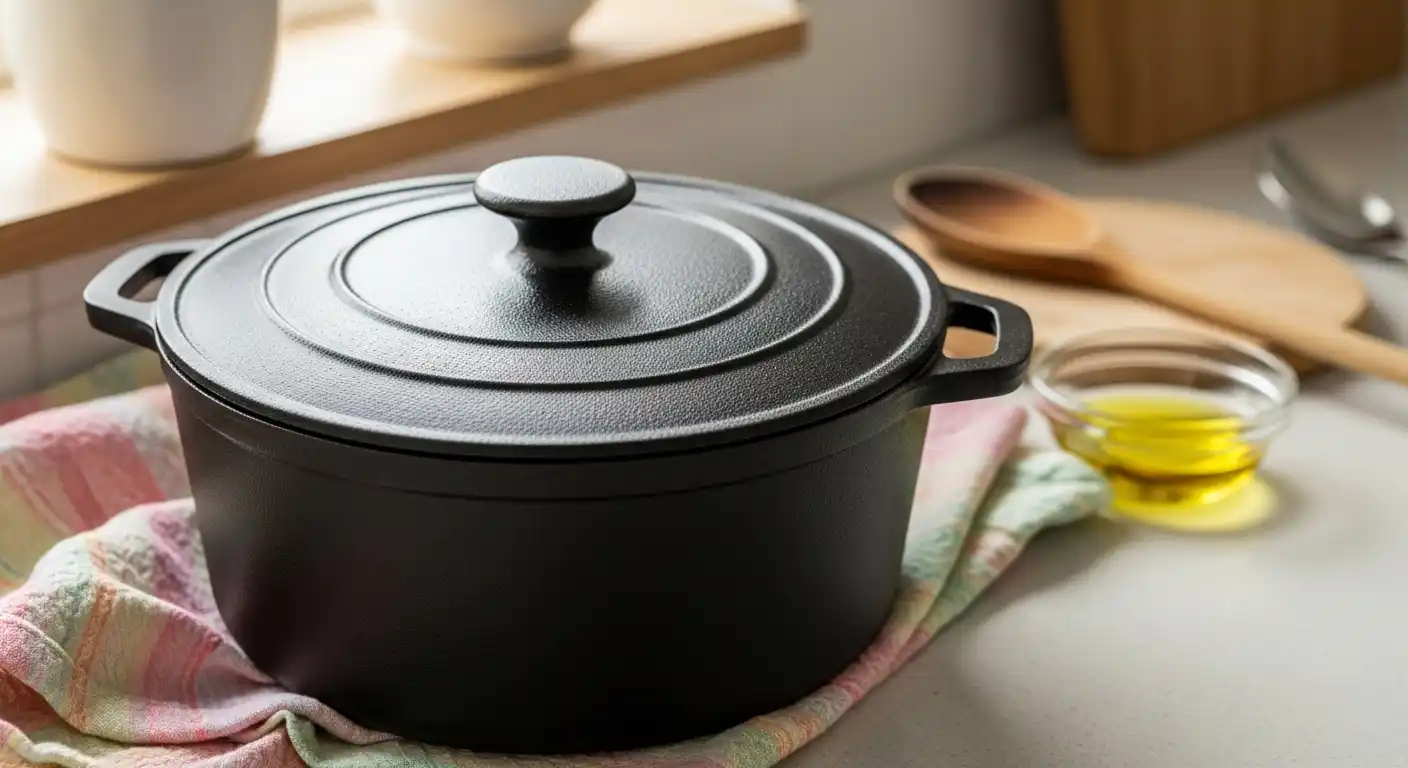
Seasoning a cast iron Dutch oven is a culinary tradition that can elevate your cooking and make your cookware last for generations.
Seasoning a cast iron Dutch oven involves cleaning it thoroughly, applying a thin layer of unsaturated oil, and heating it in an oven to create a non-stick surface, enhance durability, and impart a unique flavor to cooked dishes.
Repeat this process for optimal results.
- Begin by cleaning the Dutch oven meticulously with a brush or steel wool and a drop of dish soap. Rinse and ensure it’s completely dry.
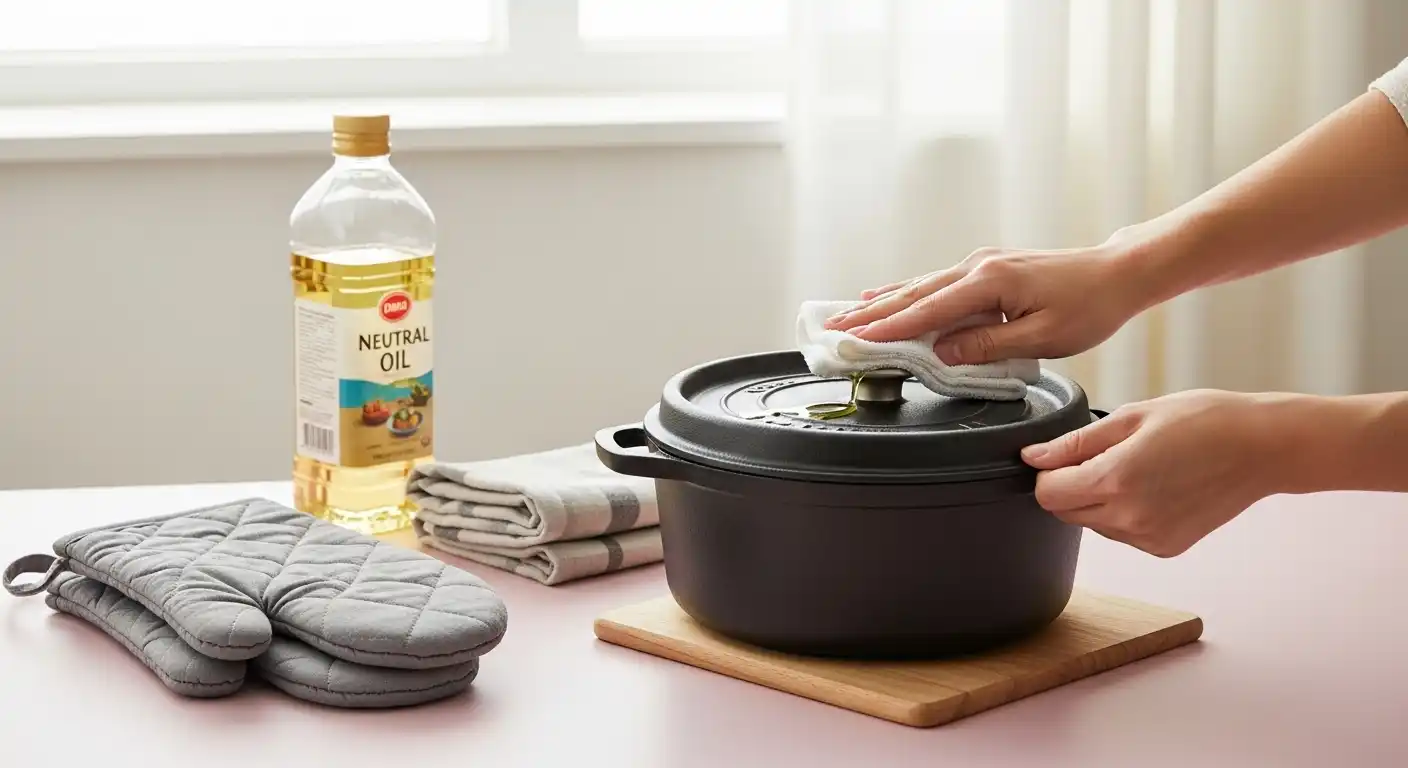
- Apply a thin, even layer of unsaturated oil (like flaxseed or grapeseed) inside and outside the Dutch oven. This forms the foundation of the seasoning.
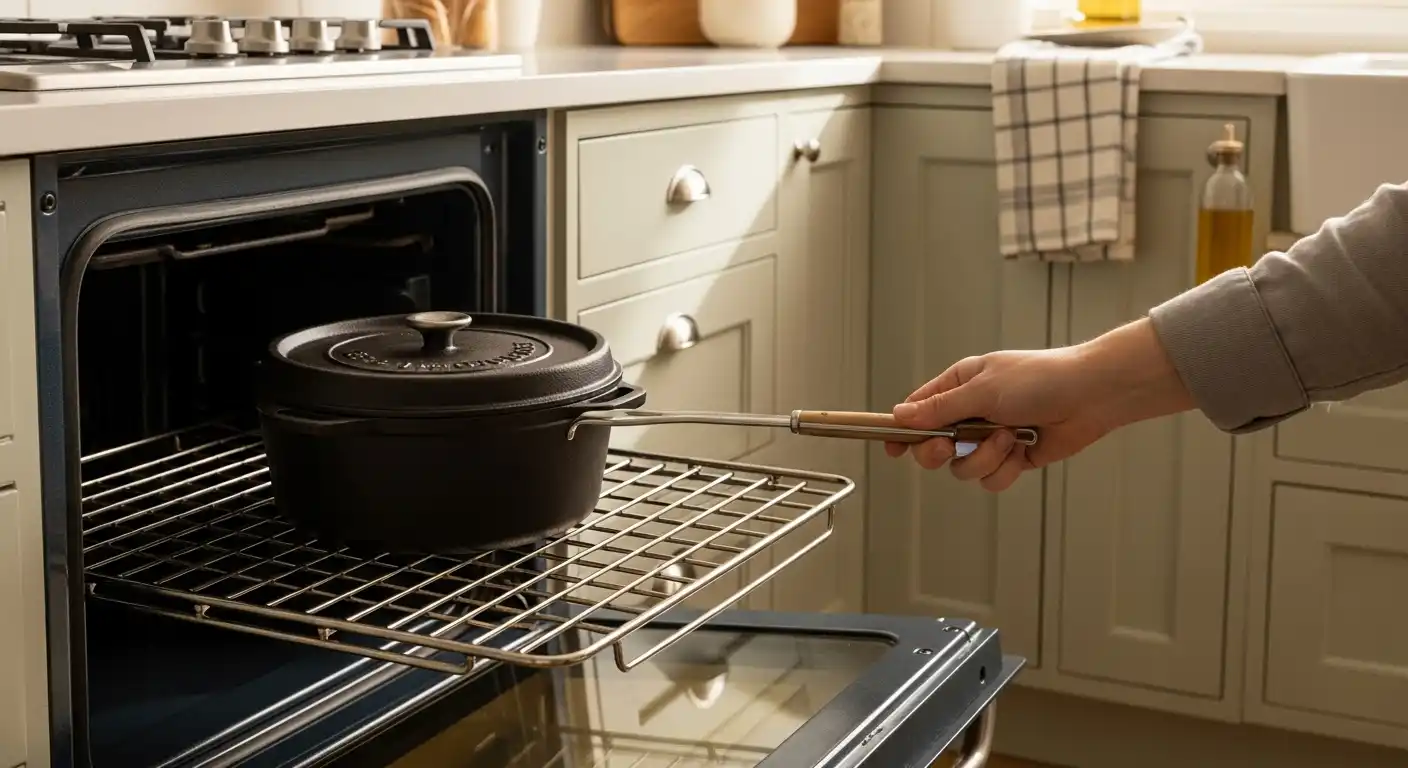
- Preheat the oven to 450°F (232°C), place the Dutch oven upside down in the oven, and bake for an hour. This process bonds the oil to the iron.
- For the best results, repeat the oiling and baking process at least two more times, building a robust non-stick surface for your Dutch oven.
8 Steps: How to Season Cast Iron Dutch Oven
| Steps | Instructions |
|---|---|
| 1 | Clean the Dutch oven thoroughly with a stiff brush or steel wool, using a drop of dish soap if needed. Rinse and dry completely. |
| 2 | Apply a small amount of unsaturated oil (e.g., flaxseed or grapeseed) evenly to the Dutch oven’s interior and exterior. |
| 3 | Preheat the oven to 450°F (232°C), place the Dutch oven upside down on the middle rack, and bake for 1 hour. |
| 4 | Turn off the oven and let the Dutch oven cool inside with the door closed. |
| 5 | Repeat the oiling and baking process at least two more times for optimal seasoning. |
| 6 | Preheat the seasoned Dutch oven before cooking, use a bit of cooking oil, avoid highly acidic foods, and use metal utensils. |
| 7 | Wash the Dutch oven with mild soap, remove stuck-on bits with a pan scraper or salt, and ensure it’s completely dry after cleaning. |
| 8 | Store the seasoned Dutch oven by applying a thin layer of oil, heating until smoking, cooling, and keeping it in a dry place. |
Why Seasoning Matters for Cast Iron Dutch Ovens?
Seasoning plays a crucial role in enhancing the performance and longevity of cast iron Dutch ovens. It matters for several reasons.
Firstly, seasoning creates a natural non-stick surface on the interior of the Dutch oven, making cooking and cleaning easier while reducing the need for excessive oil or fats.
This non-stick quality is especially valuable for preparing delicate dishes like braised meats or stews.
Secondly, proper seasoning helps protect the cast iron from rust and corrosion, ensuring the Dutch oven remains in excellent condition for generations.
Additionally, the seasoning process imparts a unique flavor to the food cooked in the Dutch oven, contributing to the distinctive taste and character of dishes.
In essence, seasoning is not just about maintenance; it’s about enhancing the cooking experience and preserving a valuable kitchen tool.
When to Season a Cast Iron Dutch Oven?
The cast iron dutch oven should be seasoned when it’s new, after it has been used, and every few months if used frequently.
Seasoning a cast iron Dutch oven helps to create a nonstick surface and prevent rust.
Most Dutch ovens are best seasoned while still hot. They must be dry and cool before seasoning.
Once the seasoning has been applied, the pan may be allowed to dry overnight before heating.
Moreover, a cast iron Dutch oven should be seasoned after each use and be allowed to air out for a minimum of two weeks before storing.
I wash cast iron pans with soap and water before seasoning and use a soft brush to apply the seasoning.
What Kind of Seasoning Should Be Used for a Cast Iron Dutch Oven?
There are different types of seasoning that can be used for a cast iron Dutch oven.
The most popular options include sea salt, black pepper, garlic powder, and onion powder.
However, it is ultimately up to the cook to decide which type of seasoning to use. There are no hard and fast rules for seasoning a Dutch oven.
Experiment with different combinations of spices and herbs to find a flavor you enjoy.
Oil-based seasonings are easier to apply and can last up to six months.
Once you’ve applied the seasoning, wait at least four hours before cooking.
Materials Needed
Before we dive into the seasoning process, let’s gather the essential materials you’ll need:
- Stiff Brush or Steel Wool: For cleaning your Dutch oven.
- Dish Soap: To ensure thorough cleaning without harming the seasoning.
- Paper Towels: For drying the Dutch oven.
- Aluminum Foil: To catch any drips during seasoning.
- Unsaturated Oil: Choose high-smoke-point oils like flaxseed or grapeseed for optimal results.
How to Season Cast Iron Dutch Oven?
Now, let’s go through the steps to season your cast iron Dutch oven:
1. Cleaning the Dutch Oven
Start with a dirty Dutch oven. Yes, you read that right! If it’s new, use a stiff brush. For older ovens, steel wool works well.
Add a drop of dish soap and scrub the Dutch oven thoroughly, inside and out.
Rinse it off, ensuring all soap residue is gone.
Dry the Dutch oven completely. You can use paper towels or let it air dry.
2. Applying Unsaturated Oil
Take a small amount of unsaturated oil on a paper towel.
Rub the oil all over the Dutch oven, including the lid, handles, and even the outside.
Make sure to coat it evenly. A thin layer is all you need.
3. Baking in the Oven
Preheat your oven to 450°F (232°C).
Place the Dutch oven upside down on the middle rack.
Put a sheet of aluminum foil on the bottom rack to catch any drips.
Bake for an hour.
Turn off the oven and let the Dutch oven cool inside with the door closed.
4. Repeat for Optimal Seasoning
For the best results, repeat the oiling and baking process at least two more times.
This builds up a robust non-stick layer on your Dutch oven.
Tips for Cooking with a Seasoned Cast Iron Dutch Oven
Now that your Dutch oven is perfectly seasoned, here are some tips for cooking with it:
- Preheating: Always preheat the Dutch oven before cooking to prevent sticking.
- Using Cooking Oil: Add a bit of cooking oil when sautéing or frying to enhance the non-stick surface.
- Avoiding Acidic Foods: Be cautious with highly acidic foods; they can affect the seasoning.
- Choosing Suitable Utensils: Metal utensils are perfectly fine to use with cast iron.
Cleaning and Maintaining Your Seasoned Dutch Oven
Proper cleaning and maintenance are crucial to preserve your Dutch oven’s seasoning:
- Wash with Mild Soap: It’s okay to use mild soap for cleaning; it won’t harm the seasoning.
- Removing Stuck-on Bits: Use a pan scraper, bristle brush, or coarse kosher salt to remove any stuck-on food.
- Drying Thoroughly: After cleaning, ensure your Dutch oven is completely dry to prevent rust.
Proper Storage of Your Seasoned Dutch Oven
Storing your seasoned Dutch oven correctly is key to its long-term durability:
- Apply a Thin Layer of Oil: Wipe the inside of the pan with a thin layer of oil.
- Heat Until Smoking: Heat the Dutch oven until the oil smokes lightly.
- Let It Cool and Store Dry: Allow it to cool and store it in a dry place.
Conclusion
Seasoning your cast iron Dutch oven is a simple yet essential skill that can transform your cooking experience.
By following these steps and tips, you’ll not only create a non-stick surface but also ensure that your Dutch oven becomes a cherished heirloom, passed down through generations.
Frequently Asked Questions
How Often Should I Season My Dutch Oven?
It’s a good practice to season it after each use initially. Over time, as the seasoning builds up, you can do it less frequently.
Can I Use My Dutch Oven on a Campfire?
Yes, you can use it over a campfire, but be prepared for soot and ash, which may require extra cleaning and seasoning.
What If My Dutch Oven Develops Rust?
Don’t worry; rust can be remedied. Simply scrub the rusted area and re-season, and your Dutch oven will be back in top shape.