How to Clean a Dutch Oven: A Step-by-Step Guide

Dutch ovens are a kitchen staple, cherished for their versatility and durability.
Whether you’re simmering a hearty stew or baking artisan bread, these heavy-duty pots deliver exceptional results.
However, keeping them in pristine condition requires proper care. Learning how to clean a Dutch oven effectively ensures it remains a reliable tool for years.
This guide covers everything you need to know about cleaning both cast iron and enamel Dutch ovens.
From everyday maintenance to tackling stubborn stains, we’ll walk you through the process with practical tips and tricks.
Why Proper Cleaning Matters for Your Dutch Oven
A Dutch oven’s material—whether cast iron or enamel—demands specific cleaning techniques.
Improper methods can strip seasoning from cast iron or damage the glossy finish of enamel.
Regular maintenance not only preserves the pot’s appearance but also enhances its cooking performance.
Neglecting proper care can lead to rust, scratches, or stuck-on food that’s tough to remove.
By following the right steps, you’ll extend the life of your Dutch oven and keep it ready for your next culinary adventure.
Cleaning a Cast Iron Dutch Oven
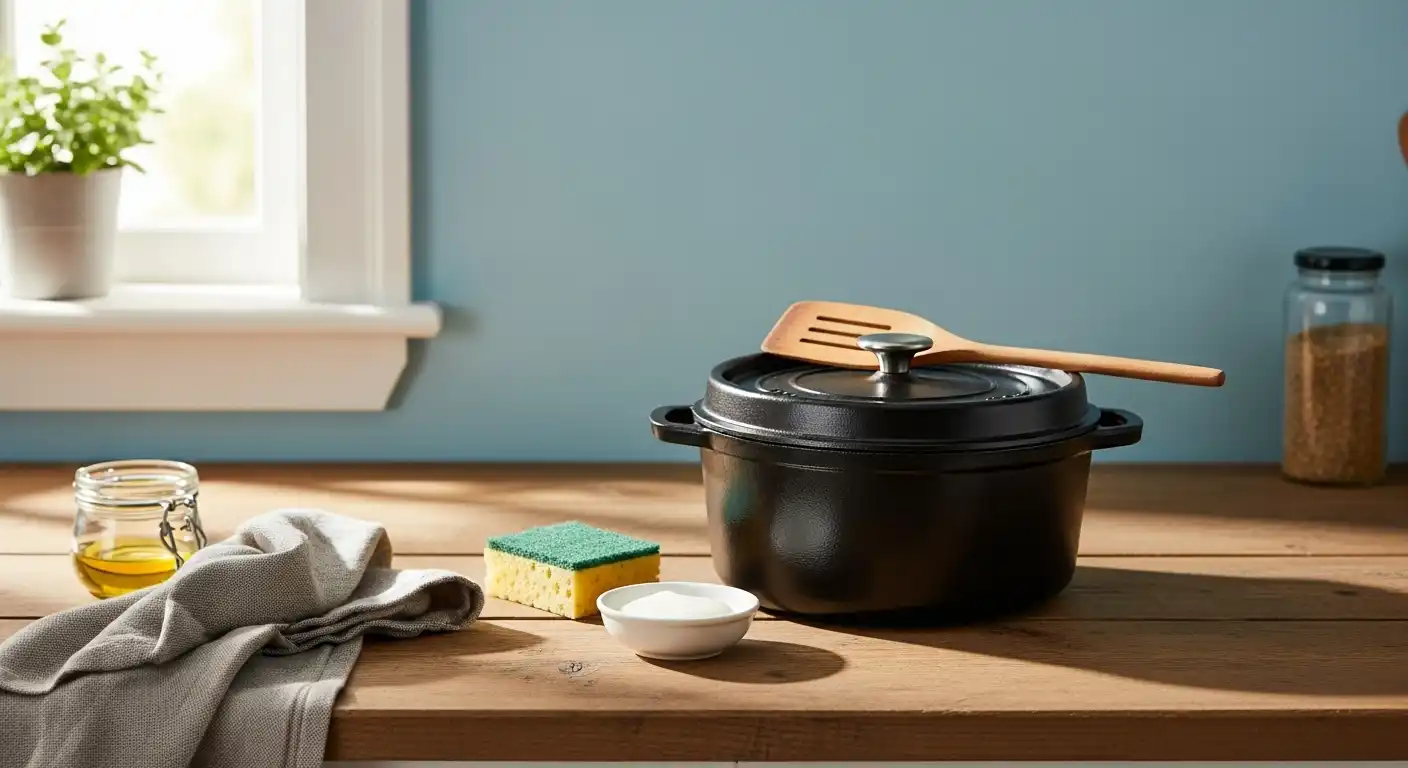
Step 1: Let It Cool Completely
After cooking, allow your cast iron Dutch oven to cool to room temperature.
Pouring cold water into a hot pot can cause thermal shock, leading to cracks or warping.
Resist the urge to scrub immediately. Patience here protects your investment.
Step 2: Scrape Off Food Residue
Use a wooden or plastic spatula to gently remove stuck-on food.
Avoid metal utensils, as they can scratch the seasoning.
For stubborn bits, soak the pot in warm water for 10–15 minutes.
This loosens debris without compromising the cast iron’s seasoned surface.
Step 3: Wash with Minimal Soap
Contrary to old myths, a small amount of mild dish soap won’t ruin your cast iron.
Use a soft sponge or cloth to clean the interior and exterior.
Rinse thoroughly to remove all soap residue. Excess soap can strip the seasoning over time.
Subscribe to Cookwarely
Get updates on the latest posts and more from Cookwarely straight to your inbox.
Step 4: Dry Immediately
Cast iron is prone to rust, so drying is critical.
Wipe the pot with a clean towel, then place it on low heat on the stove for a few minutes to evaporate any remaining moisture.
For extra protection, apply a thin layer of vegetable oil to maintain the seasoning.
For more details on this process, check out our guide on seasoning a cast iron Dutch oven.
Step 5: Store Properly
Store your Dutch oven in a dry place with the lid off or slightly ajar to promote air circulation.
This prevents moisture buildup and keeps rust at bay.
If stacking with other cookware, place a cloth or paper towel inside to protect the interior surface.
Cleaning an Enamel Dutch Oven
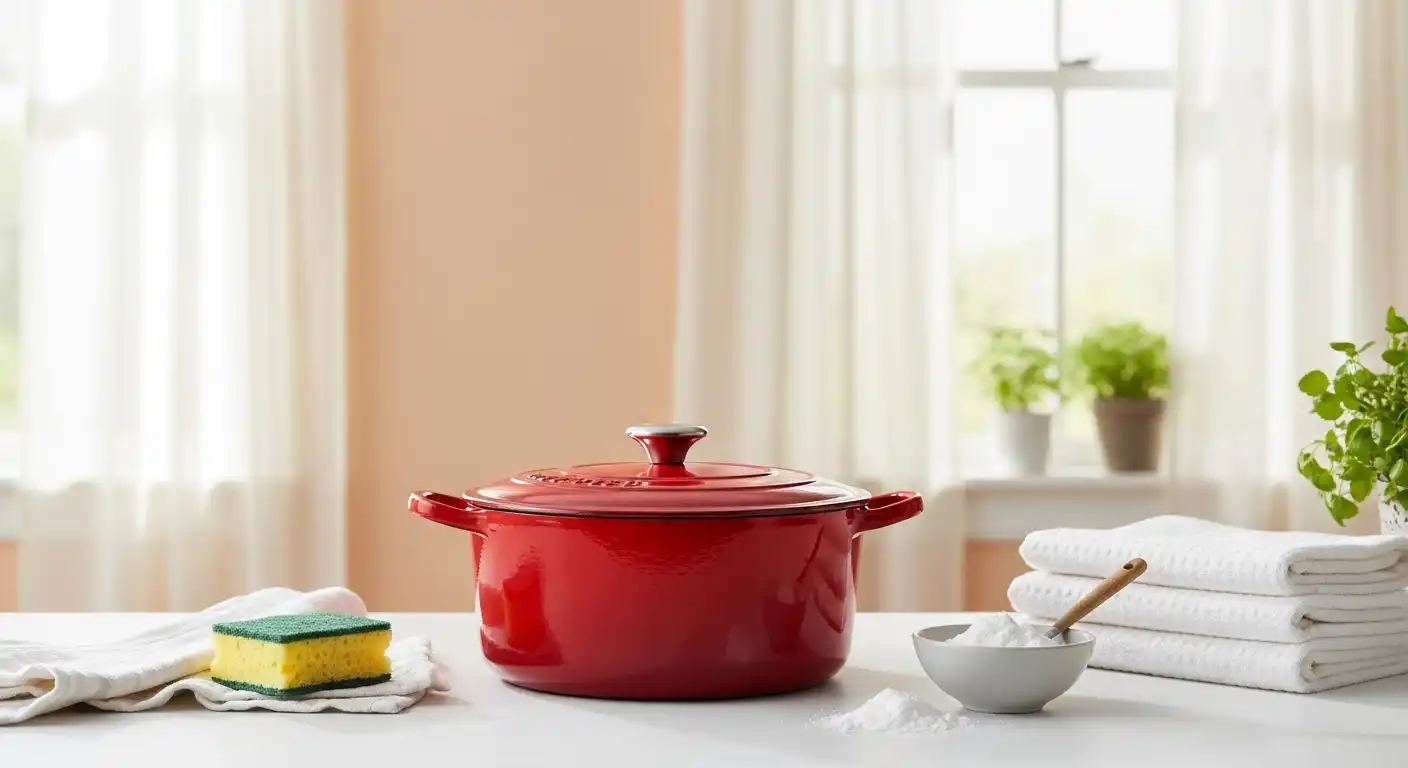
Step 1: Cool Before Cleaning
Like cast iron, enamel Dutch ovens need to cool completely before cleaning.
Sudden temperature changes can crack the enamel coating.
Let the pot sit for at least an hour after cooking to ensure it’s safe to handle.
Step 2: Soak for Easy Cleaning
For stuck-on food, fill the Dutch oven with warm water and a splash of dish soap.
Let it soak for 15–20 minutes to loosen debris.
Avoid prolonged soaking, as it may weaken the enamel over time. A quick soak is usually enough.
Step 3: Use Non-Abrasive Tools
Clean the pot with a soft sponge or cloth.
Avoid steel wool or abrasive scrubbers, which can scratch the enamel surface.
For tough stains, make a paste with baking soda and water.
Apply it to the stain, let it sit for a few minutes, then gently scrub.
Step 4: Rinse and Dry
Rinse thoroughly to remove all soap or baking soda residue.
Dry the pot completely with a soft towel to prevent water spots or mineral buildup.
Unlike cast iron, enamel Dutch ovens don’t require oiling, but drying is still essential to maintain the finish.
Subscribe to Cookwarely
Get updates on the latest posts and more from Cookwarely straight to your inbox.
Step 5: Check the Lid
Enamel Dutch oven lids are often safe for oven use, but always confirm with the manufacturer.
For more on this, see our article on are Dutch oven lids oven-safe?.
Store the pot with the lid slightly off to avoid trapping moisture inside.
Can You Put an Enamel Dutch Oven in the Dishwasher?
Many wonder if an enamel Dutch oven can go in the dishwasher for convenience.
While some brands claim their products are dishwasher-safe, it’s generally not recommended.
The harsh detergents and high heat can dull the enamel’s shine over time.
For a deeper dive into this topic, read our post on can you put an enamel Dutch oven in the dishwasher?.
Hand-washing is the safest way to preserve your pot’s appearance and longevity.
It only takes a few minutes and ensures your Dutch oven stays in top shape.
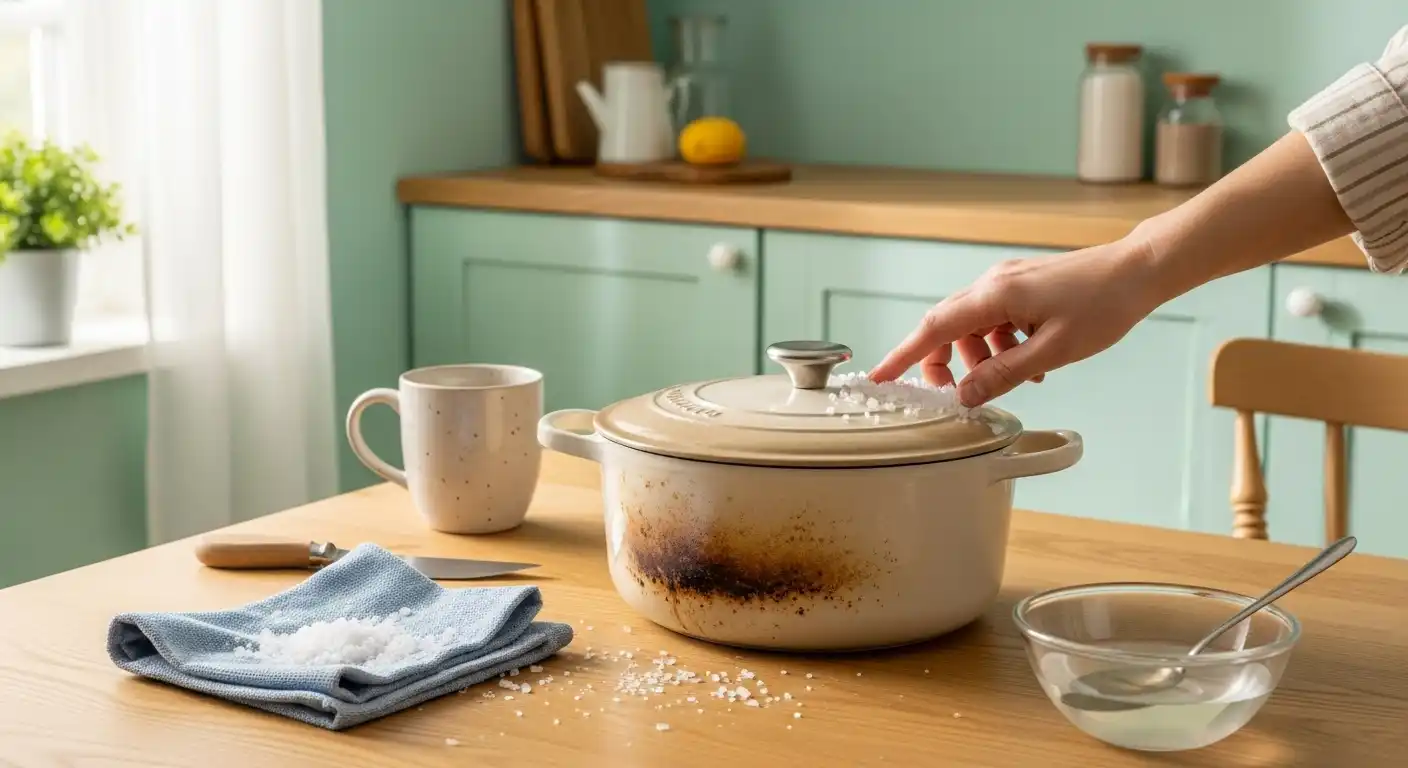
Tackling Tough Stains and Burn Marks
Even with careful use, Dutch ovens can develop stubborn stains or burn marks.
For cast iron, a gentle scrub with coarse salt and a damp cloth can work wonders.
This method removes residue without damaging the seasoning.
For enamel Dutch ovens, try soaking the pot with a mixture of warm water and white vinegar for 30 minutes.
If stains persist, a baking soda paste applied with a soft sponge often does the trick.
Avoid using harsh chemicals like bleach, which can damage both cast iron and enamel surfaces.
Patience and gentle methods are key.
Maintaining Your Dutch Oven for Longevity
Regular cleaning is only part of the equation.
To keep your Dutch oven performing at its best, consider its specific needs based on material and usage.
For cast iron, re-seasoning periodically is essential, especially if you notice food sticking or a dull surface.
Our guide on Lodge Dutch ovens offers tips for maintaining these popular models.
Subscribe to Cookwarely
Get updates on the latest posts and more from Cookwarely straight to your inbox.
Enamel Dutch ovens require less maintenance but benefit from careful handling to avoid chips or scratches.
Always use wooden or silicone utensils to protect the coating.
Choosing the Right Dutch Oven for Your Needs
The cleaning process can vary slightly depending on the type and size of your Dutch oven.
If you’re unsure which one suits your kitchen, explore our articles on what size Dutch oven for a family of four or how big of a Dutch oven do I need for bread.
Different dishes call for different tools.
For instance, a Dutch oven vs. roasting pan comparison can help you decide which is better for your recipes.
Common Mistakes to Avoid
When cleaning a Dutch oven, certain missteps can cause damage.
Never use a dishwasher for cast iron, as it strips the seasoning and promotes rust.
For both types, avoid soaking for extended periods or using abrasive tools.
These habits can degrade the surface and affect cooking performance.
If you’re replacing another cooking vessel, our comparisons like Dutch oven vs. slow cooker or Dutch oven vs. Instant Pot can guide your decision-making.
When to Replace or Repair Your Dutch Oven
With proper care, a Dutch oven can last decades.
However, if you notice deep rust on cast iron or significant chips in enamel, it may be time to consider a replacement.
If you’re looking for alternatives, check out our article on substitutes for a Dutch oven for creative solutions.
For minor issues, re-seasoning or gentle cleaning can often restore your pot. Don’t rush to replace a quality Dutch oven—it’s built to last.
Final Thoughts on Keeping Your Dutch Oven Pristine
Cleaning a Dutch oven doesn’t have to be daunting.
By following these simple steps, you can keep your cast iron or enamel pot in excellent condition for years of delicious meals.
Whether you’re braising, baking, or roasting, a well-maintained Dutch oven is a kitchen workhorse.
For more tips on care and usage, visit our comprehensive guide on cleaning a Dutch oven.
With the right approach, your Dutch oven will remain a trusted companion for countless culinary creations.