How To Use A Pre-Seasoned Cast Iron Skillet For The First Time?

Congratulations on getting your hands on a pre-seasoned cast iron skillet!
This versatile kitchen tool is a game-changer for home cooks, offering durability and unmatched heat retention.
Whether you’re searing steaks or baking cornbread, knowing how to use a pre-seasoned cast iron skillet for the first time will set you up for success.
In this guide, we’ll walk you through everything you need to know to start cooking with your skillet.
🛍️ Top Amazon Deals & Must-Have Finds
Discover great discounts and highly rated products you’ll love—updated regularly so you never miss a smart buy.
*As an Amazon Associate, I earn from qualifying purchases.
From initial cleaning to proper care, we’ve got you covered with practical tips to ensure your cast iron shines.
What Does “Pre-Seasoned” Mean?
A pre-seasoned cast iron skillet comes with a factory-applied layer of oil baked onto its surface. This creates a non-stick coating and protects against rust.
However, “pre-seasoned” doesn’t mean it’s ready to use straight out of the box.
The seasoning may need a little TLC to optimize its performance. Don’t worry—this process is simple and rewarding.
Let’s dive into the steps to get your skillet ready for its first use.
Step 1: Clean Your Pre-Seasoned Skillet
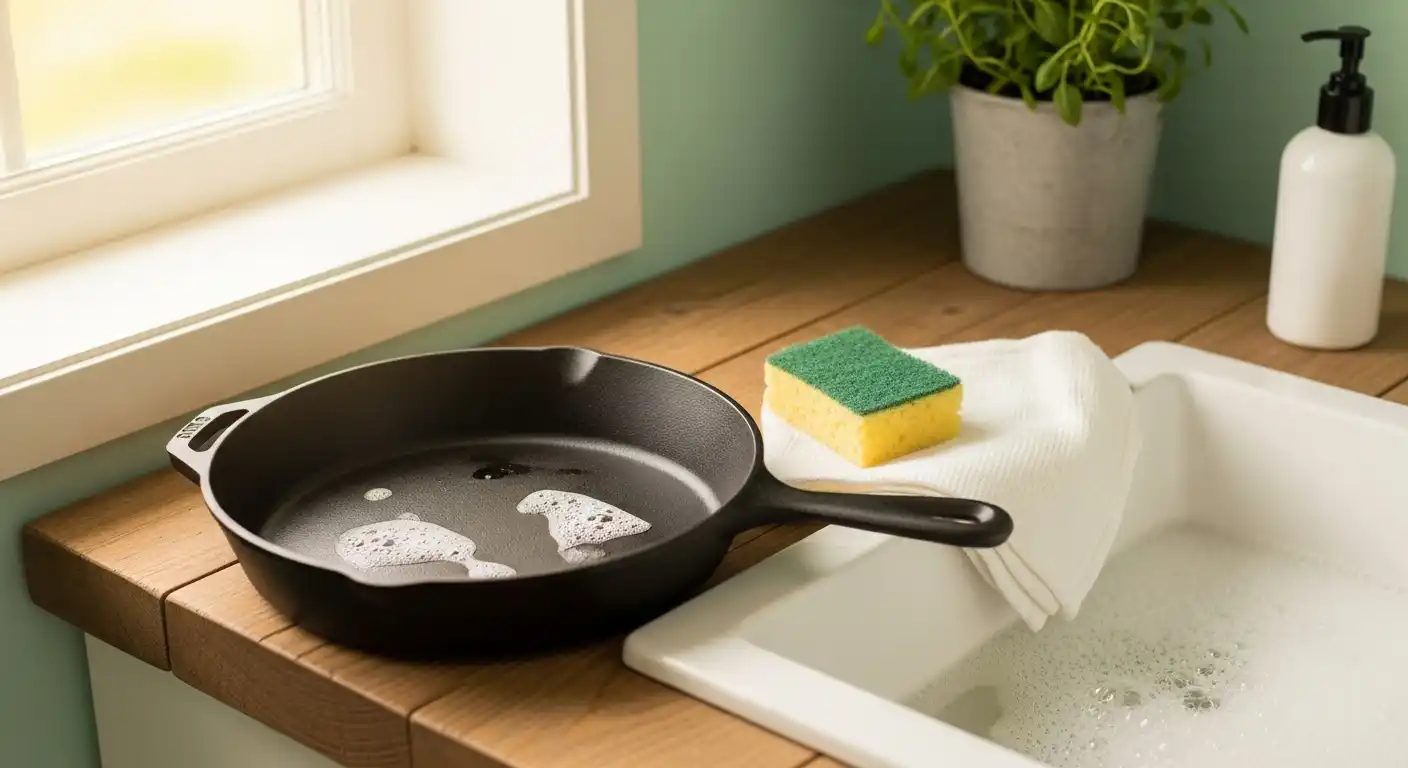
Before cooking, give your skillet a gentle wash to remove any dust or residue from manufacturing or shipping.
Use warm water and a soft sponge or cloth. Avoid harsh detergents, as they can strip the seasoning.
If you notice stubborn residue, a small amount of mild dish soap is fine for this initial clean. Rinse thoroughly and dry immediately with a clean towel to prevent rust.
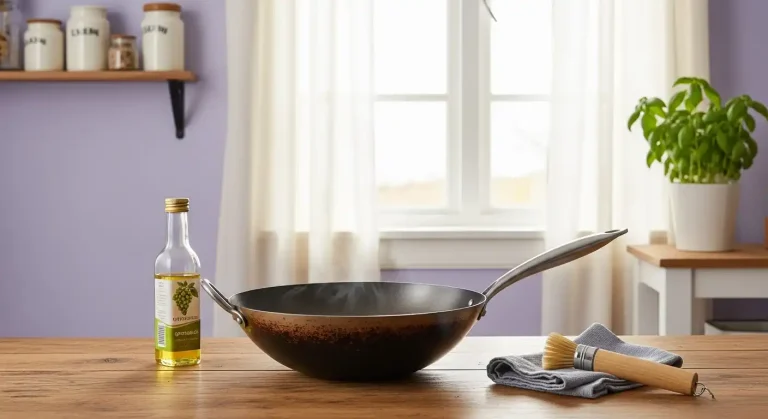
For more detailed cleaning tips, check out how to clean a cast iron wok, as the process is similar.
Step 2: Dry Thoroughly
Cast iron and moisture don’t mix. After washing, dry your skillet completely using a clean cloth or paper towel.
To ensure no water remains, place it on low heat on your stovetop for a few minutes.
This step is crucial to maintain the skillet’s seasoning and prevent rust.
If you’re using your skillet on a glass-top stove, learn more about compatibility in can you use cast iron on a glass top stove.
Step 3: Apply a Thin Layer of Oil
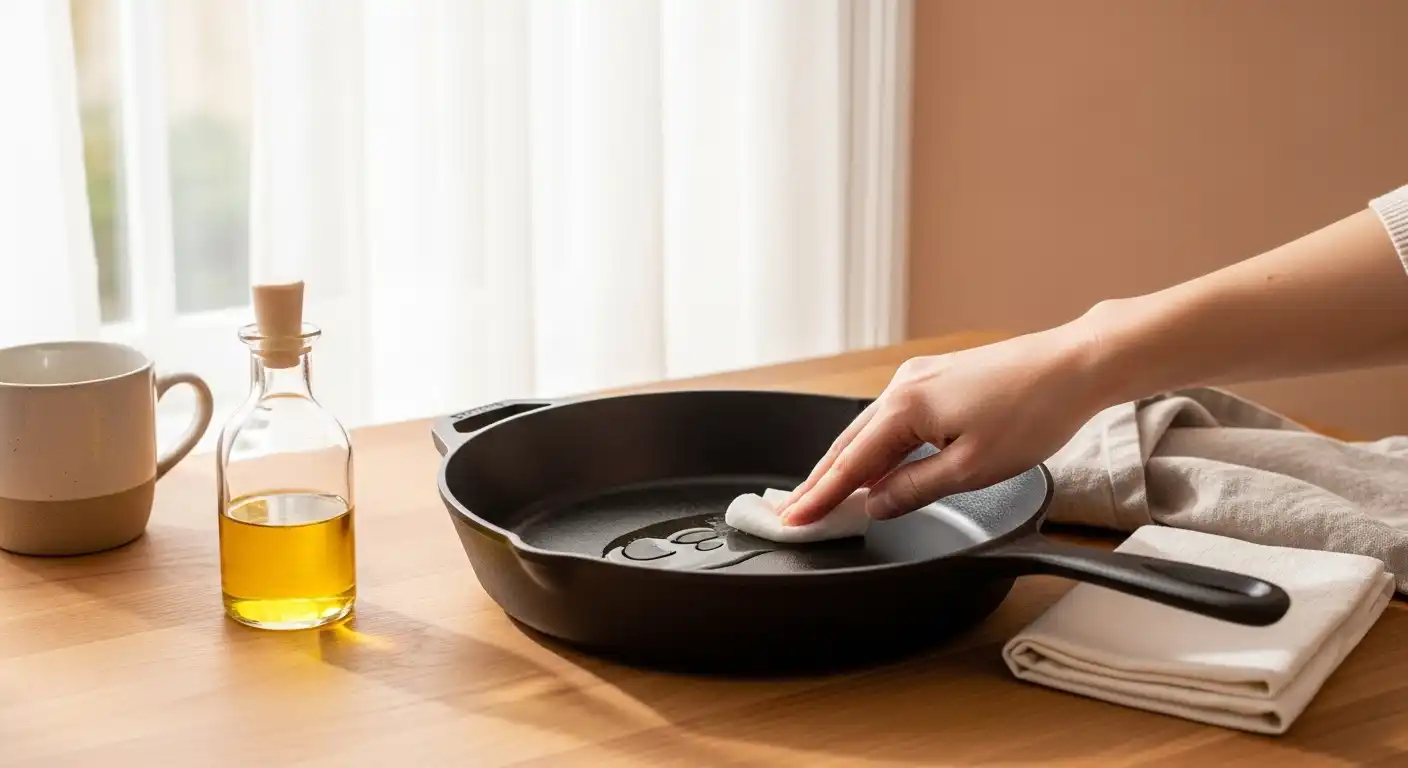
Even though your skillet is pre-seasoned, applying a thin layer of oil before cooking enhances its non-stick properties.
🛍️ Top Amazon Deals & Must-Have Finds
Discover great discounts and highly rated products you’ll love—updated regularly so you never miss a smart buy.
*As an Amazon Associate, I earn from qualifying purchases.
Use a high smoke point oil like vegetable oil, grapeseed oil, or flaxseed oil.
Spread a small amount across the cooking surface with a paper towel. Wipe off any excess—less is more here.
This step prepares your skillet for cooking and reinforces the seasoning.
Curious about seasoning a cast iron Dutch oven? The process is similar—see seasoning cast iron Dutch oven.
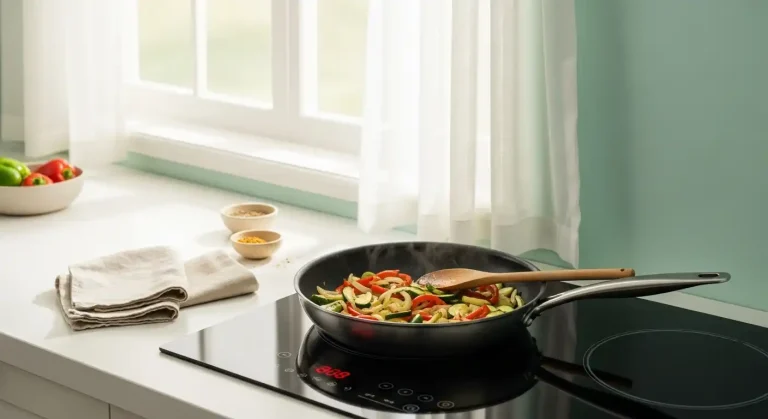
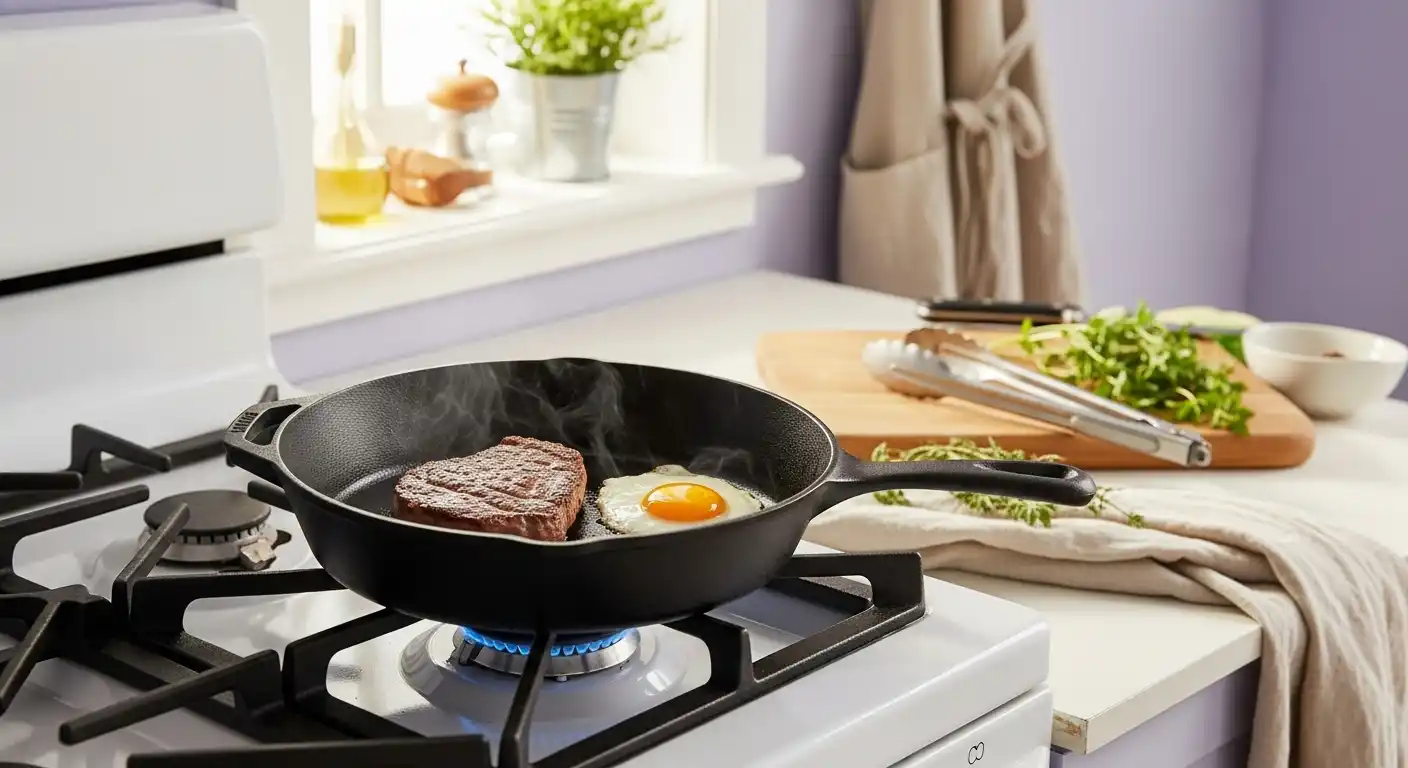
Step 4: Choose the Right Cooking Method
Your pre-seasoned cast iron skillet is versatile and works on various heat sources, including gas, electric, and even induction cooktops.
If you’re using an induction cooktop, confirm compatibility with can you use a cast iron skillet on an induction cooktop.
Cast iron excels at high-heat cooking like searing, frying, or baking.
For your first use, try a simple recipe like frying an egg or searing a steak to get a feel for the skillet’s heat distribution.
Avoid highly acidic foods like tomatoes or citrus for the first few uses, as they can affect the seasoning.
Step 5: Cooking Tips for Success
Preheat your skillet gradually over medium heat to avoid thermal shock.
Cast iron retains heat exceptionally well, so once it’s hot, it stays hot. Be patient during preheating to ensure even cooking.
If you’re concerned about smoke, check out how to reduce smoke when cooking with cast iron for tips to keep your kitchen clear.
🛍️ Top Amazon Deals & Must-Have Finds
Discover great discounts and highly rated products you’ll love—updated regularly so you never miss a smart buy.
*As an Amazon Associate, I earn from qualifying purchases.
Also, avoid using cooking sprays like Pam, as they can leave residue—learn more in can you spray a cast iron skillet with Pam.
Step 6: Clean After Cooking
Once you’ve enjoyed your meal, cleaning your skillet properly is key to maintaining its seasoning.
Let it cool slightly, then rinse with warm water. Use a non-metal brush or sponge to remove food bits.
Avoid soaking your skillet or putting it in the dishwasher, as this can lead to rust.
If you notice black residue, don’t panic—it’s likely seasoning, not harmful. Read more in is black residue on cast iron skillet harmful.
Step 7: Dry and Re-Oil
After cleaning, dry your skillet thoroughly, just like in Step 2. Place it on low heat to evaporate any remaining moisture.
Apply another thin layer of oil to the cooking surface to maintain the seasoning.
This routine keeps your skillet in top shape. For storage tips, see how to store food in cast iron cookware to avoid common mistakes.
Step 8: Store Properly
Store your skillet in a dry place to prevent moisture buildup. If stacking with other cookware, place a cloth or paper towel between items to avoid scratches.
Worried about scratches on your induction cooktop? Check out will cast iron scratch an induction cooktop.
Proper storage ensures your skillet stays rust-free and ready for your next culinary adventure.
Avoid storing food in your skillet, especially in the fridge—learn why in can you put cast iron in the fridge.
🛍️ Top Amazon Deals & Must-Have Finds
Discover great discounts and highly rated products you’ll love—updated regularly so you never miss a smart buy.
*As an Amazon Associate, I earn from qualifying purchases.
Common First-Time Mistakes to Avoid
New cast iron users often make a few common errors. Don’t use abrasive scrubbers, as they can damage the seasoning.
Avoid cooking acidic foods early on, as they can weaken the pre-seasoning.
Never put your skillet in the microwave—it’s not safe. For details, read can you use cast iron skillet in microwave. With care, your skillet will last a lifetime.
Why Choose a Pre-Seasoned Cast Iron Skillet?
Cast iron skillets are prized for their durability and versatility. They can go from stovetop to oven seamlessly—perfect for dishes like cornbread or casseroles.
Learn more in can your cast iron skillet go in the oven.
They’re also budget-friendly. Curious about costs? Check out how much does a good cast iron skillet cost.
Plus, with proper care, they can last generations—find out how to identify vintage skillets in how to tell how old is a cast iron skillet.
Exploring Other Cast Iron Cookware
If you love your skillet, consider other cast iron options like a Lodge cast iron wok for stir-frying or a cast iron Dutch oven for braising.
Compare their uses in cast iron Dutch oven vs stainless steel pot.
For unique cooking styles, try your skillet on a Blackstone griddle—see can you use a cast iron skillet on a Blackstone griddle.
If cast iron isn’t your only option, explore alternatives in what can you use instead of a cast iron skillet.
Maintaining Your Skillet’s Seasoning
Seasoning isn’t a one-time task—it’s an ongoing process. Each time you cook with oil, you strengthen the non-stick surface.
🛍️ Top Amazon Deals & Must-Have Finds
Discover great discounts and highly rated products you’ll love—updated regularly so you never miss a smart buy.
*As an Amazon Associate, I earn from qualifying purchases.
If the seasoning wears off, don’t worry—re-seasoning is straightforward.
Follow the same oiling and baking process used for Dutch ovens in seasoning cast iron Dutch oven.
With regular use, your skillet’s seasoning will only get better.
How Often Should You Replace Your Skillet?
With proper care, a cast iron skillet can last decades, if not centuries. Unlike other cookware, it rarely needs replacing.
For more on its longevity, read how often to replace a cast iron skillet.
If you notice cracks or warping, it might be time for a new one. But with the right maintenance, this is rare.
Final Thoughts
Learning how to use a pre-seasoned cast iron skillet for the first time is an exciting step toward mastering this timeless cookware.
With simple cleaning, oiling, and storage habits, your skillet will become a kitchen staple for years to come.
Ready to cook? Start with a simple recipe and enjoy the journey. Your cast iron skillet is more than just cookware—it’s a legacy of delicious meals waiting to happen.