15 RV Countertop Organization Ideas for Tiny Kitchens

If your RV countertop turns into a dumping ground the second you park for the night, you’re not alone.
There’s rarely more than a few feet of usable surface in a camper kitchen, and every soap bottle, cutting board, and fruit basket ends up competing for the same six square inches next to the sink.
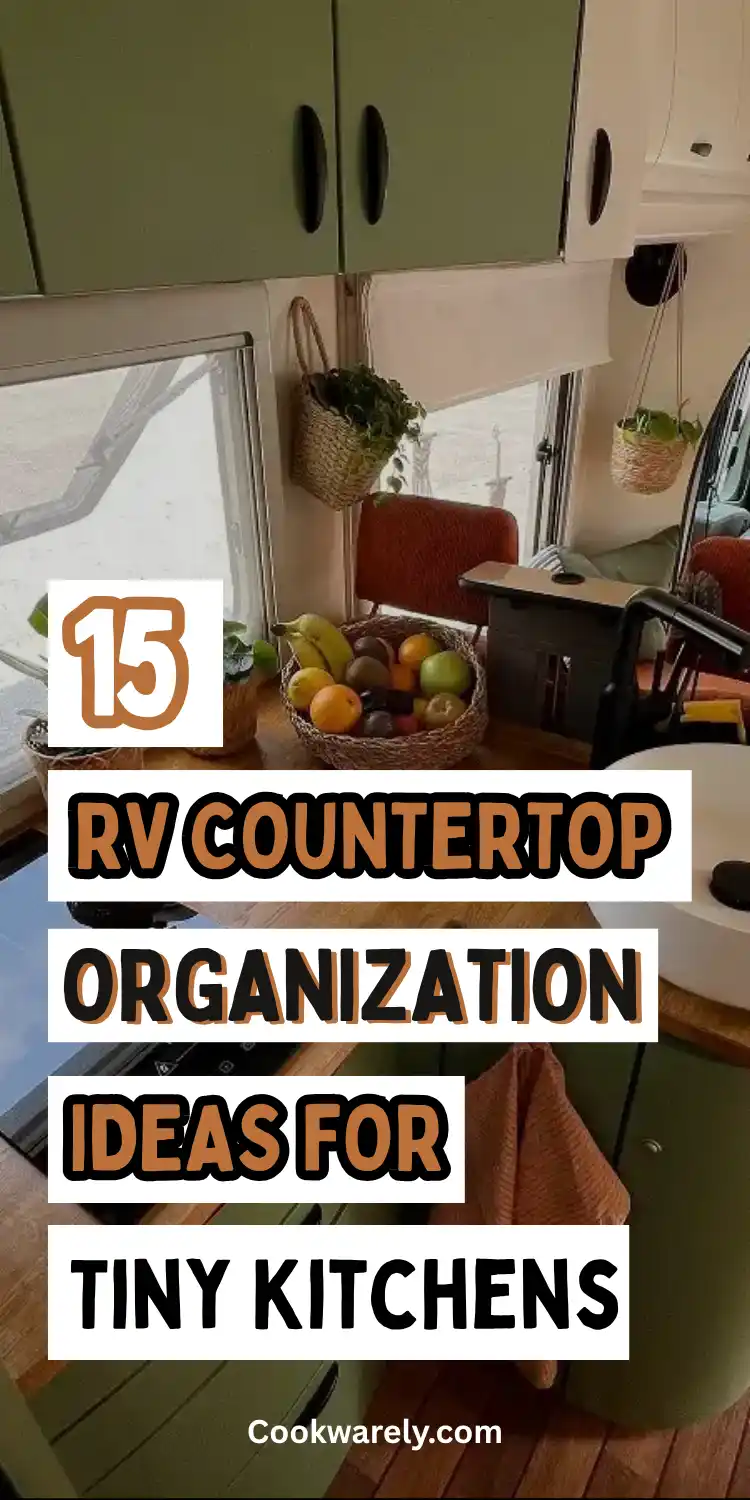
Good rv countertop organization isn’t about buying more bins, it’s about deciding what actually earns a spot on that surface and giving everything else somewhere else to live.
The fifteen ideas below come straight from real RV and camper kitchens, from a produce basket with handles to a raised back ledge that splits one counter into two working heights.
Some are five-minute habits, others are small purchases you can make before your next trip. All of them are built for a counter that has to work hard in very little space.
1. A Slotted Spice Rack Tucked Beside the Sink Turns Dead Space Into Storage
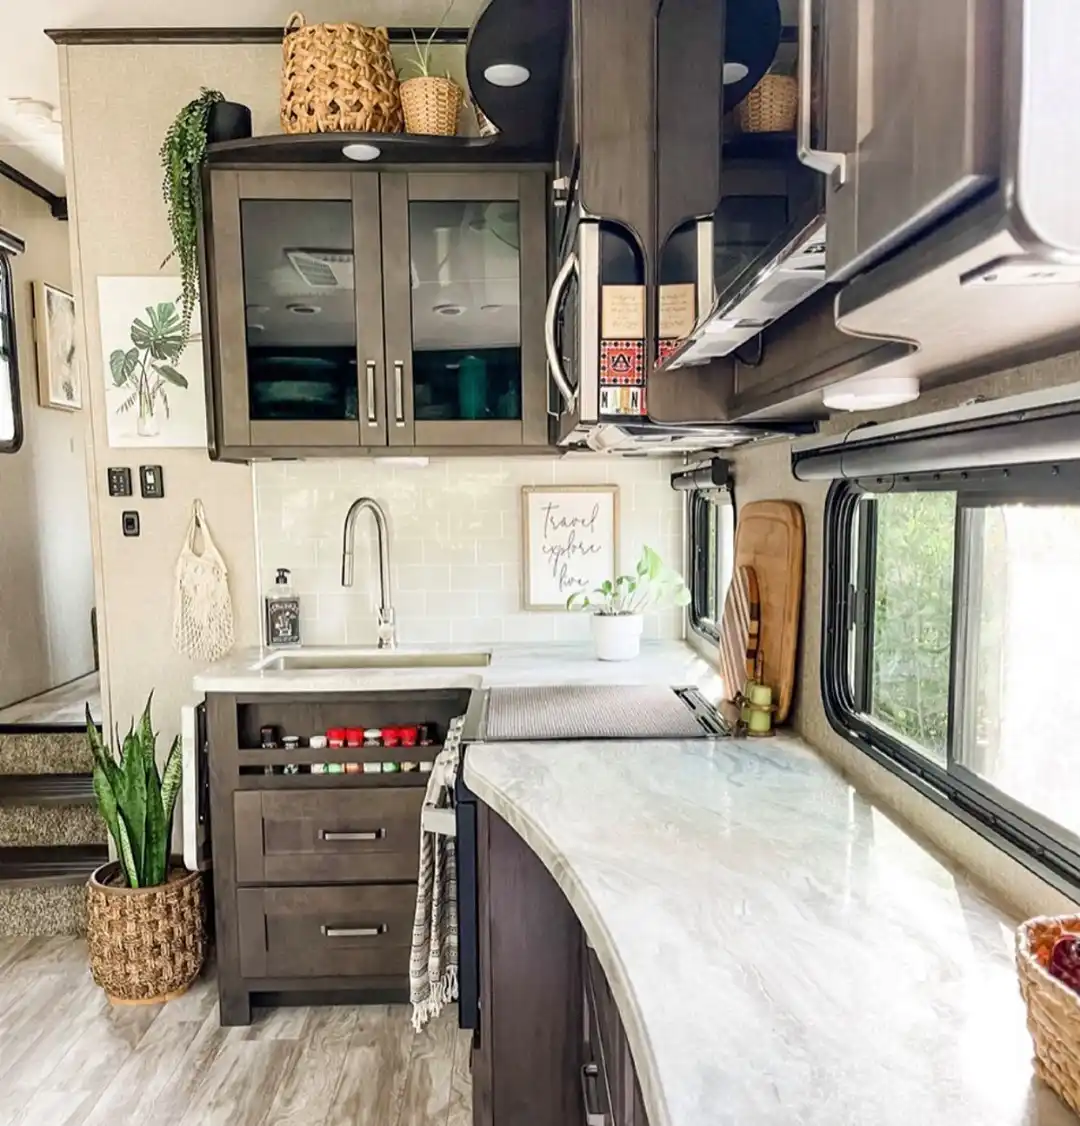
That narrow gap between the cabinet and the stove is usually wasted in an RV galley, but here it holds a full run of spice jars standing upright in built-in slots.
- Slots keep jars from tipping or rolling when you’re driving down the highway
- The vertical layout uses almost no counter footprint, which matters in a kitchen this size
- Red-capped jars are easy to spot at a glance, no digging through a drawer
- It sits right at arm’s reach from the stove, so cooking doesn’t mean walking across the rig
If your RV kitchen doesn’t already have a slot like this built in, a slim expandable spice rack made for cabinet doors or a narrow gap does the same job for under twenty dollars.
2. A Countertop Utensil Crock Keeps Daily Tools Standing Instead of Sprawled
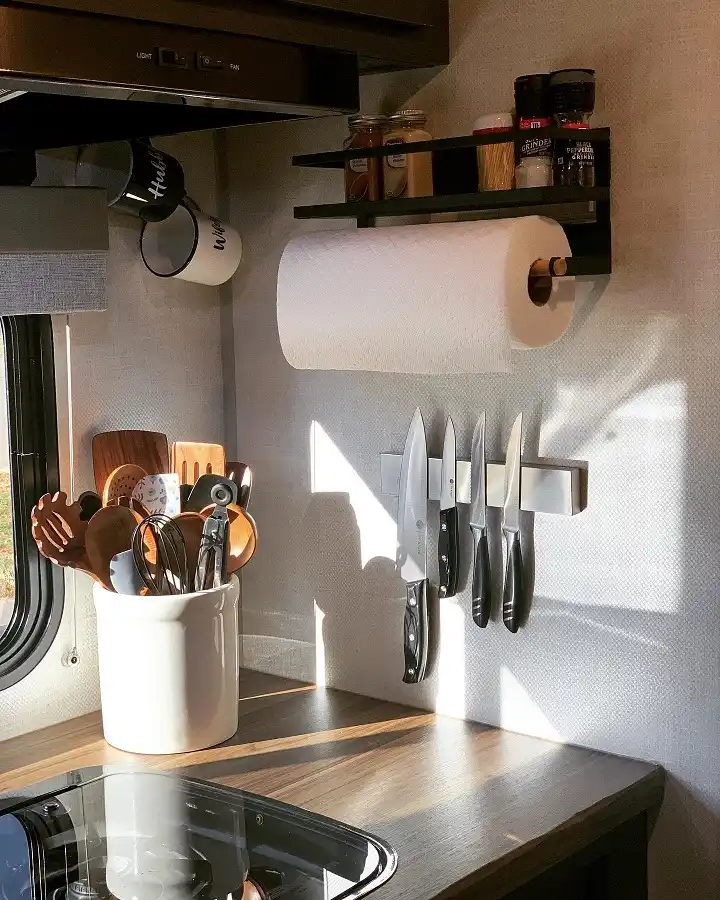
The wooden spoons, whisk, and tongs in this kitchen all live upright in one white crock sitting right on the counter, instead of spread across the surface or rattling loose in a drawer.
Because the knife strip, spice shelf, and paper towel holder are all mounted on the wall above, none of that competes for space on the counter itself, so the crock is the only thing actually sitting on the work surface besides the stove.
That’s the real win here: a counter this size only works if everything that doesn’t need to be there gets moved up onto the wall, leaving the surface for one grab-and-go container of tools you use daily.
Pick a crock heavy enough at the base that it won’t tip when the rig sways, or add a strip of grippy shelf liner underneath.
3. A Woven Basket Keeps Fresh Produce Off the Cabinet Shelves
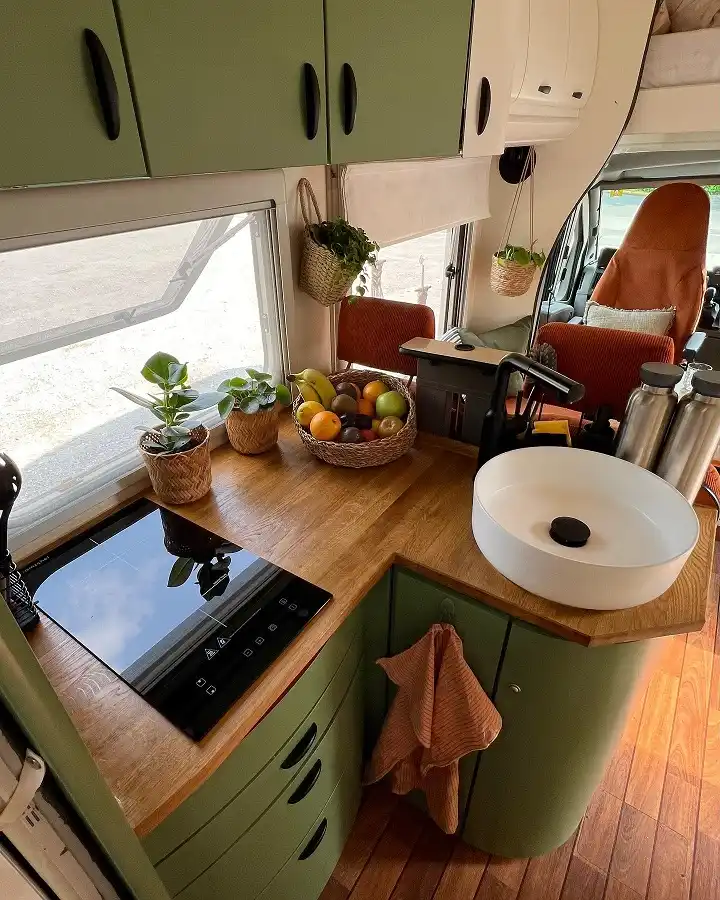
Bananas, avocados, oranges, apples: a lot of fruit gets bruised bouncing around in a cabinet on washboard roads.
Setting a wide, shallow basket right on the counter solves that. The open weave lets air move around the produce so it lasts longer, and the basket’s low sides keep everything corralled instead of rolling into the sink.
It also does double duty as counter decor, since a mixed bowl of fruit adds more warmth to a galley than anything you’d buy at a home store.
The one habit worth building: before you pull out, either move the basket to the sink or tuck a folded towel around it so nothing goes flying on a sharp turn.
Pick a basket with handles. You can lift the whole thing into the sink for travel in one motion instead of unloading each piece by hand.
4. A Round Wooden Board Doubles as an Instant Counter Extension
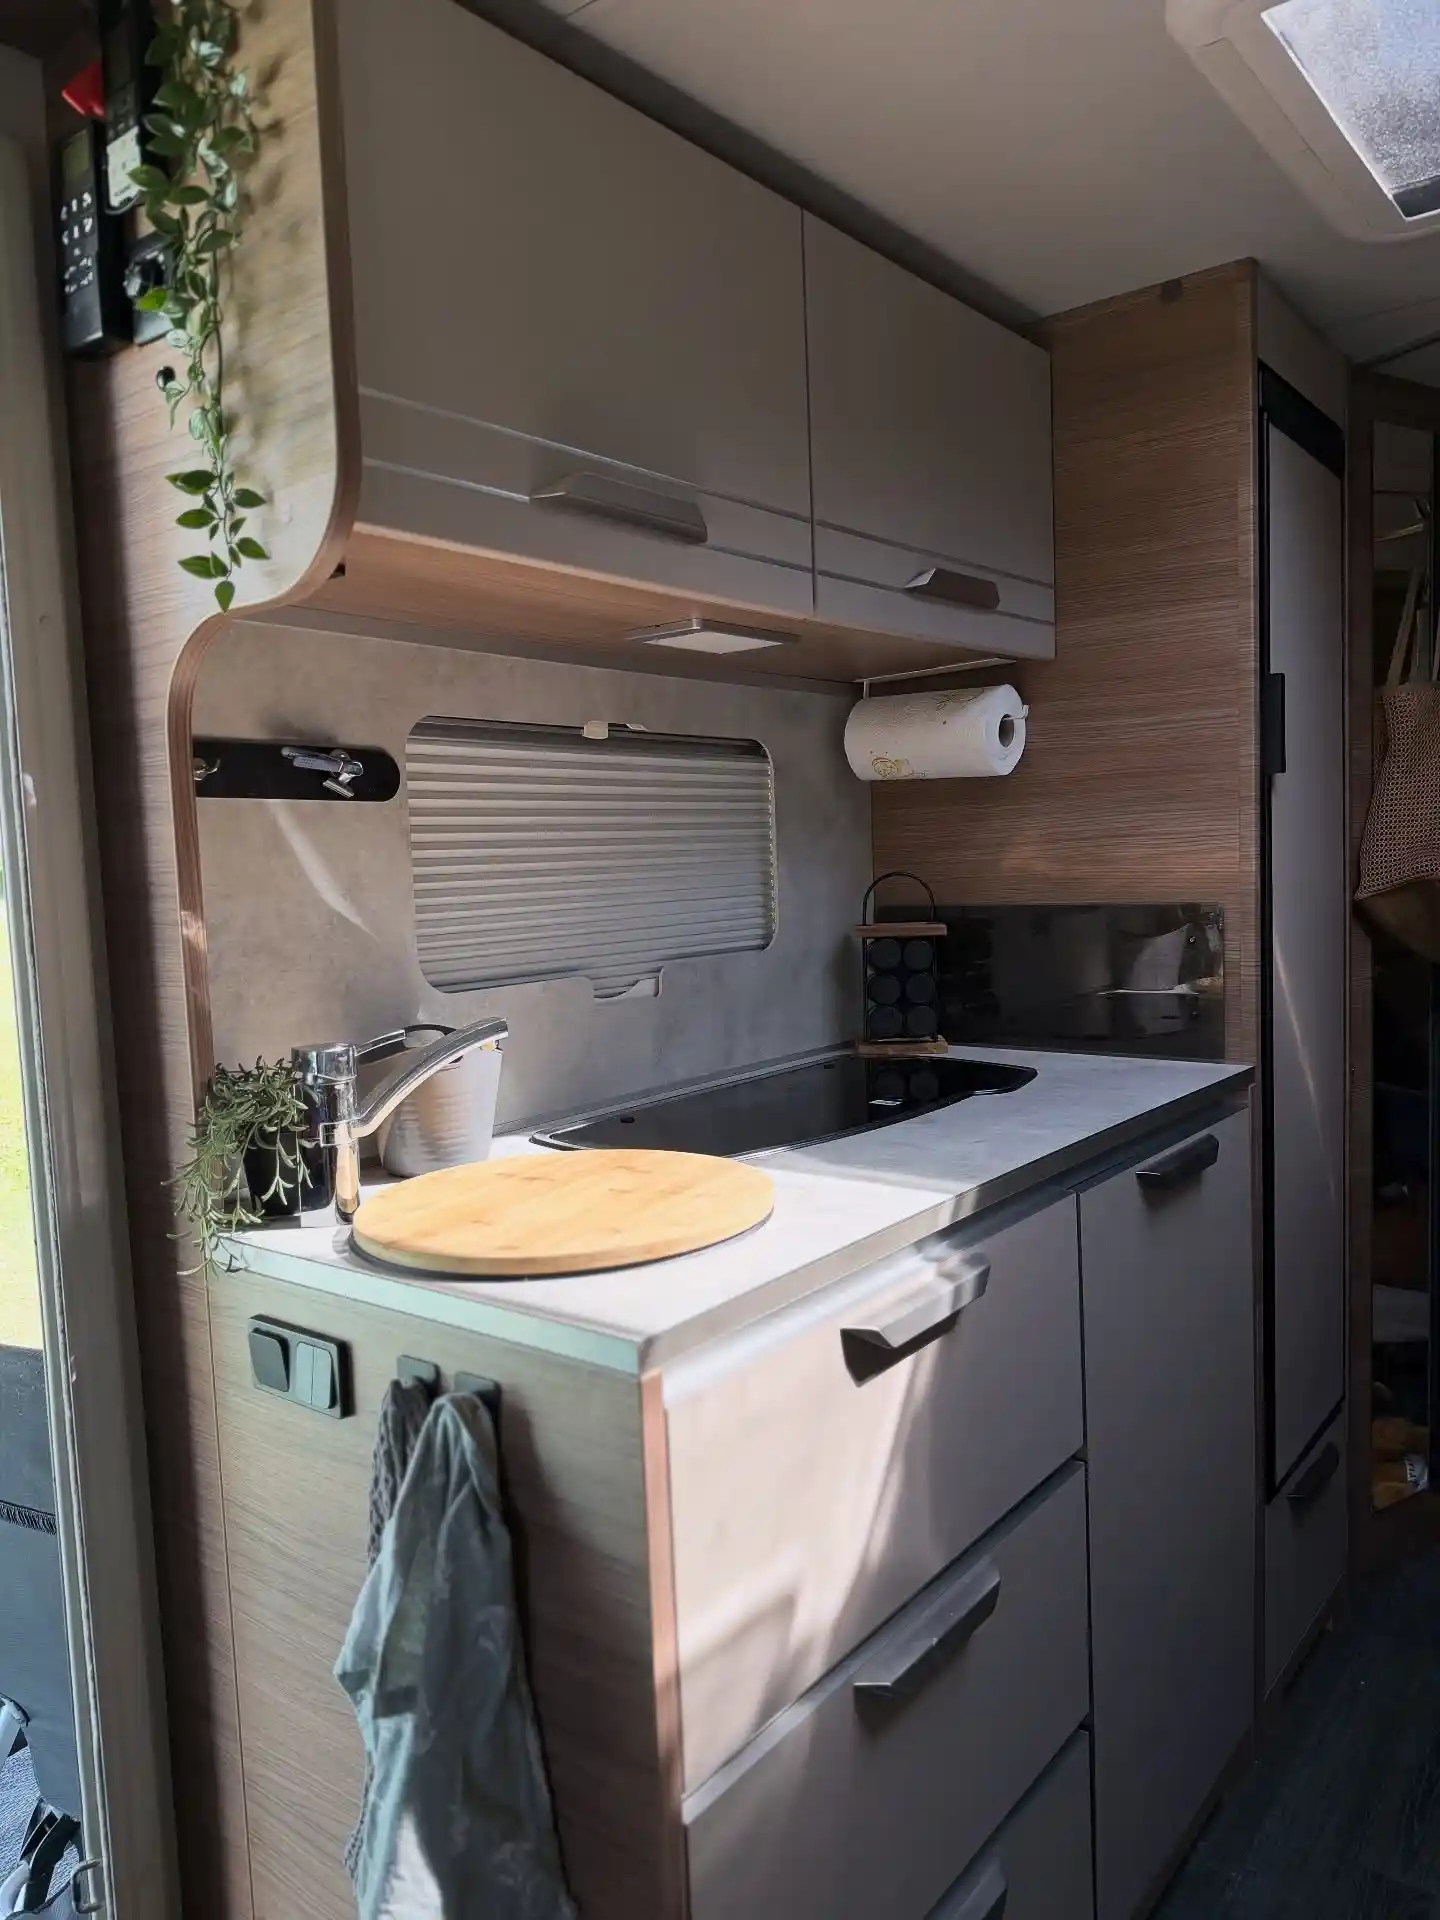
Sinks and cooktops eat up half the usable counter in a rig this size, and you only get that space back one appliance at a time. A thick round cutting board sized to sit right over the basin fixes that in one move.
Set it in place and the sink disappears under a solid prep surface. Lift it off and the sink is right there when you need to actually wash something.
No installation, no permanent cover, just one board doing two jobs depending on where you set it down.
What works about it here:
- The board sits flush enough that nothing wobbles while you’re chopping
- Its natural wood tone stands out against the gray cabinetry instead of blending in and getting lost
- It stores flat against a cabinet wall or in a drawer when you’re driving
Just a basin taking up prime counter real estate.
Full chopping surface, sink still underneath and ready in seconds.
5. A Small Wood Tray Groups the Coffee Station Into One Corner of the Counter
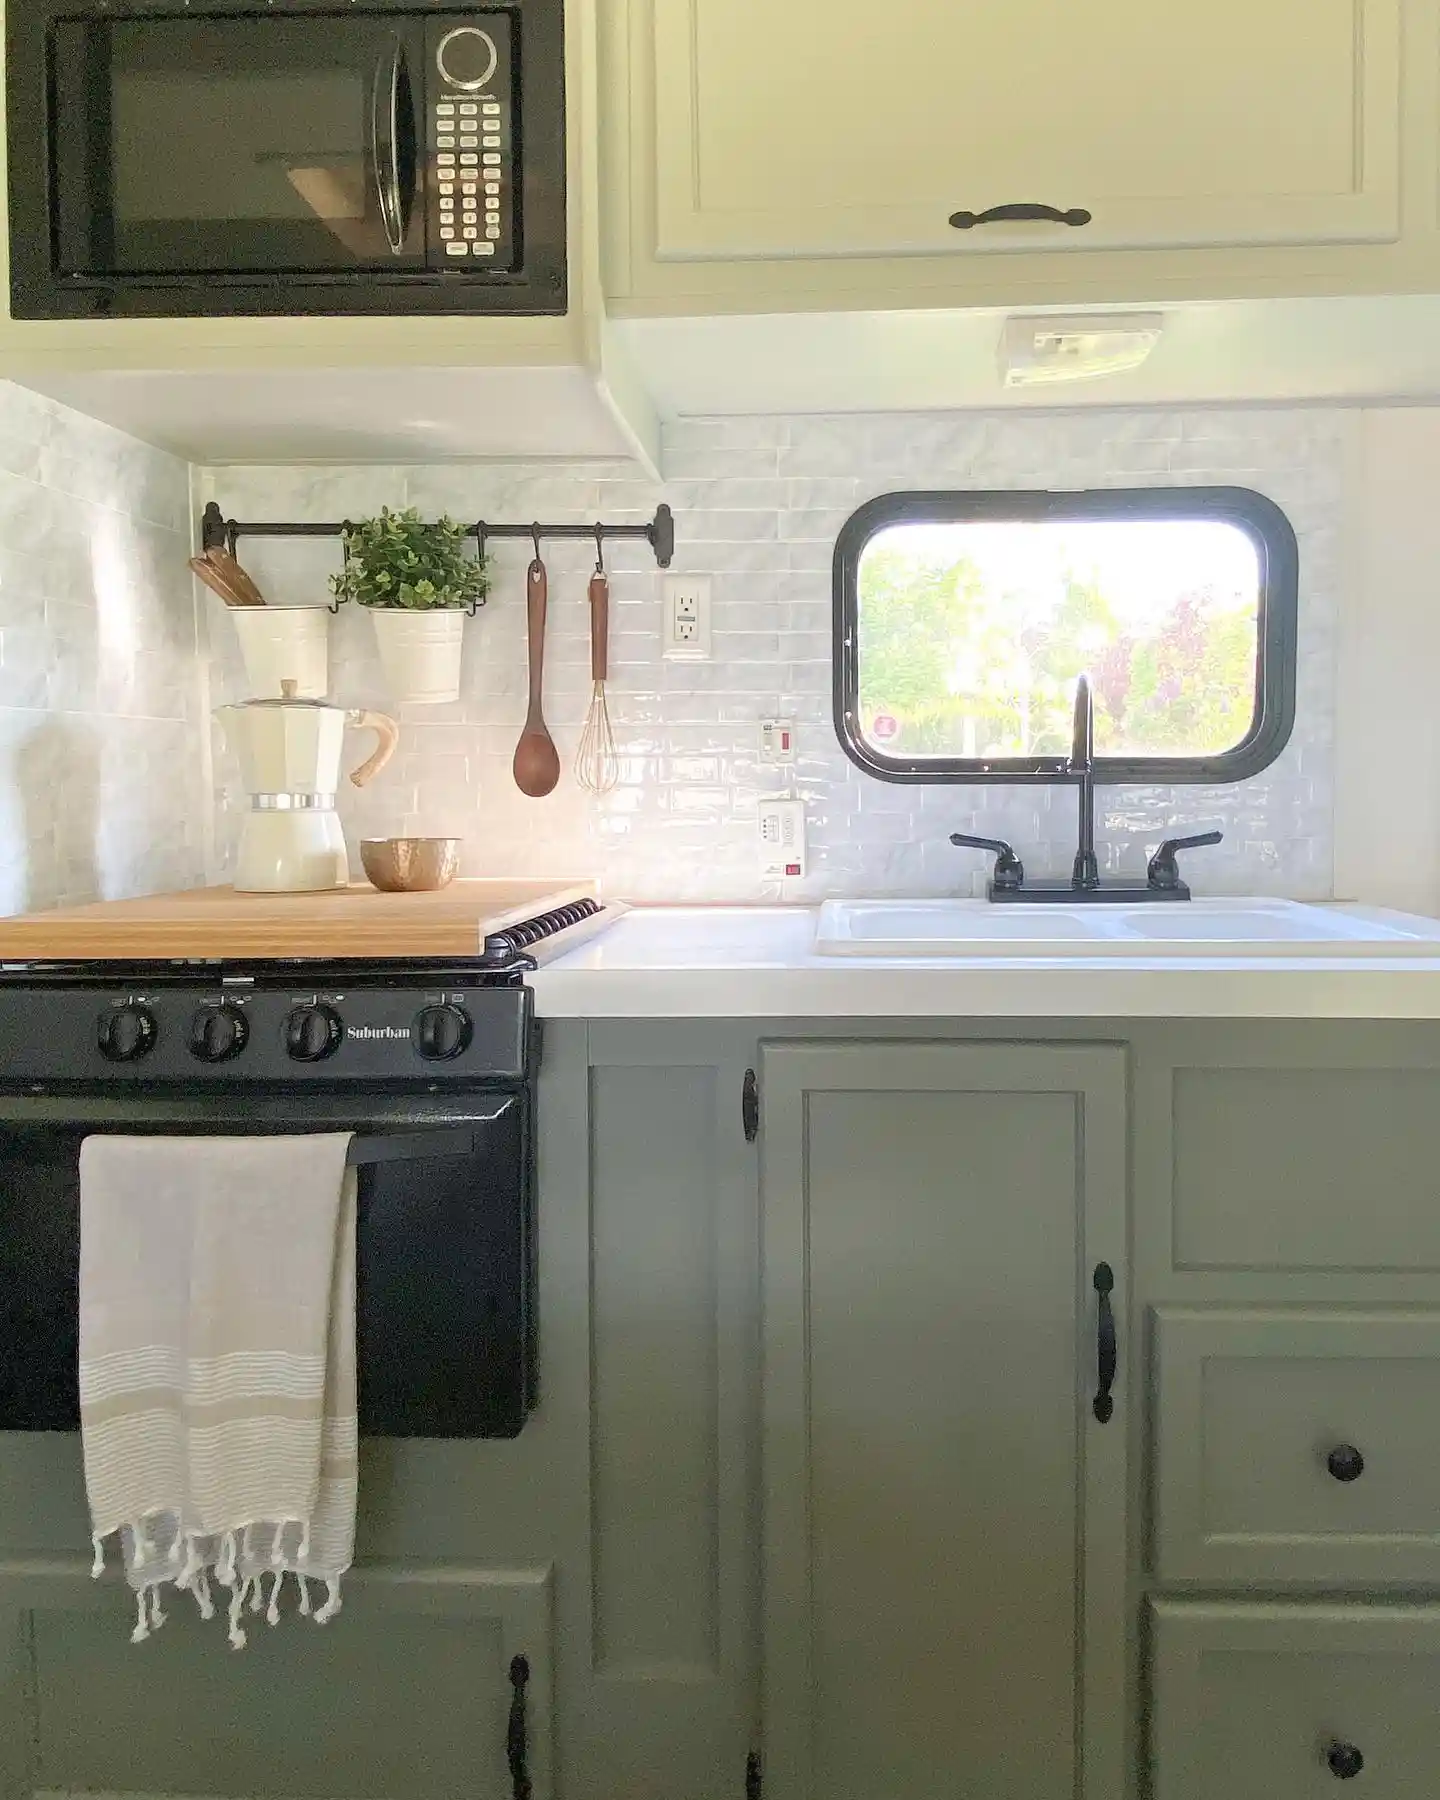
The moka pot, a copper bowl, and a cutting board here aren’t scattered across the counter, they’re gathered on one small wood tray that defines a single coffee corner. The rest of the counter next to the stove stays completely open for actual cooking.
Why grouping beats spreading out:
- Everything in the coffee routine is in one spot, so you’re not reaching across the whole counter for cream, bowl, and pot separately
- The tray lifts up in one motion if you need the counter clear, instead of relocating three or four loose items
- A visual boundary like a tray makes a shared counter feel divided into zones, even with no physical divider
The rail above with the spoon and whisk is doing its own job too, since keeping daily tools off the counter is exactly what makes room for a tray like this in the first place.
Wide enough to hold your pot, a bowl, and one board.
Everything for your morning routine lands in one corner.
Lift the whole tray in one motion when you need full counter space.
6. A Round Tray Turns Three Loose Counter Items Into One Tidy Corner
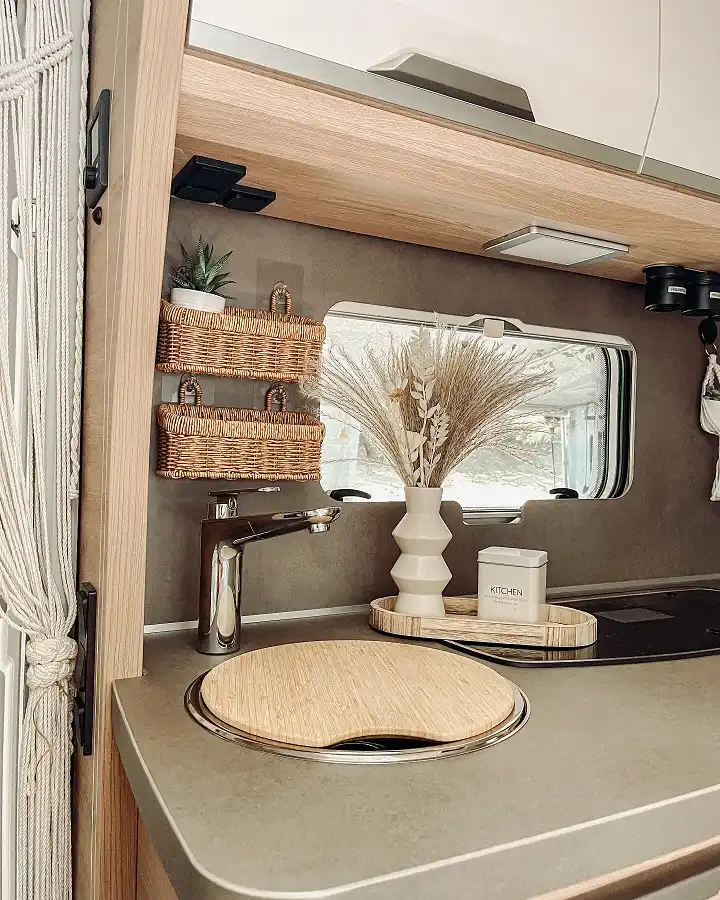
A small ceramic vase, a stack of dried grass, and a white kitchen canister sit together on a round wood tray at the back corner of this counter, right next to the sink.
Without the tray, that’s three separate objects competing for space on a counter that’s already tight around the cooktop.
The tray does the sorting for you. Anything that lands on it belongs in that corner, and anything that doesn’t fit gets moved elsewhere, so the rest of the counter stays clear for the actual sink and cooktop work happening a few inches away.
Keep the tray small enough that it doesn’t creep past the corner it’s meant to define, or it starts eating into usable counter space instead of protecting it.
Two shallow baskets hold more than one deep one, same wall footprint.
Grab what you need at a glance, no unstacking or digging.
Tucked beside the window, a spot most kitchens leave bare.
7. A Tiered Caddy Stacks Small Counter Items Vertically Instead of Spreading Them Out
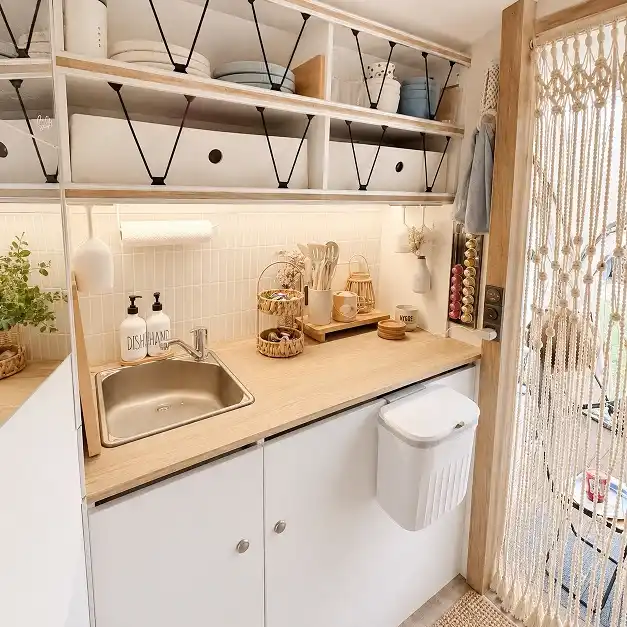
Next to the sink here, a small tiered basket holds a plant and a few odds and ends stacked on two levels instead of lined up flat across the counter.
On a counter this narrow, that vertical stack buys back real inches of usable space right where you need them most, next to the faucet.
A flat row of the same items would have stretched twice as far down the counter. Stacking them instead means the soap dispensers, the utensil crock, and the sink itself all still have breathing room.
Look for a caddy with a solid base and shallow tiers, since anything top-heavy on a narrow counter is the first thing to slide off when the rig moves.
Stacking items vertically buys back the counter inches a flat row would eat up.
8. Cutting Boards Leaning Upright Free Up the Counter They’d Otherwise Cover
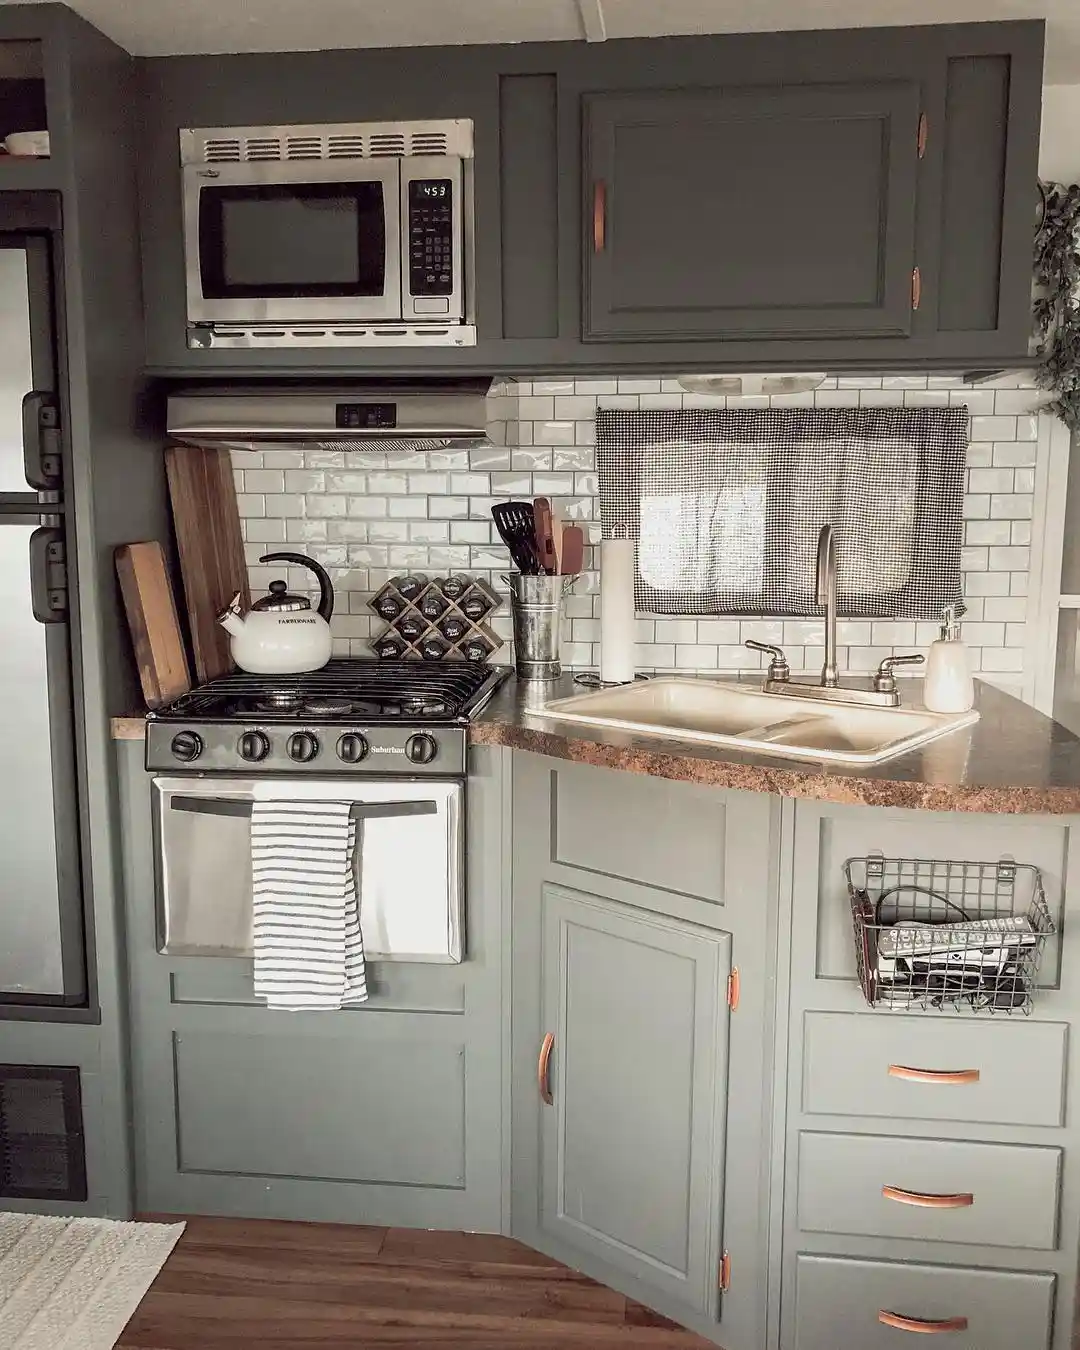
Two cutting boards stand upright against the backsplash at the edge of this counter instead of lying flat on top of it.
Stacked flat, they’d cover a chunk of usable counter space every single day. Standing on edge, they take up almost no footprint and stay in exactly the spot you’d reach for them while cooking on the stove right next to them.
Where this works best:
- Along a backsplash or window ledge with a small lip to catch the bottom edge
- Right next to the stove, where you actually use a board most
- With boards that have enough weight to stand on their own without sliding
Add a thin non-slip strip under the edge if your counter is smooth, so the boards can’t skate sideways while you’re driving.
Lean boards against a ledge with a small lip.
Keep them right next to where you actually cook.
Don’t lean boards on smooth glass or tile with no lip.
Don’t stack them flat if you can stand them up instead.
9. Matching Every Fixture in Black Makes a Small Counter Feel Bigger
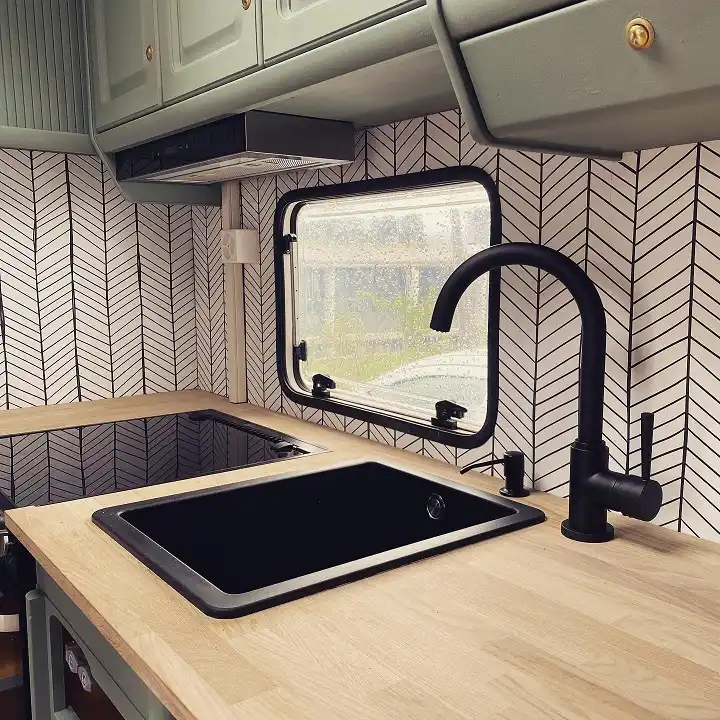
The sink, the faucet, and the cooktop here are all the same matte black, set flush against a plain wood counter with almost nothing else on it.
That single choice does more for this kitchen than any organizer could. When the hardware doesn’t compete for attention, the eye reads the whole counter as one clean surface instead of a row of separate appliances fighting each other.
Matte black also hides water spots and fingerprints far better than chrome or stainless, which matters more in a kitchen you’re wiping down constantly on the road.
If your RV came with mismatched chrome and white fixtures, you don’t need to replace everything at once. Start with the faucet, since it’s the easiest single swap, and let the rest follow over time.
10. Grouping Fruit and Everyday Extras at One End Frees Up the Rest of the Counter
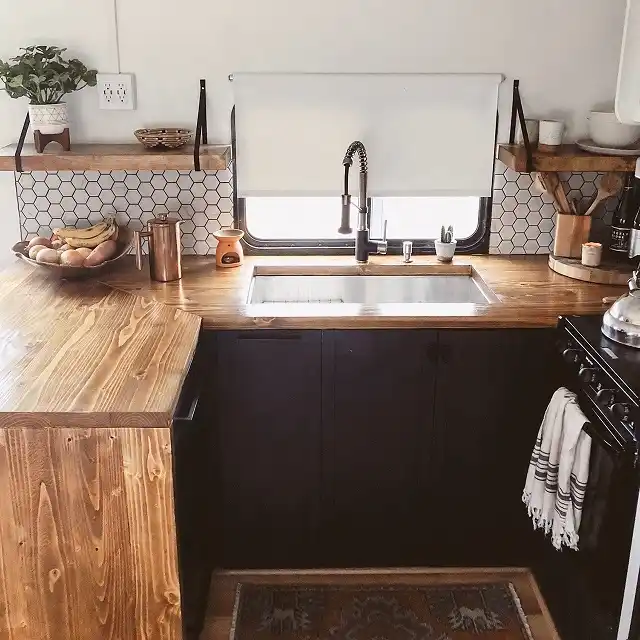
The bowl of bananas and onions, the copper pitcher, and the small oil warmer here all sit clustered at one end of this long wood counter, leaving the stretch closer to the stove completely open for actual prep.
It’s a simple rule: decide which end of the counter is for display and daily grabs, and which end stays clear for cutting and cooking.
Once that split is set, the counter stops feeling cluttered even with several items sitting out, because your eye reads it as two organized zones instead of one crowded surface.
The floating shelves above pull double duty here too, since anything that moves up off the counter gives the display end more breathing room to work with.
11. Lidded Woven Baskets Corral Small Sink-Side Items Without Cluttering the Counter
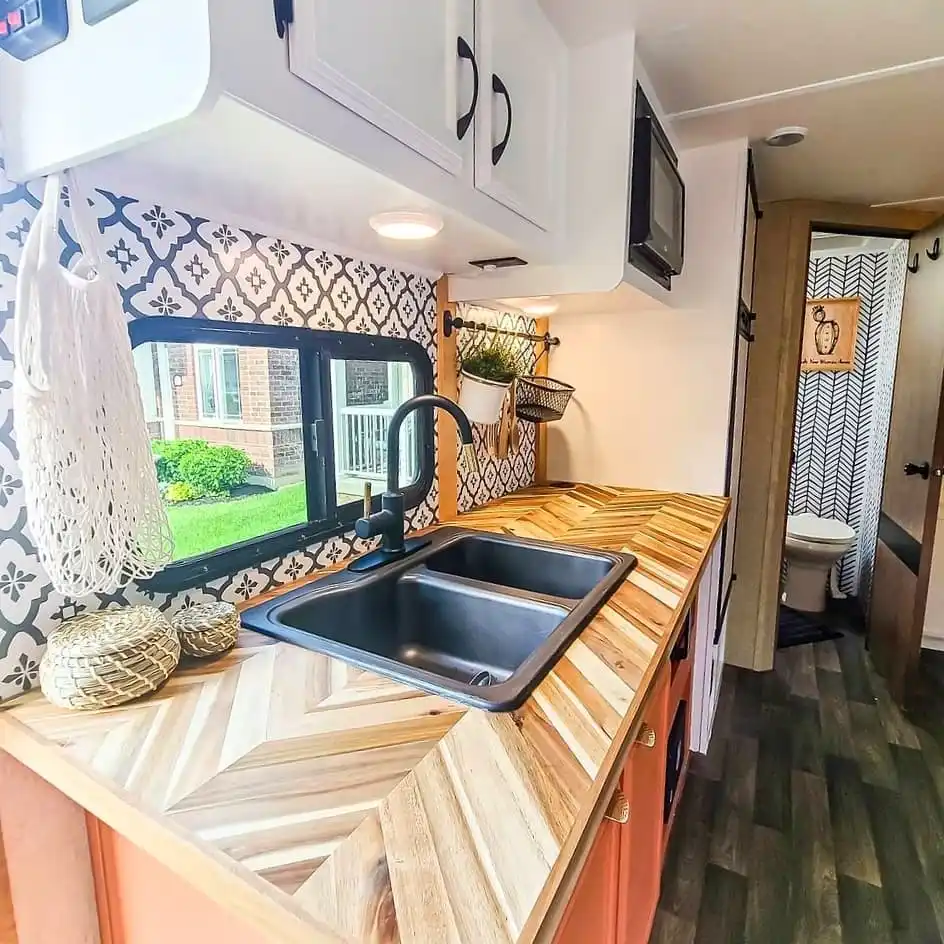
Tucked in the corner by the window, a pair of small round baskets with fitted lids hold whatever tends to pile up near a sink: extra sponges, dish tabs, twist ties, the kind of stuff that otherwise ends up loose on the counter or crammed in a drawer that never quite closes right.
Because they have lids, nothing spills or tips when the rig is moving, unlike an open bowl or tray doing the same job.
They also read as decor rather than storage at a glance, which matters in a kitchen this size.
A closed basket disappears into the counter styling the way a visible pile of sponges and rags never will.
Skip anything with a loose-fitting lid. If it pops open under vibration, you’ve lost the whole point of using a lidded container in the first place.
| Open bowl | Lidded basket |
|---|---|
| Contents can slide out on rough roads. | Lid keeps everything sealed in during travel. |
| Clutter is visible at all times. | Reads as tidy counter styling. |
| Easier to grab items one-handed. | One extra step to lift the lid. |
12. Leaning a Cutting Board Against the Window Sill Keeps the Counter Prep-Ready
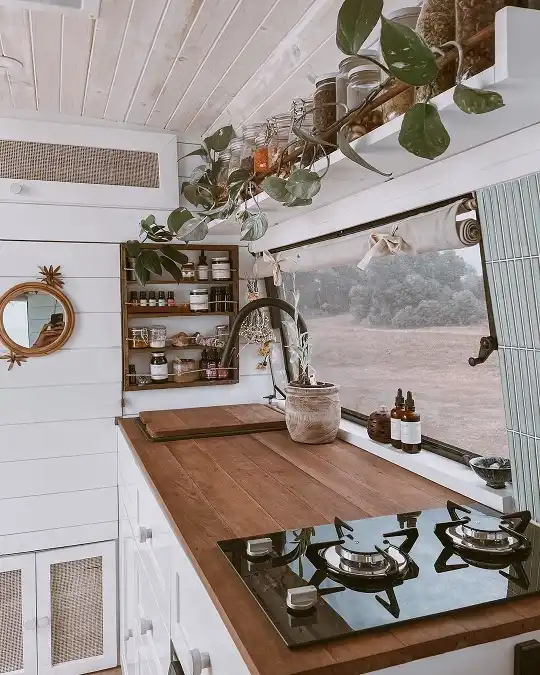
Instead of lying flat on the counter, the cutting board here rests upright against the window ledge at the back of the counter, right where the wood surface meets the glass. It’s out of the way of the stovetop next to it, but still close enough to grab in one motion.
This is a small habit more than a purchase. Any RV counter with a raised lip, a window ledge, or a backsplash edge can hold a board the same way, and it means the flat counter space never has to make room for it at all.
Skip this if your window ledge is glass or smooth tile with no lip. Without something to catch the bottom edge, the board will slide the second the rig hits a bump.
13. A Small Wire Caddy Keeps Soap Bottles From Sliding Across the Counter
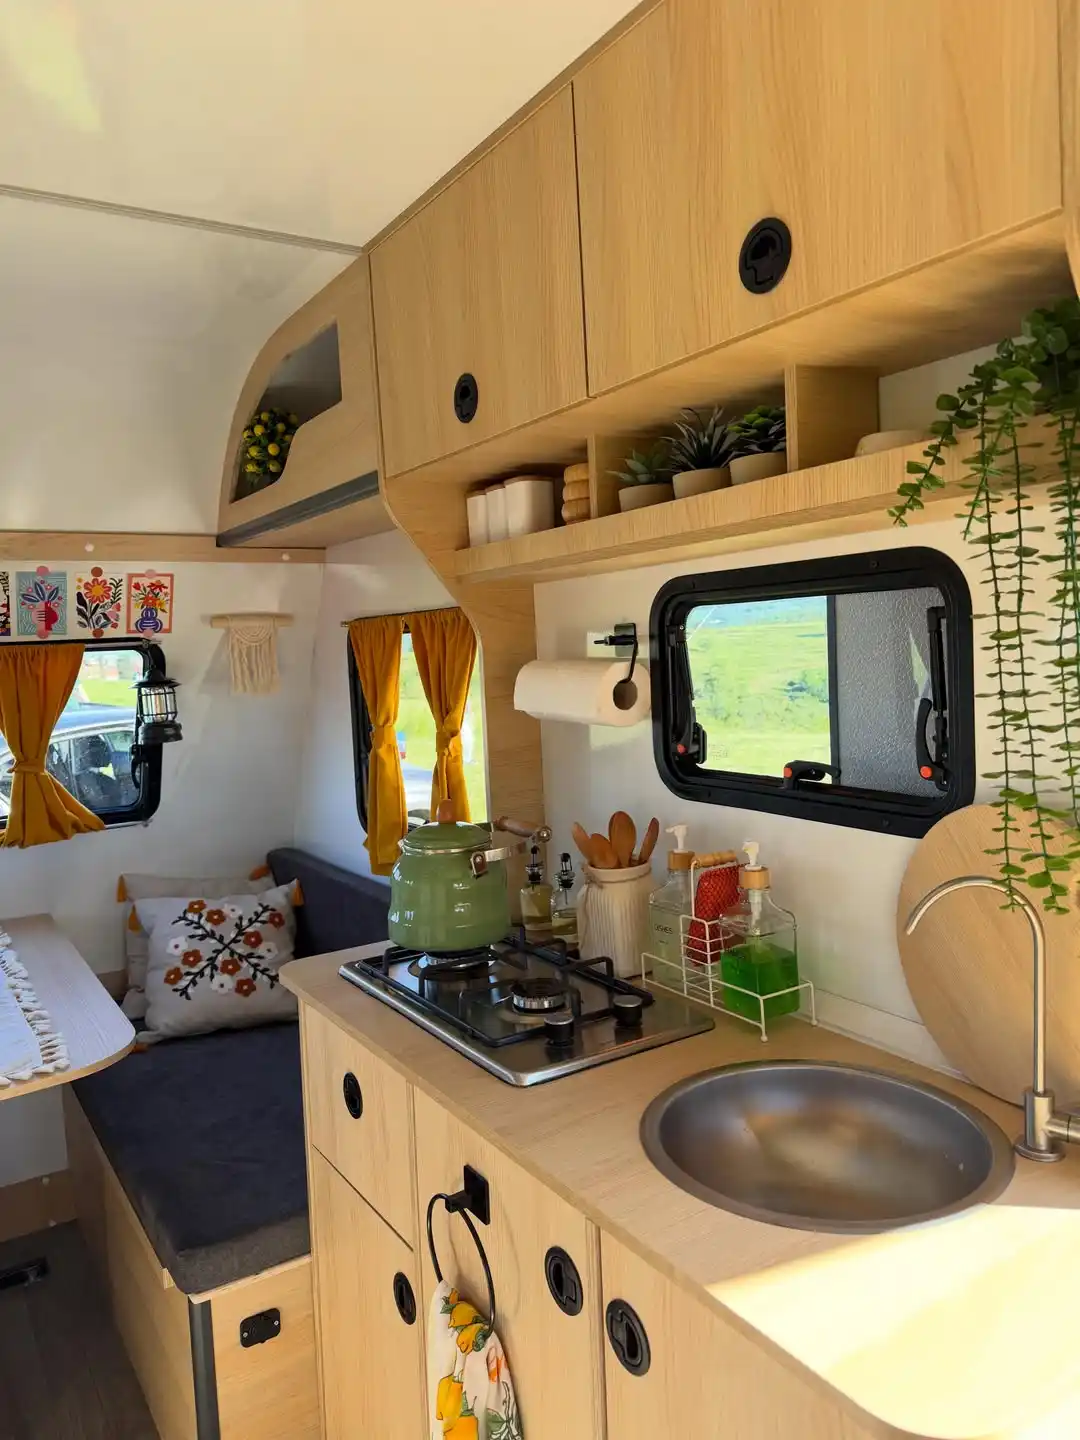
Dish soap, hand soap, a lotion bottle: three separate items that would normally slide around loose next to a sink, especially on a slick laminate counter.
Here they’re held upright in a slim wire caddy sized for exactly that job, so the counter next to the faucet stays a fixed, tidy footprint instead of a moving target every time the rig turns.
Why a caddy beats setting bottles down loose:
- The wire frame holds each bottle in its own slot, so nothing tips over when you brake
- It takes up less counter width than the same bottles spread out side by side
- You can lift the whole caddy in one motion to wipe down the counter underneath
If you don’t have a caddy this size on hand, a small dish rack or a narrow bin turned on its side does the same job for almost nothing.
14. A Raised Board Along the Back Edge Keeps Jars Off the Main Prep Space
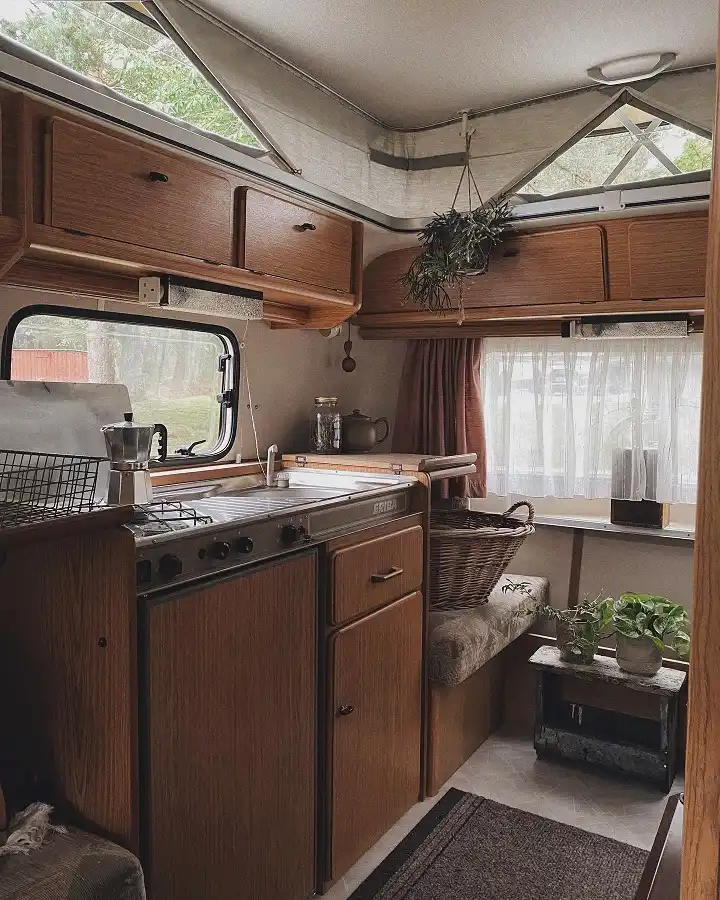
At the back of this counter, right where it meets the window, a flat board sits up as a slight step behind the stove, holding a glass jar and a small teapot.
Because it’s set back and slightly elevated instead of sitting flush with the front of the counter, those items stay out of the way of the actual cooking happening just inches in front of them.
It’s a simple way to split one counter into two working heights. The front stays clear and flush for the stove and any prep, while the back edge becomes a fixed spot for the things you want visible but don’t need to touch while you’re actually cooking.
If your counter doesn’t have a built-in step like this, a slim riser or a low wood block does the same job, as long as it’s shallow enough not to block the window ledge behind it.
15. A Woven Placemat Anchors the Coffee Maker So It Doesn’t Skate Across the Counter
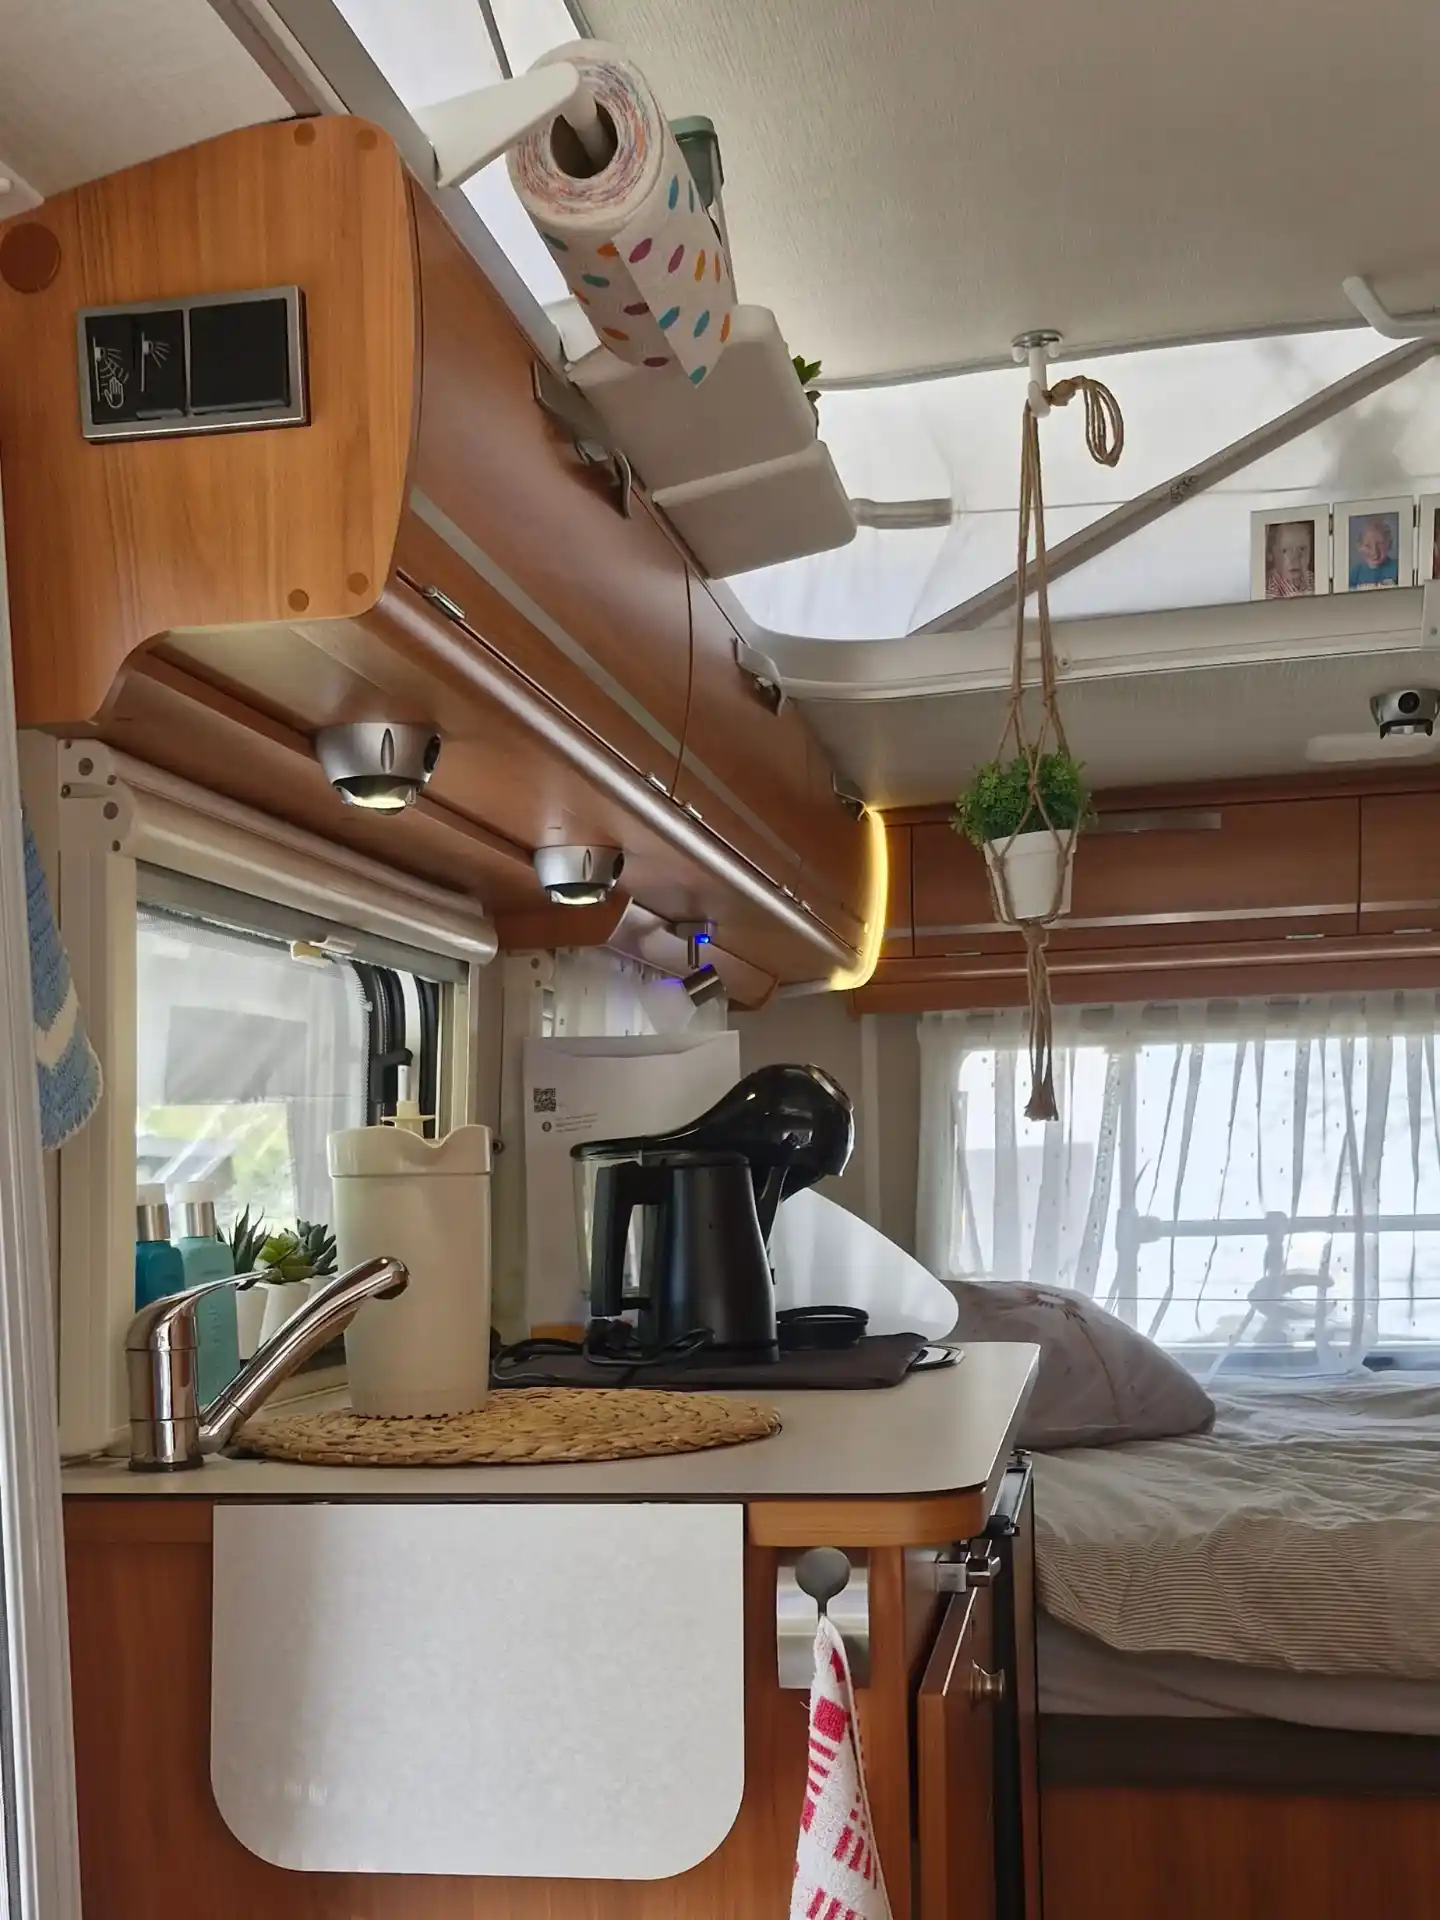
The coffee maker here sits on a small round woven mat instead of directly on the bare laminate.
That thin layer of texture does two things at once: it keeps the appliance from sliding when the counter gets bumped, and it marks off exactly where the coffee maker lives, so that corner of the counter reads as one defined spot instead of just wherever the machine happened to land that morning.
It’s an easy fix for a problem almost every RV counter has. Smooth countertop surfaces are great for wiping down, but terrible for keeping anything with a flat base in place once you’re driving or even just moving around a tight galley.
Any placemat, cork trivet, or rubber shelf liner cut to size works the same way. The point isn’t the material, it’s giving heavier countertop appliances something to grip.